Pythonライブラリの「TKEasyGUI」を使って簡単なお絵描きアプリを作る
こんにちは
興味と好奇心は揮発性
システムソリューション部のかわいです。
今年も早いもので12月ですね。
先日Pythonの TKEasyGUI というライブラリを触っていて、簡単にデスクトップアプリが作れるとのことだったのでお絵描きアプリを作ってみました。
TKEasyGUIとは
PySimpleGUIというライブラリがオープンソース廃止になったことを受け、開発されたライブラリみたいです。
詳しくはこちら:https://github.com/kujirahand/tkeasygui-python
下準備
では早速インストールして遊んでみます。
■検証環境
Ubuntu 24.04 LTS
Python 3.12.3
今回はvenvを使います。このへんはなんでもいいのでお好みで。
$ python3 -m venv env
$ source env/bin/activate
TKEasyGUIと、tkinterも必要なのでインストールします。
(env)$ pip install TKEasyGUI
(env)$ sudo apt install python3-tk
準備するのはこれだけ。めっちゃ簡単。
サンプルアプリを試してみる
ではgithubに掲載されているサンプルアプリを動かしてみます。
>> "How to use - popup dialogs"
import TkEasyGUI as eg
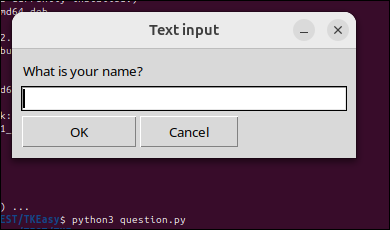
name = eg.input("What is your name?")
eg.print(f"Hello, {name}.")
(env)$ python3 question.py
名前を聞かれるので入力します。
挨拶してくれます。
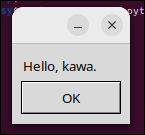
importを除けば2文書くだけなので楽ですね。
次は簡単なお絵描きアプリを作ってみます。
お絵描きアプリ.py
とりあえずなんでもよかったので、pngで保存できて、らくーに描けて、色を選択できるようにします。
描写には以下Canvasの要素が使用できそうです。
https://github.com/kujirahand/tkeasygui-python/blob/main/docs/TkEasyGUI/widgets-py.md#canvas
以下コード全文
中身はともかく、とりあえず動かしたい人は突っ込んで走らせてみてください。
import TkEasyGUI as eg
from tkinter import filedialog, colorchooser
from PIL import Image, ImageDraw

# 描画設定
drawing_color = "black"  # 初期色
last_x, last_y = None, None  # 前回の位置を記録

# ファイル保存関数
def save_canvas_as_image():
    file_path = filedialog.asksaveasfilename(defaultextension=".png", filetypes=[("PNGファイル", "*.png")])
    if file_path:
        canvas_image.save(file_path)
        eg.popup("保存完了", "画像が保存されました。")

# 色選択関数
def choose_color():
    global drawing_color
    color_code = colorchooser.askcolor(title="色を選択")
    if color_code:
        drawing_color = color_code[1]  # 選択された色の16進数のコードを取得

# 描画関数
def start_draw(event):
    global last_x, last_y
    last_x, last_y = event.x, event.y

def draw(event):
    global last_x, last_y
    x, y = event.x, event.y
    if last_x is not None and last_y is not None:
        # キャンバスに線を引く
        canvas.get().create_line(last_x, last_y, x, y, fill=drawing_color, width=2)
        # PILのImageにも描画
        draw_on_image.line([last_x, last_y, x, y], fill=drawing_color, width=2)
    last_x, last_y = x, y

# 関数のクリア
def clear_canvas():
    canvas.clear()
    draw_on_image.rectangle((0, 0, 400, 400), fill="white")  # 画像もリセット

# レイアウト定義
layout = [
    [eg.Text("お絵描きアプリ")],
    [eg.Canvas(key="-CANVAS-", size=(400, 400), background_color="white")],
    [eg.Button("色を変更", key="-COLOR-"), eg.Button("クリア"), eg.Button("保存"), eg.Button("終了")]
]

# PIL画像を作成して描画用オブジェクトを取得
canvas_image = Image.new("RGB", (400, 400), "white")
draw_on_image = ImageDraw.Draw(canvas_image)

# ウィンドウを作成
with eg.Window("お絵描きアプリ", layout) as window:
    canvas = window["-CANVAS-"]

    # マウスイベントのバインド
    canvas.get().bind("<Button-1>", start_draw)
    canvas.get().bind("<B1-Motion>", draw)

    # イベントループ
    for event, values in window.event_iter():
        if event == "-COLOR-":
            choose_color()
        elif event == "クリア":
            clear_canvas()
        elif event == "保存":
            save_canvas_as_image()
        elif event == "終了" or event is None:
            break
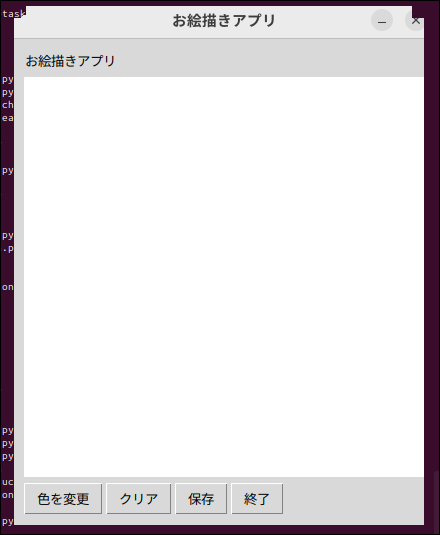
起動してみます。
(env)$ python oekaki.py
まっしろなキャンバスが表示されました。
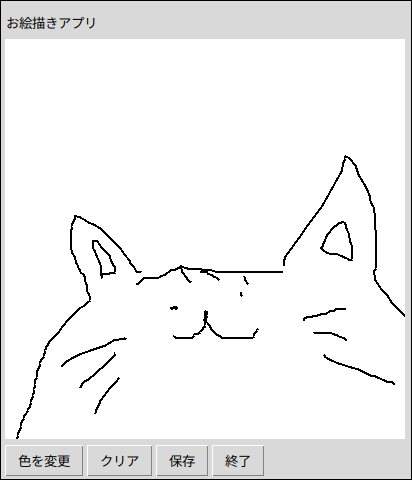
猫を描いてみます。
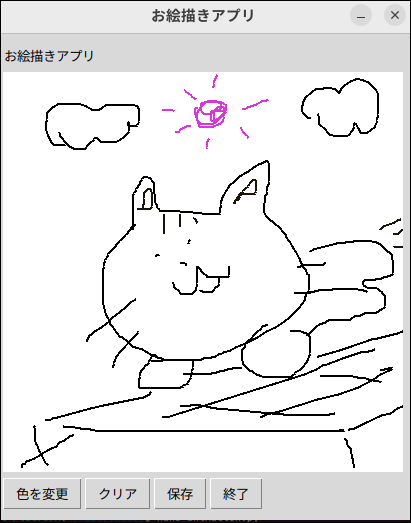
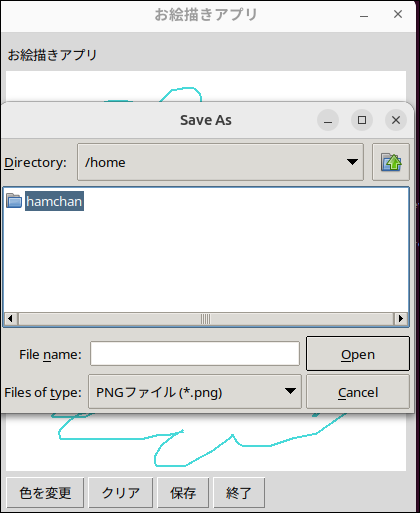
保存してみます。
色も変えられます。
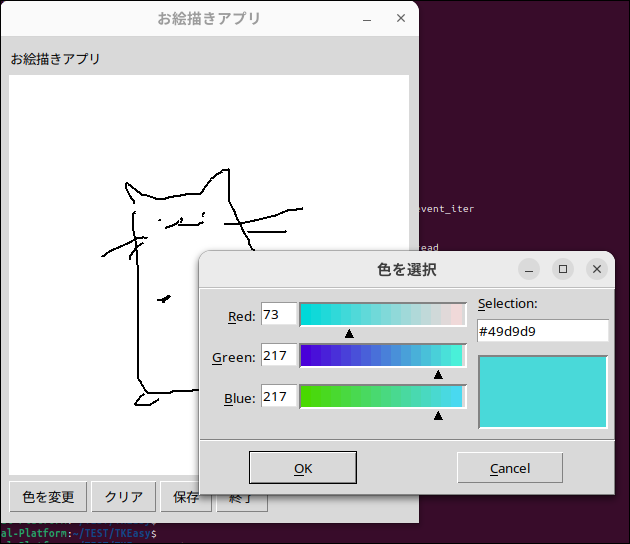
いい感じですね

また時間があったら作ってみます。ではでは。
完
 1111
1111 この記事をかいた人
About the author


