Cloudflare Workers で Basic認証する方法

こんにちは!
株式会社ビヨンド大阪オフィスのラーメン王、ヒデです。
今回が13回目の投稿です。
前回はAWS IAMで特定のホストゾーンのみ閲覧できるポリシー設定について書きました!
設定方法は比較的簡単にできますが、設定箇所を間違えると作成できなかったり、見せてはいけない部分を見せてしまうことも起きます。
わかりやすく設定方法を紹介しているので気になる人はぜひ、確認してみてくださいね。
概要

Basic認証を使ってアクセス制限したいなぁ。。。。
せっかくCloudflareを使ってるし、オリジンに負荷かけたくないから
CloudflareでBasic認証を実装したいなぁ。。。。
え?でもこれ、どうすんの?
上記のことは考えたことありませんでしょうか?
通常、Basic認証を実装する際は、ApacheやNginxなどで実装することになると思います。
僕もCloudflareでオリジンに負荷を抑えているのに、これもCloudflareでどうにかできないかなと思っていましたが、
なんとCloudflare Workersを使用すれば、Basic認証を実現することができます。
前段のCloudflareでオリジンに負荷をかけないので、非常に便利です!
手順はとても簡単なので、それではやってみましょう!!
前提知識
Cloudflare Workersとは?
Cloudflare(クラウドフレア)は、世界中に存在する CDNサービスの中でも 最大のネットワークの1つです。世界中のWebコンテンツが サイト高速化の用途として、Cloudflare(クラウドフレア) のCDNサービスが利用されています。
そのCloudflare社が開発したサーバーレスサービスがCloudflare Workersになります。
Cloudflareネットワークの全世界275か所以上のデータセンターへグローバルにデプロイする際にインフラの設定や保守をすることなく、Web機能やアプリケーションを構築できます。
言語に関しては、JavaScriptやTypeScriptなどで実装する形になります。
Cloudflareでアプリケーションを構築しつつ、SSL・WAF・CDNなどが併せて使用できるので非常に便利なサービスとなっています。
Basic認証とは?
ApacheやNginxなどのミドルウェアでアクセス制限が実装ができる機能となっています。
ユーザー名とパスワードで認証することができ、一部ユーザーのみ限定公開したい場合などに使用することができます。
弊社エンジニアがNginxでBasic認証を実装する方法を紹介しておりますので、
気になる方はぜひ、見てくださいね!
設定手順
*Cloudflare の初期セットアップ・レコード登録は完了している前提で行います
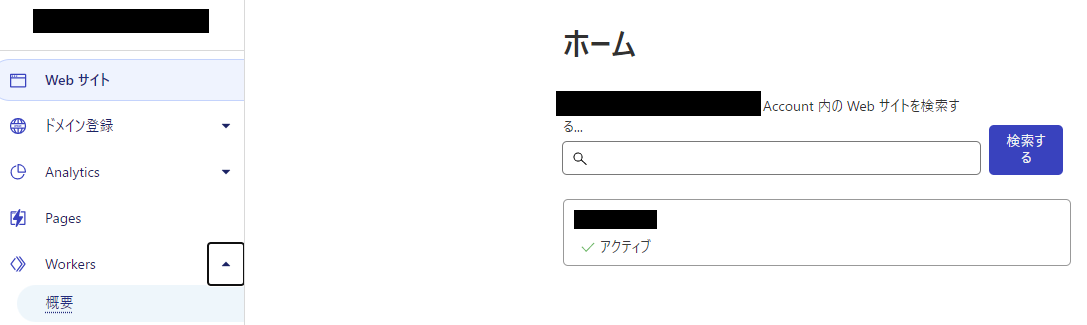
①ホーム>Workers>概要をクリック
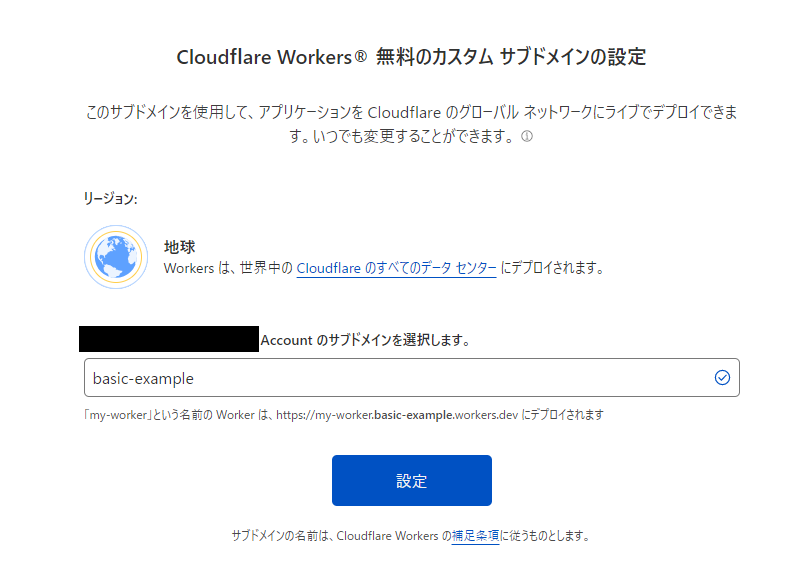
②任意のサブドメイン名を記入して【設定】をクリック
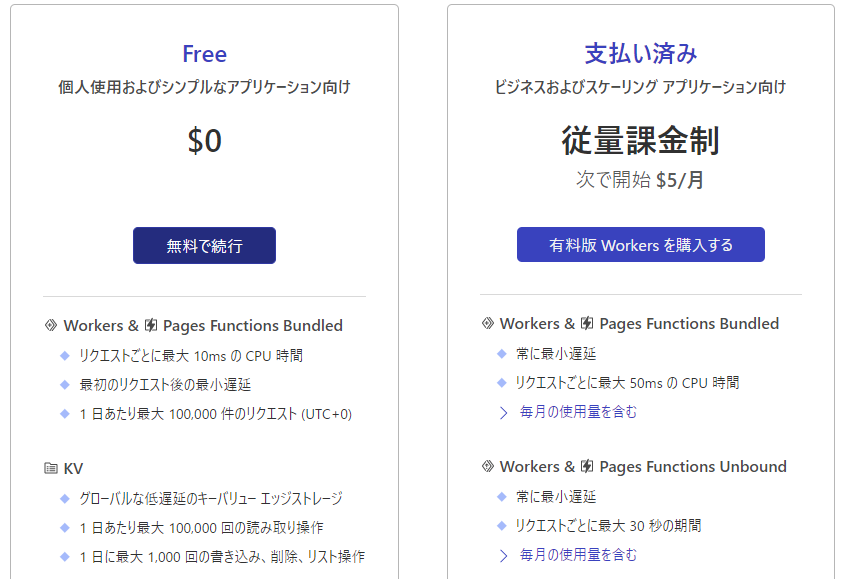
③料金プランを選択
*ここではデモであるため、Freeを選択しておりますが状況に合わせて選択してください
Cloudflare Workers 料金プラン
④【サービス作成】をクリック

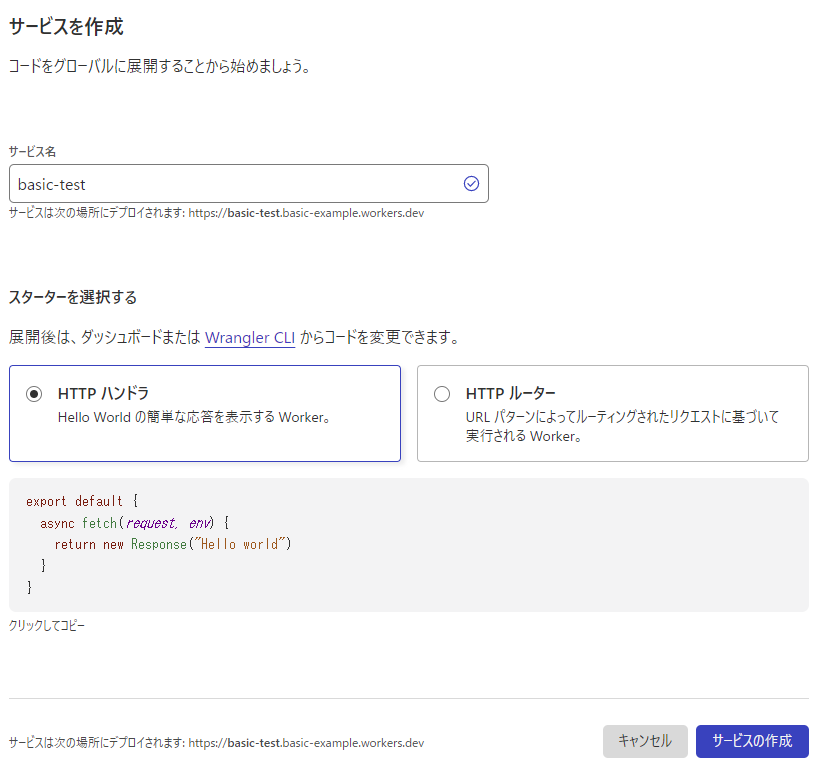
⑤サービス名を入力して【サービスの作成】をクリック
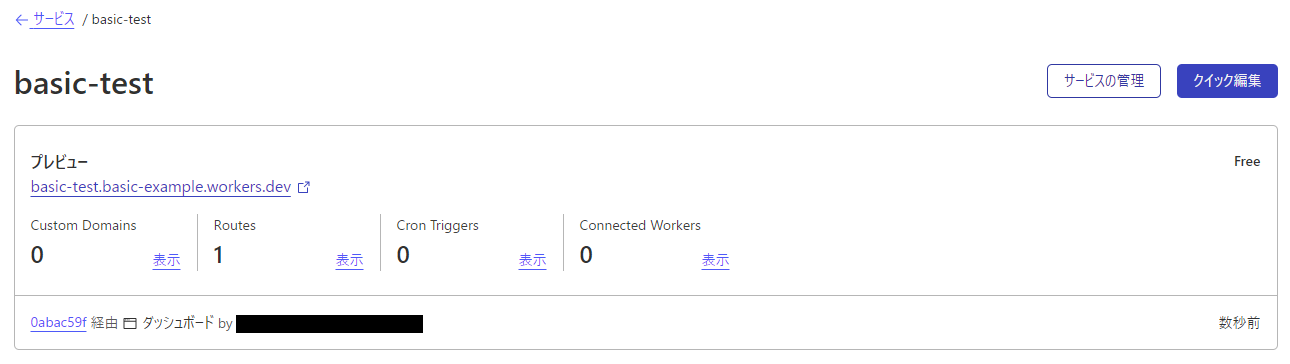
⑥【クイック編集】をクリック
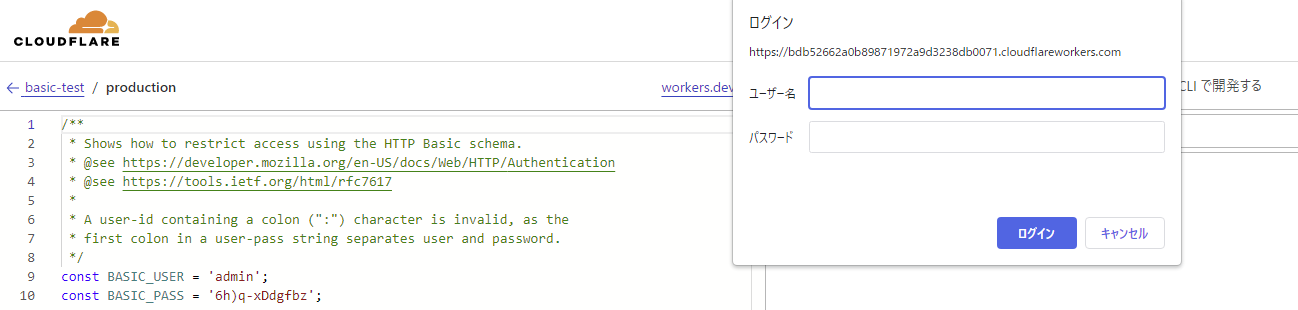
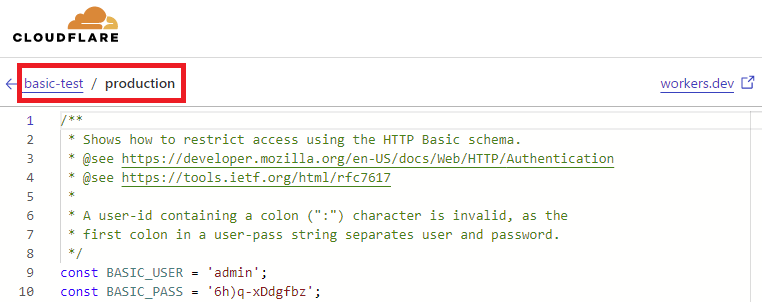
⑦Basic認証用コードを貼り付けて【保存してデプロイする】をクリック
*Basic認証用コードをコピー&ペーストしてください
*編集する際は、CloudflareのBasic認証用サンプルコードを参考に編集してください
*下記定数でユーザとパスワードは変更できます
const BASIC_USER = '';
const BASIC_PASS = '';
・Basic認証用コード
/**
 * Shows how to restrict access using the HTTP Basic schema.
 * @see https://developer.mozilla.org/en-US/docs/Web/HTTP/Authentication
 * @see https://tools.ietf.org/html/rfc7617
 *
 * A user-id containing a colon (":") character is invalid, as the
 * first colon in a user-pass string separates user and password.
 */
const BASIC_USER = '';
const BASIC_PASS = '';

/**
 * Receives a HTTP request and replies with a response.
 * @param {Request} request
 * @returns {Promise<Response>}
 */
async function handleRequest(request) {
  const { protocol, pathname } = new URL(request.url);

  // In the case of a Basic authentication, the exchange
  // MUST happen over an HTTPS (TLS) connection to be secure.
  if ('https:' !== protocol || 'https' !== request.headers.get('x-forwarded-proto')) {
    throw new BadRequestException('Https通信で接続してください');
  }
  // The "Authorization" header is sent when authenticated.
  if (request.headers.has('Authorization')) {
    // Throws exception when authorization fails.
    const { user, pass } = basicAuthentication(request);
    verifyCredentials(user, pass);

    return fetch(request)
  }

  // Not authenticated.
  return new Response('ログインするにはユーザとパスワードが必要です', {
    status: 401,
    headers: {
      // Prompts the user for credentials.
      'WWW-Authenticate': 'Basic realm="my scope", charset="UTF-8"',
    },
  });
}

/**
 * Throws exception on verification failure.
 * @param {string} user
 * @param {string} pass
 * @throws {UnauthorizedException}
 */
function verifyCredentials(user, pass) {
  if (BASIC_USER !== user) {
    throw new UnauthorizedException('ユーザ名またはパスワードが違います');
  }

  if (BASIC_PASS !== pass) {
    throw new UnauthorizedException('ユーザ名またはパスワードが違います');
  }
}

/**
 * Parse HTTP Basic Authorization value.
 * @param {Request} request
 * @throws {BadRequestException}
 * @returns {{ user: string, pass: string }}
 */
function basicAuthentication(request) {
  const Authorization = request.headers.get('Authorization');

  const [scheme, encoded] = Authorization.split(' ');

  // The Authorization header must start with Basic, followed by a space.
  if (!encoded || scheme !== 'Basic') {
    throw new BadRequestException('認証ヘッダーが不正です');
  }

  // Decodes the base64 value and performs unicode normalization.
  // @see https://datatracker.ietf.org/doc/html/rfc7613#section-3.3.2 (and #section-4.2.2)
  // @see https://dev.mozilla.org/docs/Web/JavaScript/Reference/Global_Objects/String/normalize
  const buffer = Uint8Array.from(atob(encoded), character => character.charCodeAt(0));
  const decoded = new TextDecoder().decode(buffer).normalize();

  // The username & password are split by the first colon.
  //=> example: "username:password"
  const index = decoded.indexOf(':');

  // The user & password are split by the first colon and MUST NOT contain control characters.
  // @see https://tools.ietf.org/html/rfc5234#appendix-B.1 (=> "CTL = %x00-1F / %x7F")
  if (index === -1 || /[\0-\x1F\x7F]/.test(decoded)) {
    throw new BadRequestException('認証値が無効です。');
  }

  return {
    user: decoded.substring(0, index),
    pass: decoded.substring(index + 1),
  };
}

function UnauthorizedException(reason) {
  this.status = 401;
  this.statusText = 'Unauthorized';
  this.reason = reason;
}

function BadRequestException(reason) {
  this.status = 400;
  this.statusText = 'Bad Request';
  this.reason = reason;
}

addEventListener('fetch', event => {
  event.respondWith(
    handleRequest(event.request).catch(err => {
      const message = err.reason || err.stack || 'Unknown Error';

      return new Response(message, {
        status: err.status || 500,
        statusText: err.statusText || null,
        headers: {
          'Content-Type': 'text/plain;charset=UTF-8',
          // Disables caching by default.
          'Cache-Control': 'no-store',
          // Returns the "Content-Length" header for HTTP HEAD requests.
          'Content-Length': message.length,
        },
      });
    })
  );
});
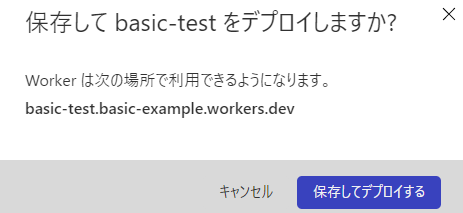
*下記ポップアップが表示されるので【保存してデプロイする】をクリックしてください
*動作確認がしたい場合はプレビューできます

⑧ホーム>認証したドメイン>Workersルートで【ルートを追加】をクリック
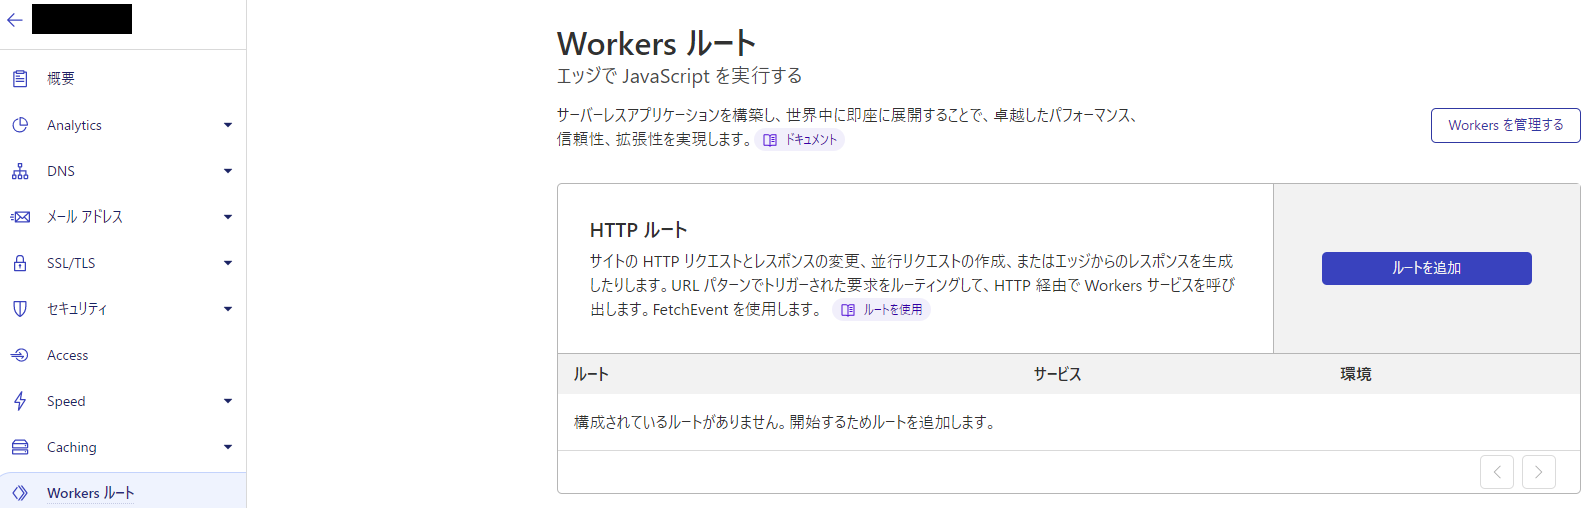
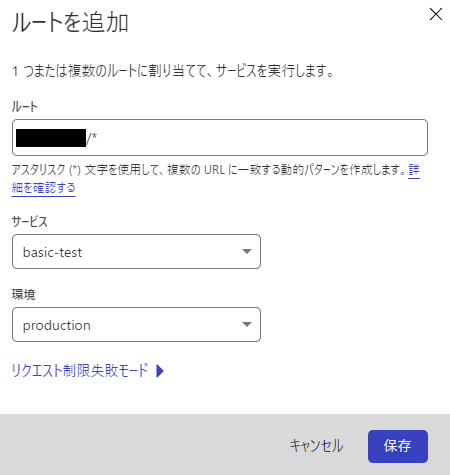
⑨下記情報を入力して【保存】をクリック
ルート:examle-test.com/*
*Basic認証を設定したいドメイン(FQDN)を指定する
*ワイルドカードも指定することができます
サービス:basic-test
環境:produciton
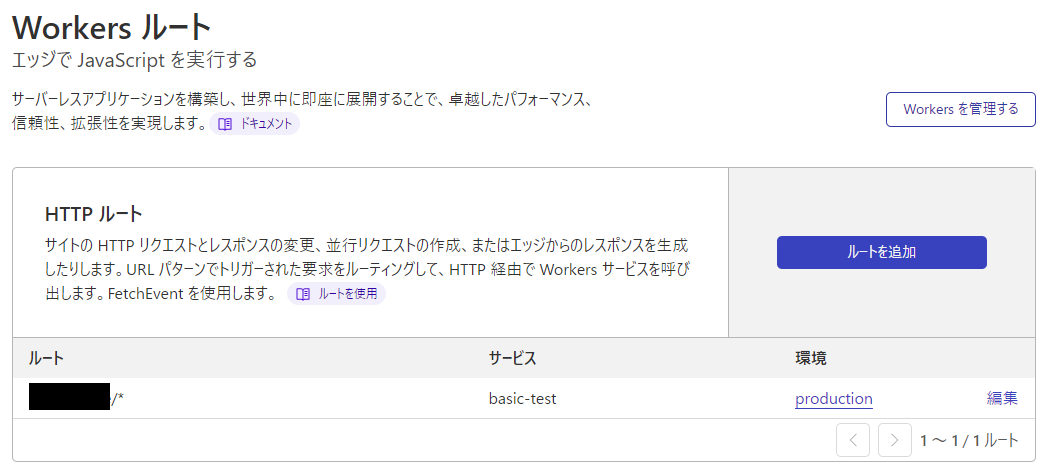
*サービスと環境は手順⑦で追加したコード画面で確認できる
*保存が完了したら一覧で表示されます
⑩動作確認
・ログイン画面

・ログイン後のコンテンツ画面
*指定したドメイン(FQDN)以外はBasic認証は有効にはなりません
まとめ
どうでしたでしょうか?
Cloudflare Workersを利用すれば、無料枠でも簡単にBasic認証を実現することができましたね!
これを利用すれば、Apache・Nginxの設定変更によるコンテンツの瞬断や記述ミスによる事故を防ぐこともできます。
また、オリジンに負荷をかけずに Cloudflare の利点を最大限に活用することができます。
Cloudflare を使用していてBasic認証を実装したい方は、ぜひ参考にしてくださいね!
 33
33 この記事をかいた人
About the author


