[ASP.NET core 3] Downloading a CSV file using Entity Framework Core
![]()
table of contents
Hello, this is Nagatani from the Systems Development Department.
I'm currently developing using ASP.NET Core, specifically Entity Framework Core 3, and I've implemented a feature that allows users to download data retrieved from the database as a CSV file by clicking a button.
This time, I will introduce how to implement it
Create a project
First, create an ASP.NET Core 3 MVC project
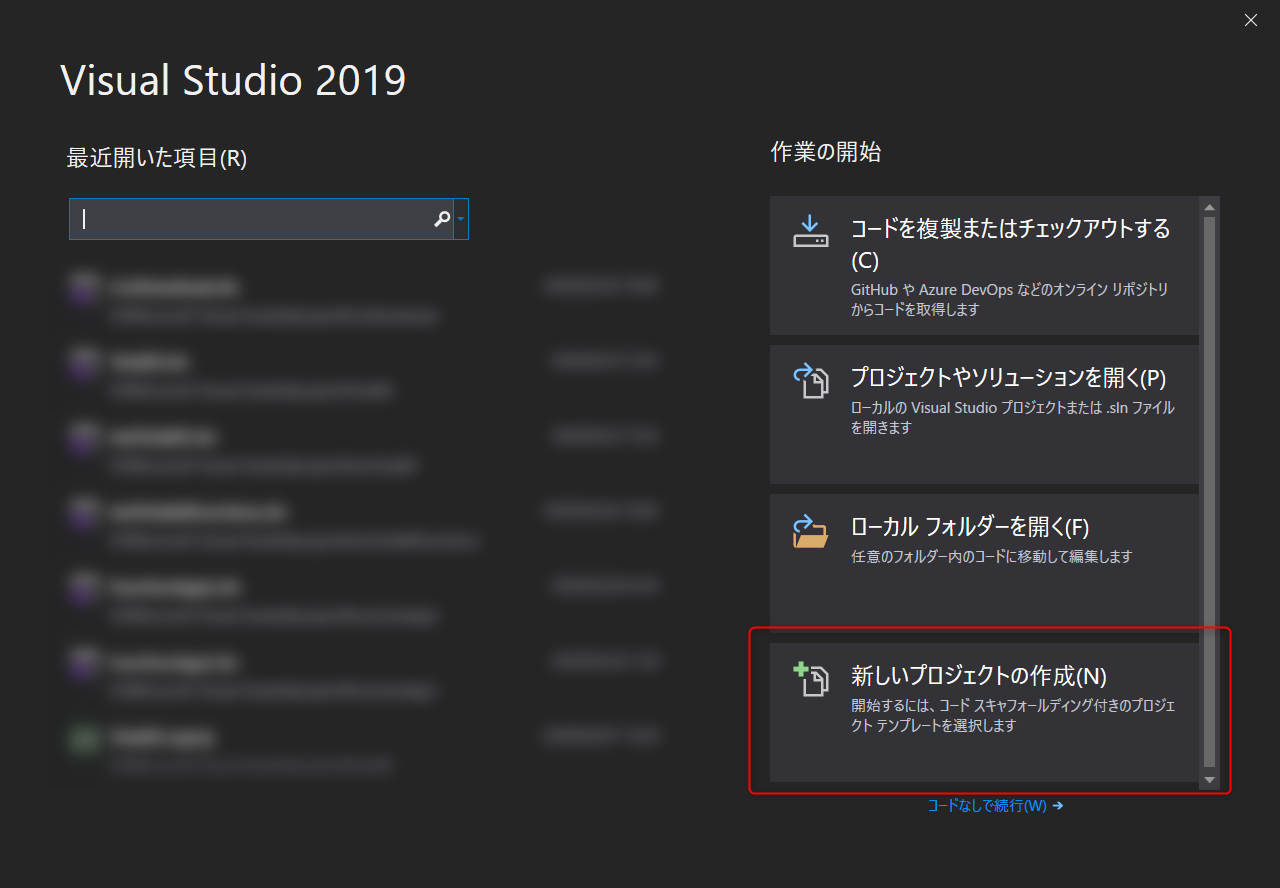
1. Open Visual Studio 2019.
2. Select "Create a new project".
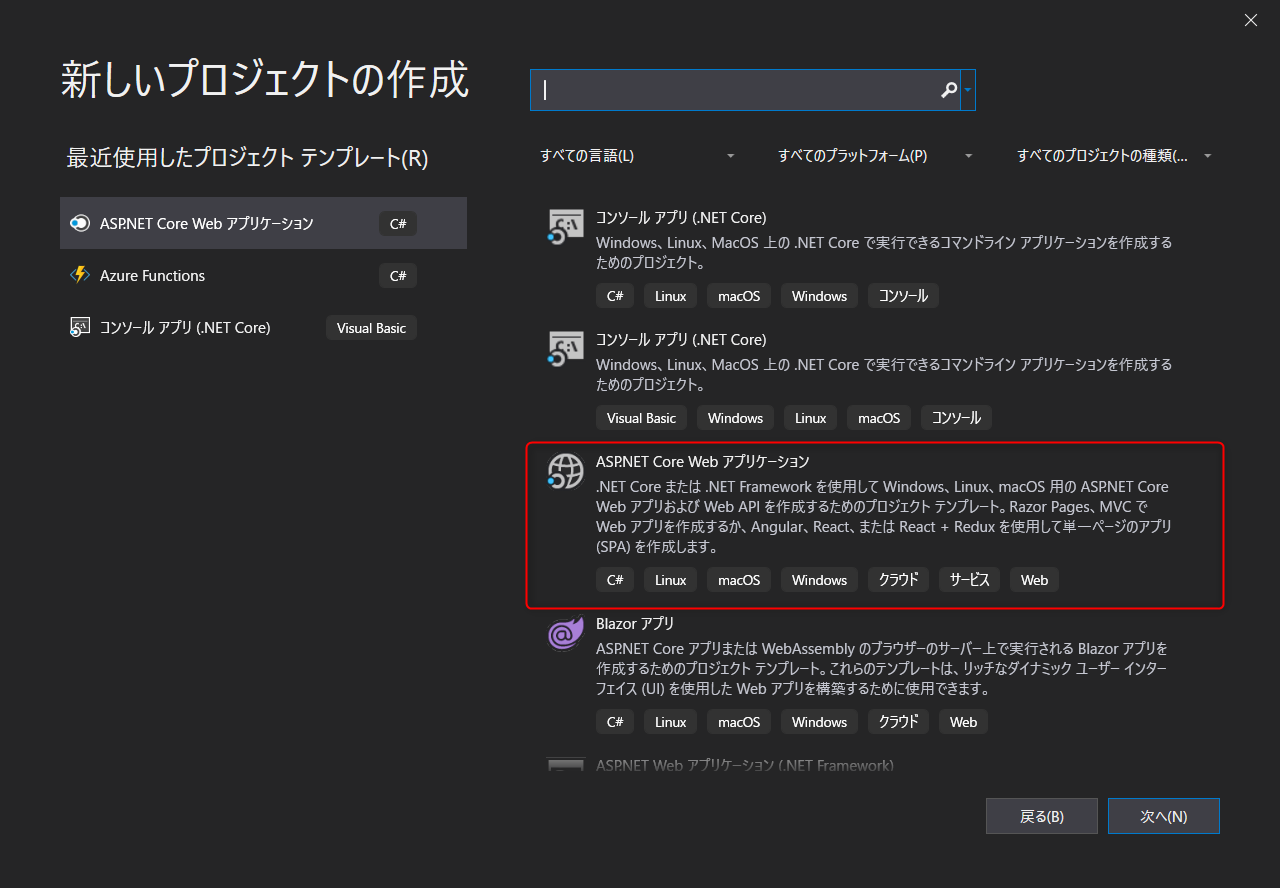
3. Select "ASP.NET Core Web Application".
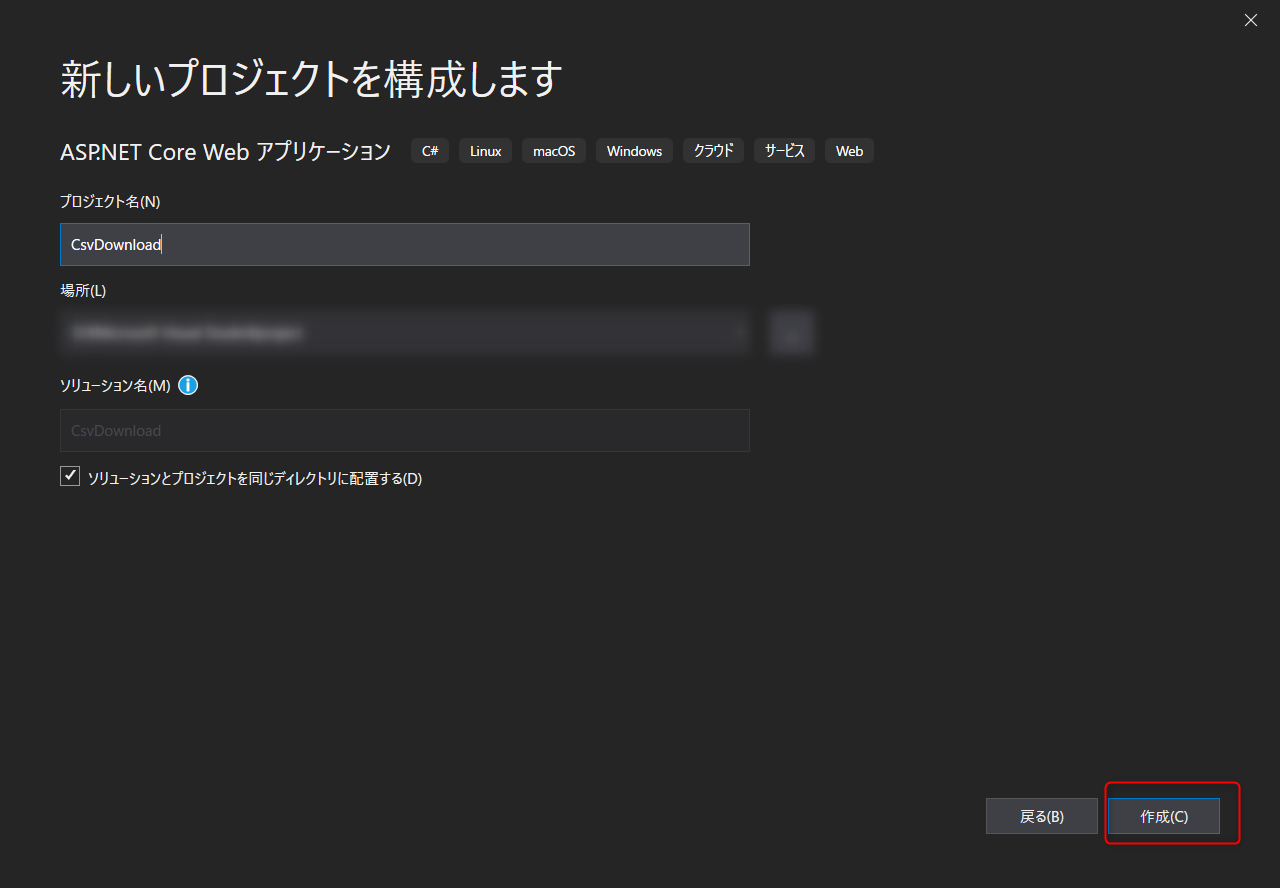
4. Enter a project name of your choice and create it (we used "CsvDownload" in this example).
The project has now been created.
Enabling ASP.NET Core 3 to use Entity Framework Core 3
the official documentation, so please refer to it to set up Entity Framework Core 3 for use.
Since the purpose here is simply to demonstrate how to implement CSV file downloads, we will omit the details of the tutorial.
Prepare the data
First, we need to prepare the data to download as a CSV file, so we will create a table using Entity Framework Core 3 and insert data
■ Preparing the Table
This time, we will prepare a table called Users.
The columns are
: Id: Primary Key

Name: Name

Age: Age

Height: Height

Weight: Weight
Let's do it
■ Creating the User Model
Next, to create the table mentioned above, we need to prepare a User model.
Create User.cs in the Models folder.
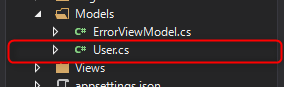
Open the created User.cs and define the column properties as shown in the code below.
namespace CsvDownload.Models { ///<summary> /// Model class for the Users table ///</summary> public class User { public int Id { get; set; } // ID primary key public string Name { get; set; } // Name public int Age { get; set; } // Age public float Height { get; set; } // Height public float Weight { get; set; } // Weight } }
■ Creating a Context File
Next, we will prepare a context file to connect the DB and the Model.
In this case, we created Context.cs under the project.
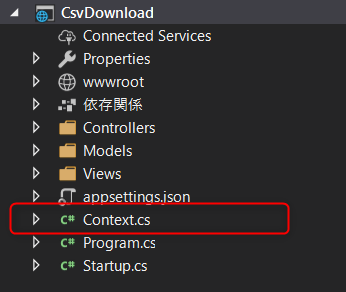
Write the following code in the created Context.cs.
using CsvDownload.Models; using Microsoft.EntityFrameworkCore; namespace CsvDownload { ///<summary> /// Context class for connecting to DB ///</summary> public class Context : DbContext { public Context(DbContextOptions<Context> options) : base(options) { } // Set the model public DbSet<User> Users { get; set; } // The property name becomes the table name (in this case, a Users table is created) } }
■ Add the created context file to the DI container so that it can be used as Entity Framework Core.
Next, add the context you just created to the ConfigureServices method in Startup.cs.
services.AddDbContext<Context> (options => options.UseSqlServer("Server=(localdb)\\mssqllocaldb;Database=CsvDownload;Trusted_Connection=True;MultipleActiveResultSets=true"));
*Enter any DB connection string (the UseSqlServer part). If you don't have any particular preference, the above description will create a CsvDownload DB in your local environment
■ Creating the migration file
Now that we're ready, the next step is to create the migration file to create the Users table.
This can be easily created by simply running a command from the console.
Open Package Manager Console from Tools
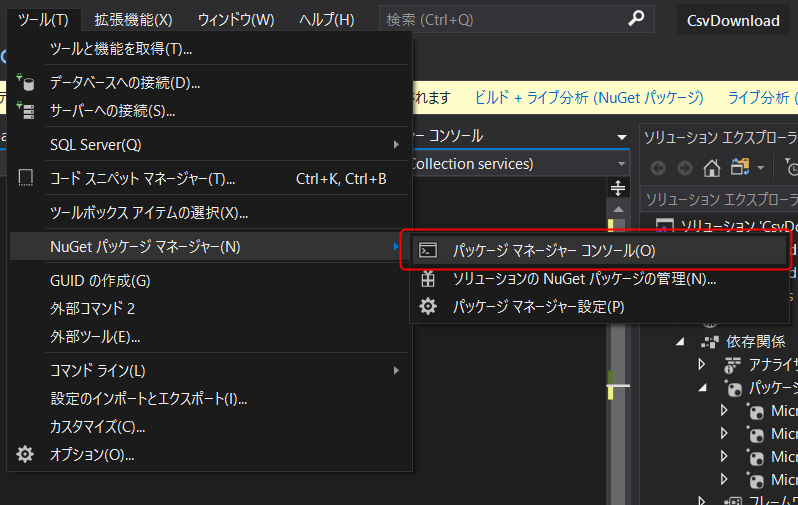
Once the console is open, run the following command:
PM> Add-Migration CreateTableUsers
*The name after Add-Migration is the migration name. Please set it as you like
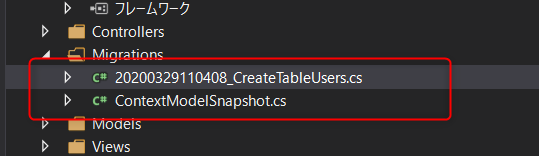
This will create a Migration folder with the migration files and migration snapshot files inside it
■ Execute the migration
Just like when you created the migration file, execute the command in the console.
The command to execute the migration is as follows:
PM> Update-Database
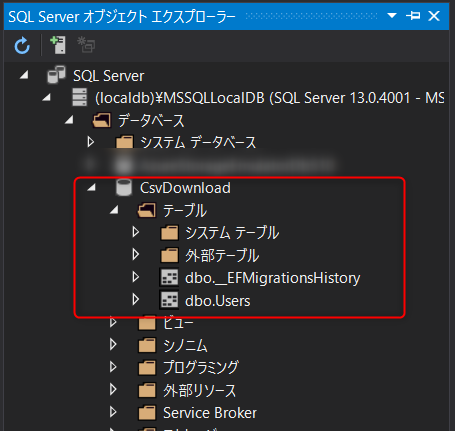
If successful, the database will be created and the Users table will be created.
*You can verify this by going to [View] ⇒ [SQL Server Object Explorer].
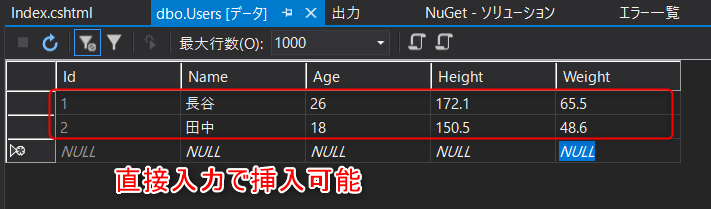
■ Inserting Data
Now that the table has been created, you can insert data as you like.
* You can also select the table from [SQL Server Object Explorer] and click [Show Data] to display the data within the table, from which you can insert data directly.
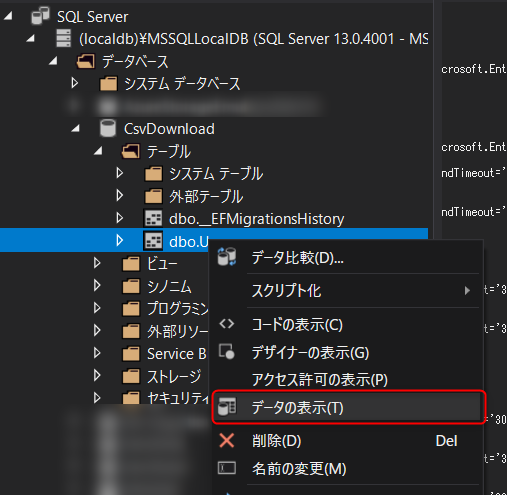
↓
Implementing CSV download functionality
Sorry for the wait... Now we finally get to the main point.
Let's make it possible to download the data from the Users table that we just inserted as a CSV file.
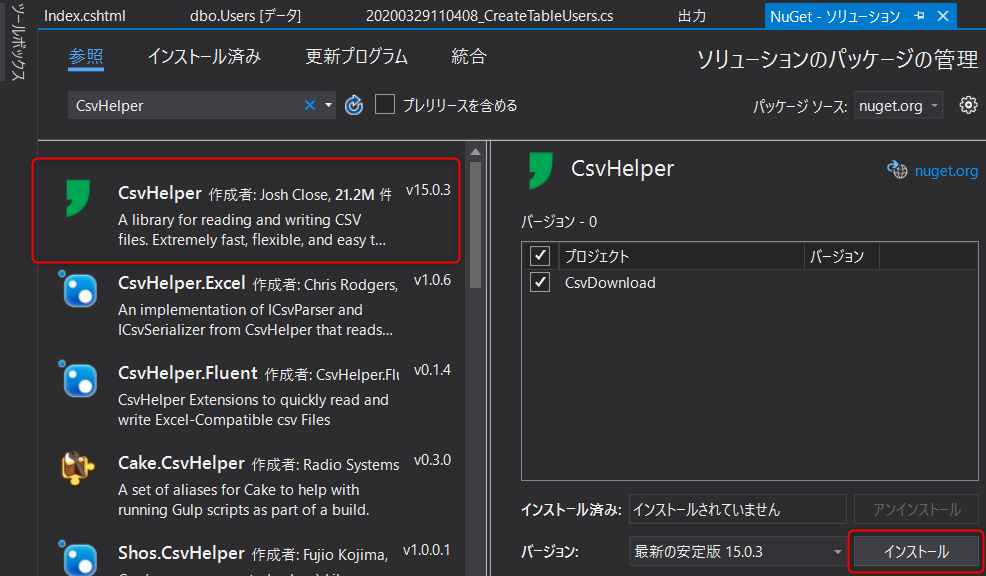
■ Installing the CsvHelper Package
First, install the CsvHelper package, which is necessary for downloading in CSV format.
Go to [Tools] ⇒ [NuGet Package Manager] ⇒ [Manage NuGet Packages for Solution]. Type

CsvHelper and select [CsvHelper] to install it.
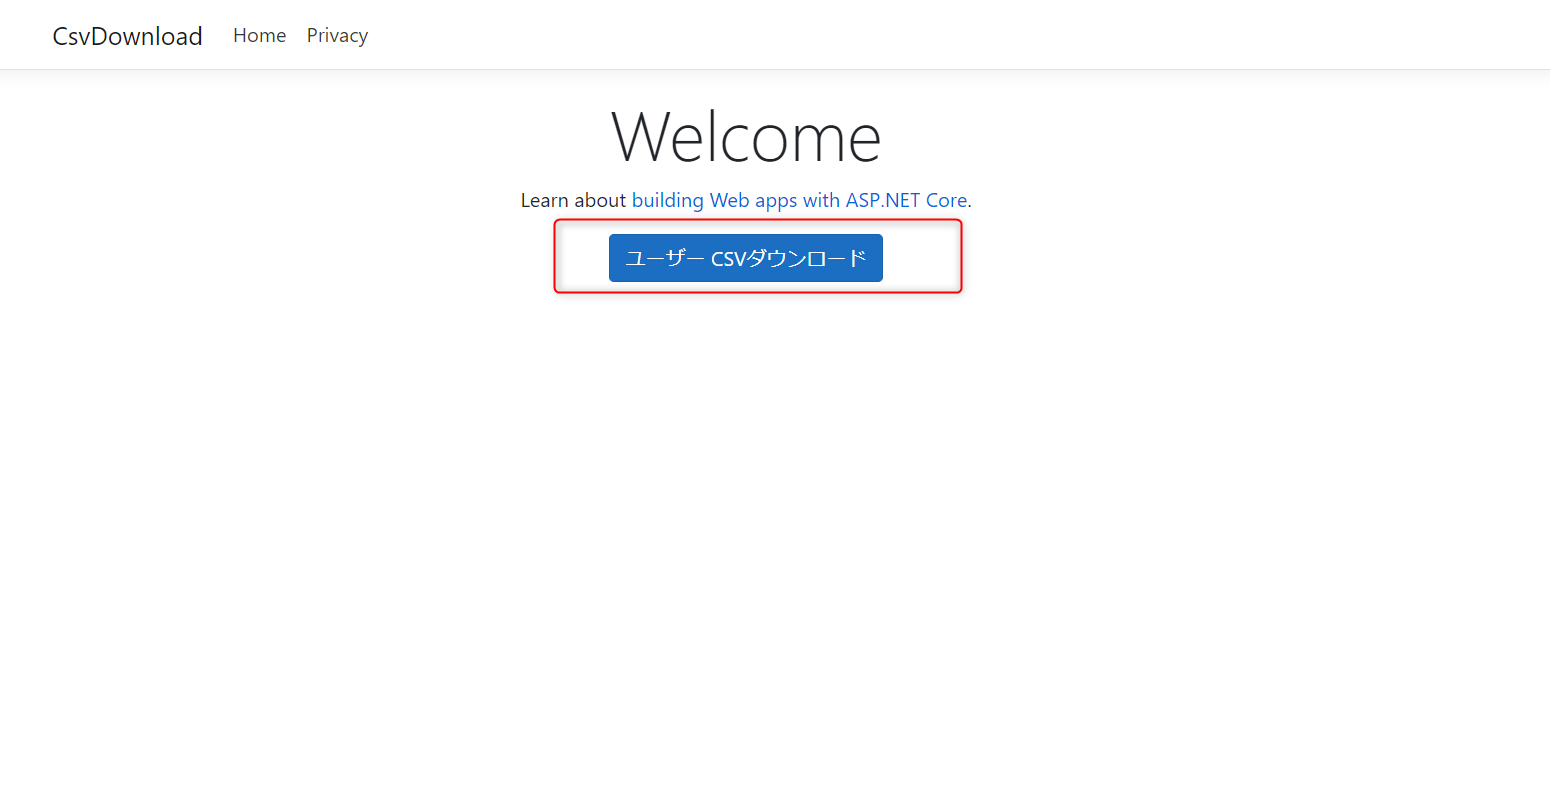
■ Adding a CSV Download Button
This time, let's add a button to the default Home screen.
Open the [View] folder ⇒ [Home] ⇒ [index.cshtml]
Add a CSV download button to the View file using the a tag as shown below
@{ ViewData["Title"] = "Home Page"; }<div class="text-center"><h1 class="display-4"> Welcome</h1><p> Learn about <a href="https://docs.microsoft.com/aspnet/core">building Web apps with ASP.NET Core</a> .</p> @*Add CSV download button*@ <a asp-action="CsvDownload" class="btn btn-primary">User CSV download</a></div>
*By specifying the Controller action in the a tag with asp-action, the href attribute will be automatically completed
■ We've added a button to implement the CSV download process , so finally, let's implement the CSV download process. As we set the Action to CsvDownload above, let's add a CsvDownload action to HomeController and implement the CSV download process within it.
Open the [Controllers] folder ⇒ [HomeController.cs]
and add the CsvDownload action as shown below.
using System; using System.Collections.Generic; using System.Diagnostics; using System.Linq; using System.Threading.Tasks; using Microsoft.AspNetCore.Mvc; using Microsoft.Extensions.Logging; using CsvDownload.Models; // Add Using using System.IO; using CsvHelper; using System.Globalization; namespace CsvDownload.Controllers { public class HomeController : Controller { private readonly ILogger<HomeController> _logger; private readonly Context _context; public HomeController(ILogger<HomeController> logger, Context context) { _logger = logger; // Define the context in the constructor _context = context; } public IActionResult Index() { return View(); } public IActionResult Privacy() { return View(); } [ResponseCache(Duration = 0, Location = ResponseCacheLocation.None, NoStore = true)] public IActionResult Error() { return View(new ErrorViewModel { RequestId = Activity.Current?.Id ?? HttpContext.TraceIdentifier }); } ///<summary> /// CSV download ///</summary> ///<returns> CSV file</returns> public FileContentResult CsvDownload() { // CSV file name string csvFileName = "UserData.csv"; // Allocate memory using (var memory = new MemoryStream()) using (var writer = new StreamWriter(memory)) using (var csv = new CsvWriter(writer, new CultureInfo(0x0411, false))) { // Use the context to get the data for the Users table List<User> users = _context.Users.ToList(); // Record the retrieved data csv.WriteRecords(users); writer.Flush(); // Output as a CSV file return File(memory.ToArray(), "text/csv", csvFileName); } } } }
■ Functionality Check
Now that we have implemented everything, let's do a functional check.
Build the project and open the home screen.
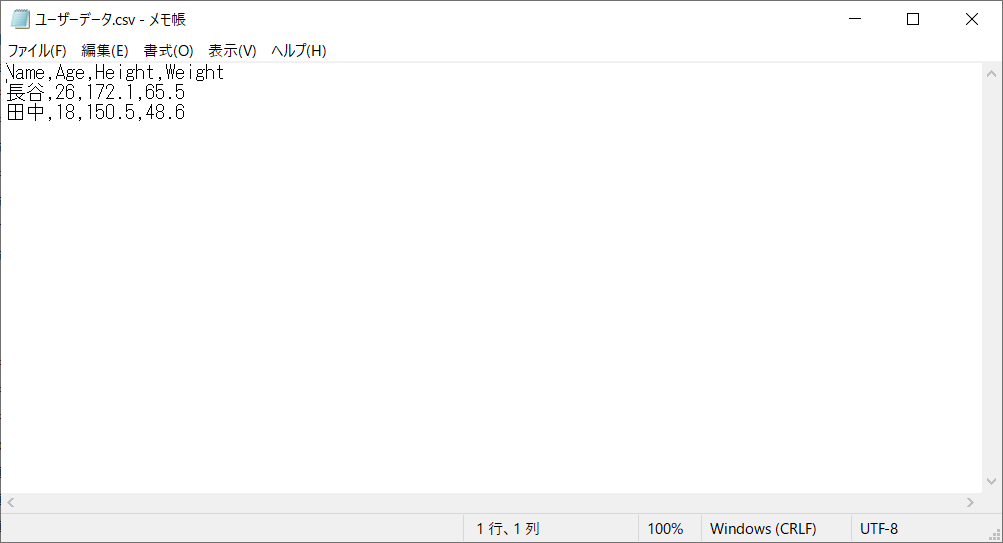
The [Download User CSV] button will be displayed, so click it to download a CSV file.
When you open the file, you can confirm that the data from the Users table has been registered as shown below.

You can now download the CSV file.
That's a general overview of the process.
remarks
■ You may want to exclude certain columns
from the CSV download, such as the ID column.
In such cases, you can add the [ignore] attribute (you will need to add `using CsvHelper.Configuration.Attributes;`) to the columns (properties) you do not want to include in the Model class.
using CsvHelper.Configuration.Attributes; namespace CsvDownload.Models { ///<summary> /// Model class for the Users table ///</summary> public class User { [Ignore] public int Id { get; set; } // ID primary key public string Name { get; set; } // Name public int Age { get; set; } // Age public float Height { get; set; } // Height public float Weight { get; set; } // Weight } }
This will prevent the ID column from being output when you download the file.
■ How to change the header name
Currently, the header output is the Model's property name as is, but this can also be changed.
To do this, simply add the [Name] attribute to the property you want to change.
using CsvHelper.Configuration.Attributes; namespace CsvDownload.Models { ///<summary> /// Model class for the Users table ///</summary> public class User { [Ignore] public int Id { get; set; } // ID primary key [Name("Name")] public string Name { get; set; } // Name [Name("Age")] public int Age { get; set; } // Age [Name("Height")] public float Height { get; set; } // Height [Name("Weight")] public float Weight { get; set; } // Weight } }
Now when you download the file you will see that the header has been changed

summary
What did you think?
As you can see, the CSV download function is a frequently needed feature in management systems and the like, so I hope this has been helpful.
lastly
I have launched "SEKARAKU Lab," a service site for the system development company I belong to.
Beyond offers a one-stop service for everything from server design and construction to operation, so please feel free to contact us if you have any problems with server-side development.
SEKARAKU Lab:[https://sekarakulab.beyondjapan.com/](https://sekarakulab.beyondjapan.com/)
That concludes our presentation.
Thank you very much!
 00
00 The person who wrote this article
About the author


