A simple introduction to AR using ARFoundation
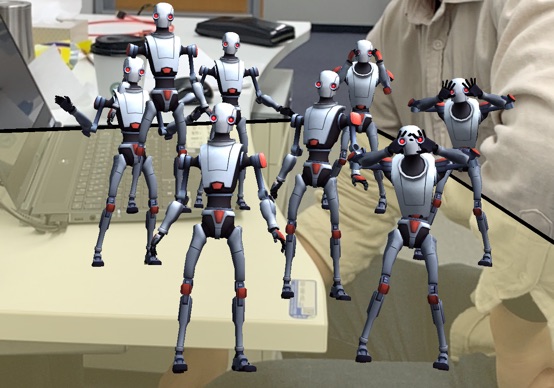
table of contents
Thank you for your hard work.
This is Matsuyama from the Yokohama Office Development Department.
I tested AR because I thought it might lead to some work.
I'll keep a record of my findings on my blog.
Advance preparation
■ Tools and Plugins
First, prepare the environment.
The quickest way to test it is with Unity.
・Unity 2019.3.0b11
Although it's a beta version, the AR camera didn't display properly in the latest fix version (2019.2.13f1), so I'm using 2019.3.
Unity Hub is really useful.
* While I was writing this blog, the fix version of 2019.3 (2019.3.0f1) was released.
The AR camera works properly in this version.
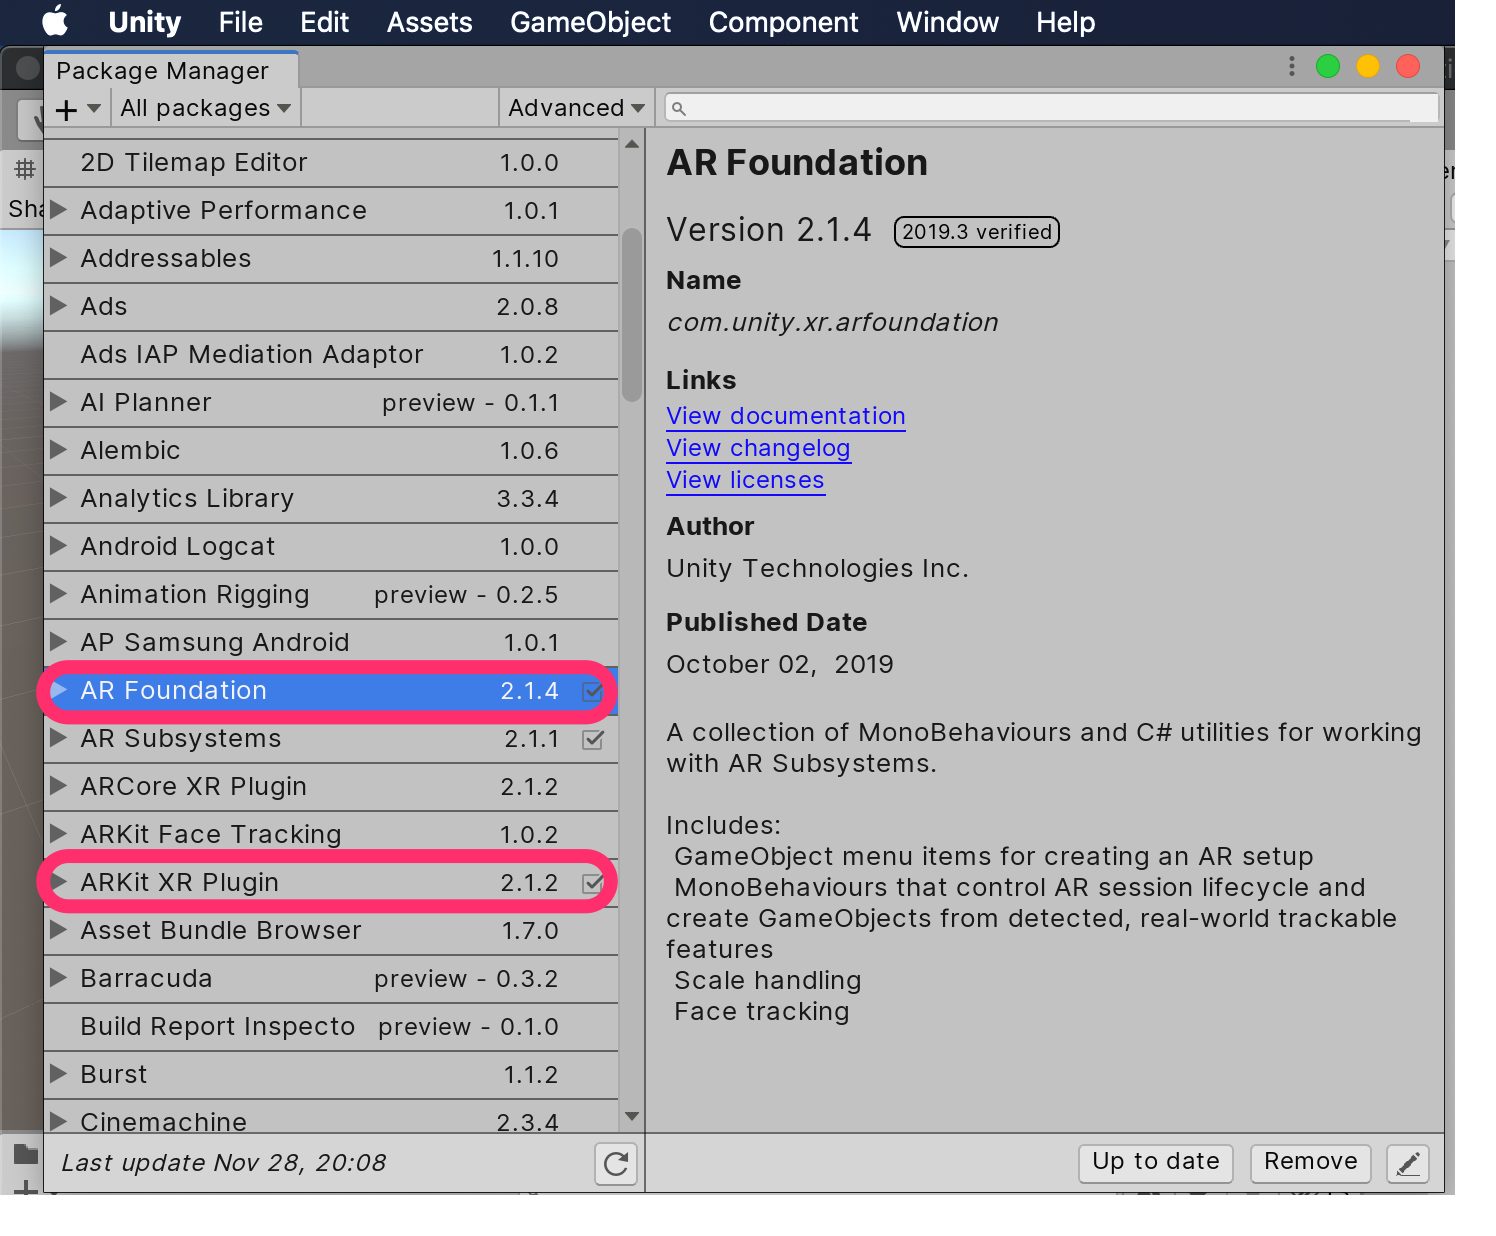
・AR Plugin
・AR Foundation (2.1.4)
・ARKit XR Plugin (2.1.2) *for iOS
After creating a new project, import it from the Package Manager.
Incidentally, the previous UnityARKit Plugin is no longer available, and AR development is
now done with AR Foundation. Since we are only testing on iOS, we will import only ARKit. If you are also supporting Android, import ARCore as well.
The Package Manager is also incredibly convenient.
■ Project Settings (iOS)
・Company Name, Product Name, BuildIdentifier are optional
. ・Automatically Sign can be set in Preferences for convenience.
・Since the camera will be used, enter an appropriate description in Camera Usage Description
. ・Check Require ARKit support
. ・iOS Version 11 or later is required, so set minimum iOS Version to "11.0".
・Architecture is "ARM64".
■ Build Settings
Since we will be running it on iOS,
・Select iOS as the Platform
・Change Run in Xcode as to "Debug"
・Check Development Build
and run Switch Platform.
* What is AR Foundation?
ARKit is for iOS
, ARCore is for Android
, and AR Foundation is a multi-platform AR utility that supports both OS.
Adding AR functionality to a scene
Create a suitable scene (you can use the default scene)
. ・Since we will be using the AR Camera instead of the Main Camera, delete the Main Camera
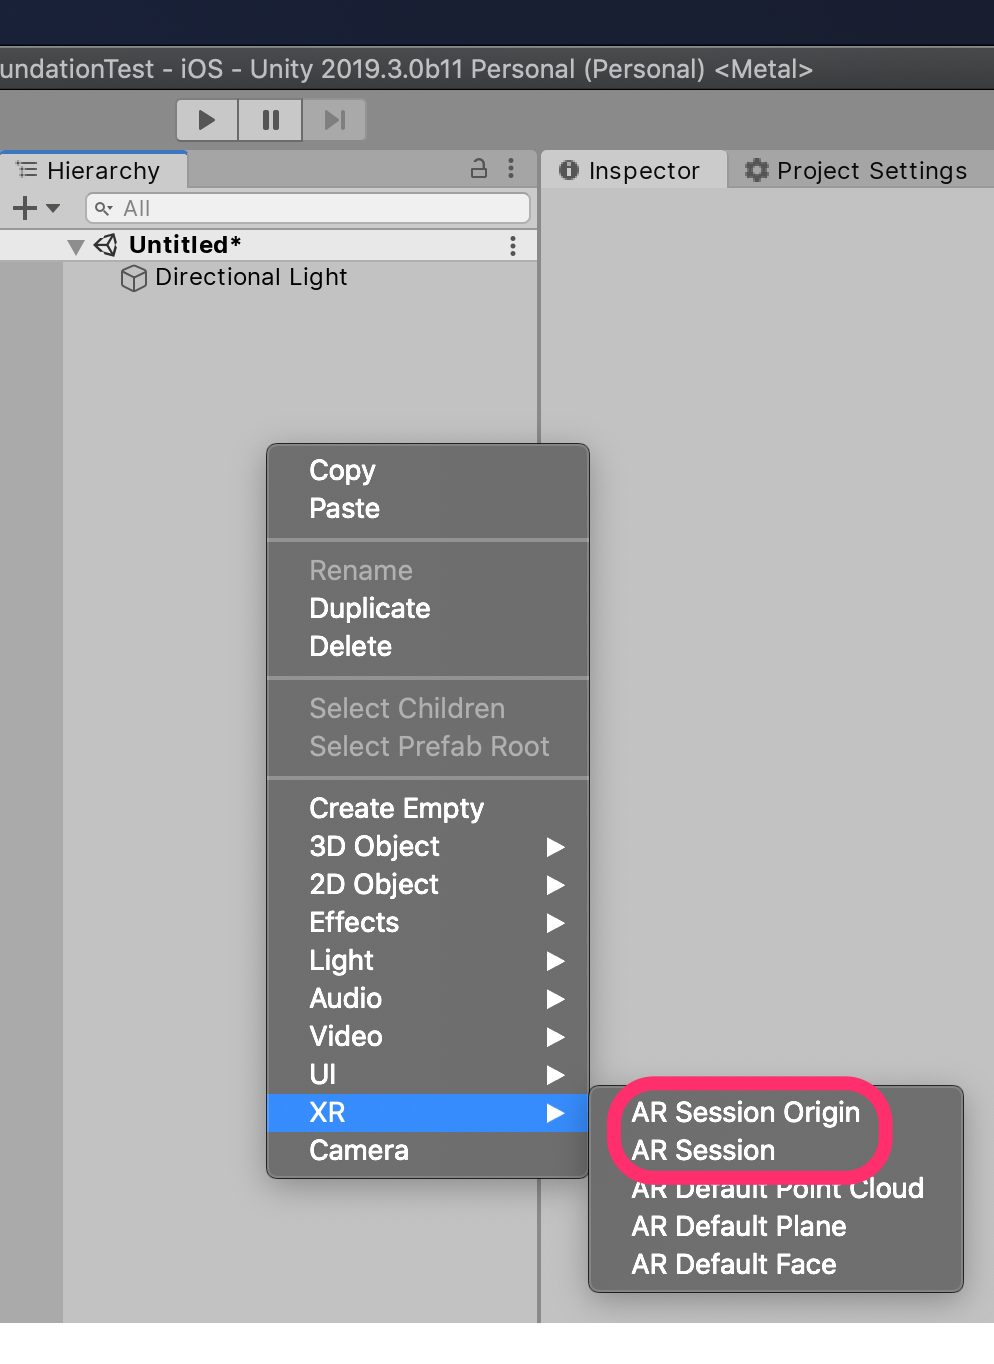
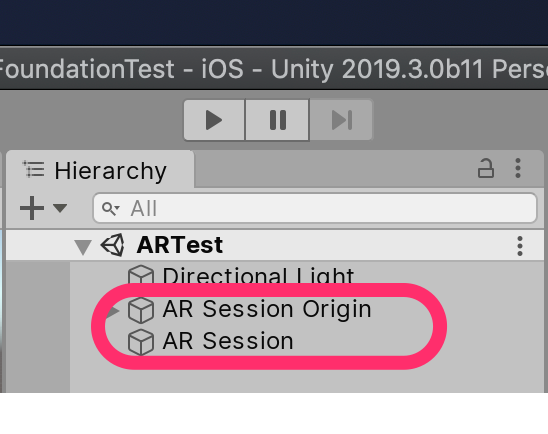
. ・Add the following objects to the Hierarchy as AR functions:
・AR Session Origin
・AR Session
It's that simple.
Graphical display of planes
This is how you set it up to display the detected plane with a black frame and a translucent plate
1. Create a Plane to display as a flat surface (XR → AR Default Plane)
2. Convert the created Plane into a Prefab and delete it from the Hierarchy
3. Add the "AR Plane Manager" Component to the AR Session Origin to display the detected plane
4. Set the Prefab from step 2 to the "Plane Prefab" of the AR Plane Manager Component
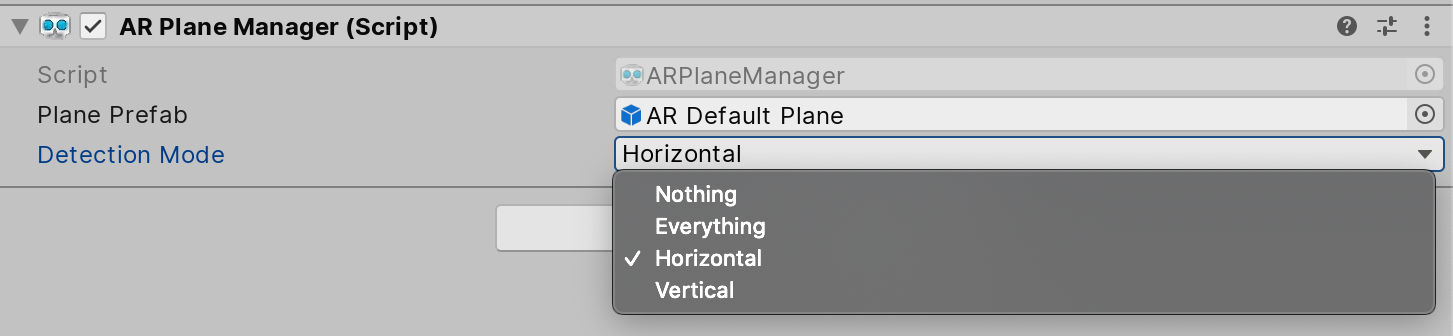
5. If you only need a horizontal plane, set "Detection Mode" to Horizontal
Place objects in the AR space
Touch the detected plane to display an object there.
・Add "AR Raycast Manager" to AR Session Origin to detect touch coordinates.
・Create code to generate an object at the touch coordinates.
using System.Collections; using System.Collections.Generic; using UnityEngine; using UnityEngine.XR.ARFoundation; using UnityEngine.XR.ARSubsystems; public class ARManager : MonoBehaviour { [SerializeField] private GameObject objPrefab; private ARRaycastManager raycastMan; private List<ARRaycastHit> hitResults = new List<ARRaycastHit> (); void Awake() { raycastMan = GetComponent<ARRaycastManager> (); } void Update() { if (Input.touchCount > 0) { Touch touch = Input.GetTouch(0); if (touch.phase != TouchPhase.Ended) { return; } if (raycastMan.Raycast (touch.position, hitResults, TrackableType.All)) { Instantiate (objPrefab, hitResults[0].pose.position, hitResults[0].pose.rotation); } } } }
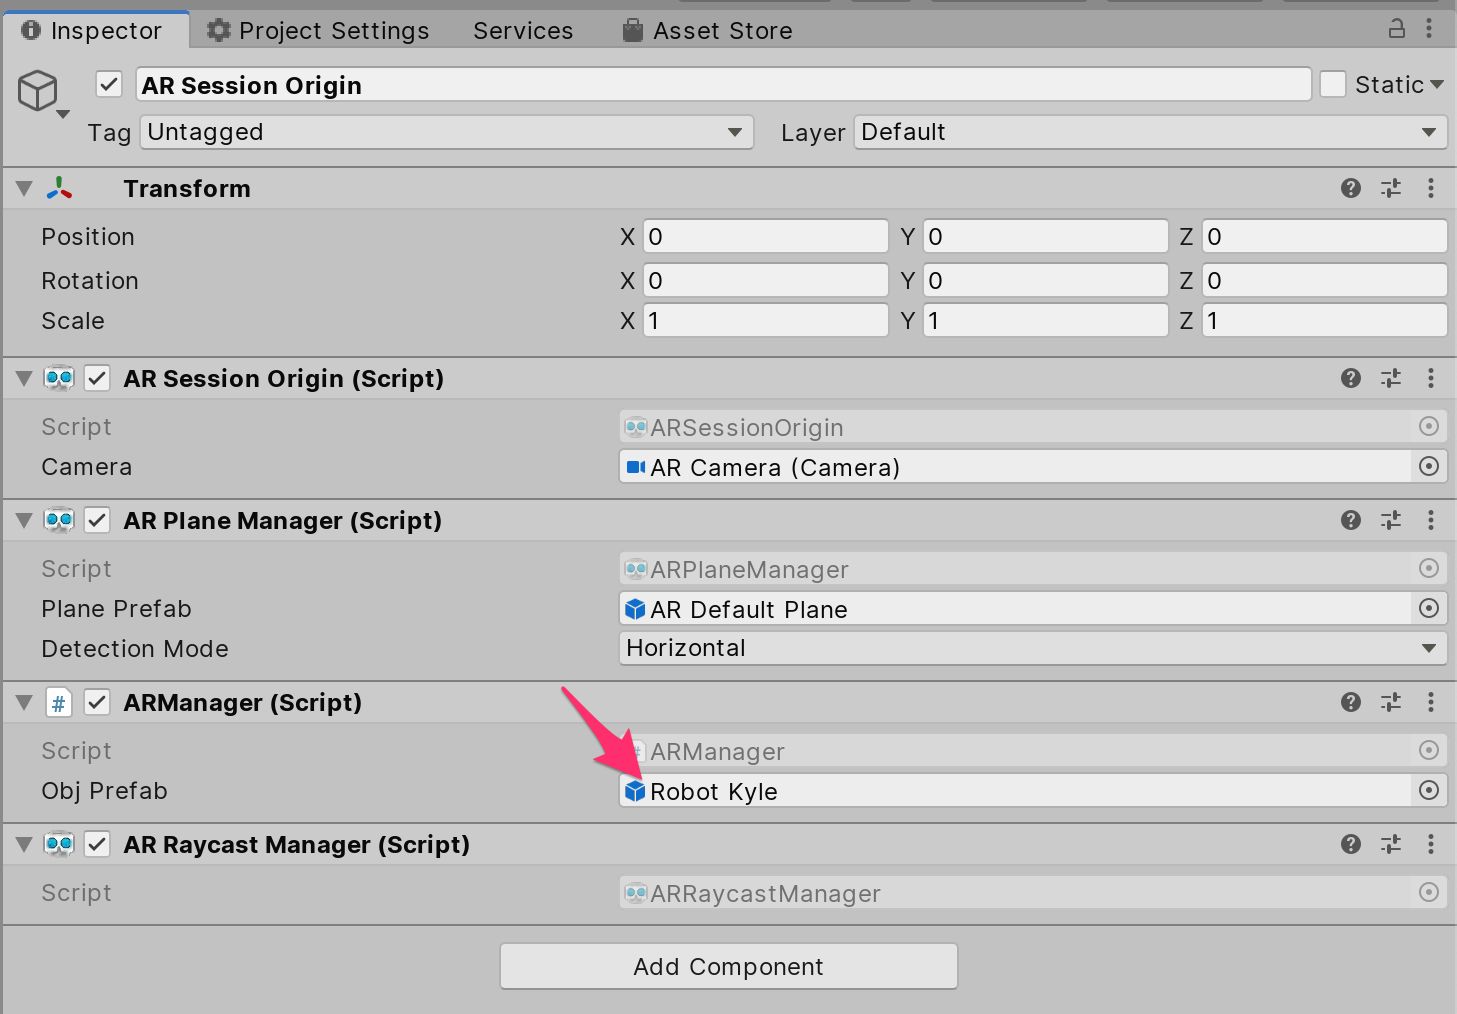
・Add the created code (class) to the AR Session Origin as an Add Component
. ・Register the object you want to display in ObjPrefab.
The object you want to display
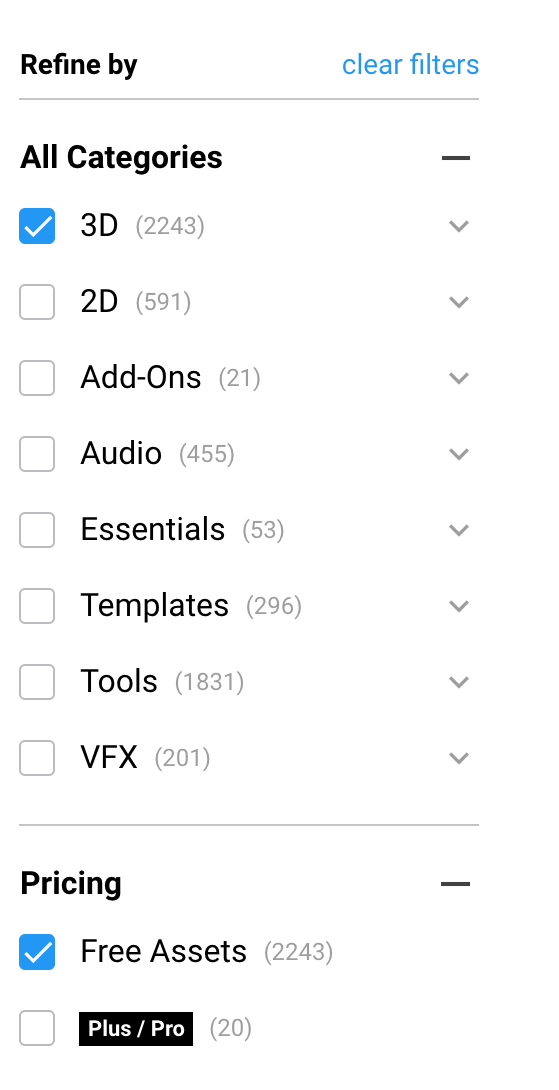
Either a Cube or a Sphere would be fine, but since I was there, I decided to look for a suitable model from the Asset Store.
I narrowed down my search to 3D and Free Assets and decided to use "Space Robot Kyle."
I imported it, created an Avatar, made it move, and adjusted it so that it could play the "UnityChan" motion.
This is at a hobby level, so I won't go into details.


Check on the actual device
Build it and check it on a real device.
・Open Build Settings and run Build
・Launch the generated Xcode project
・Connect the device you want to install it on and select it in Xcode
・Press ▶ to build and run
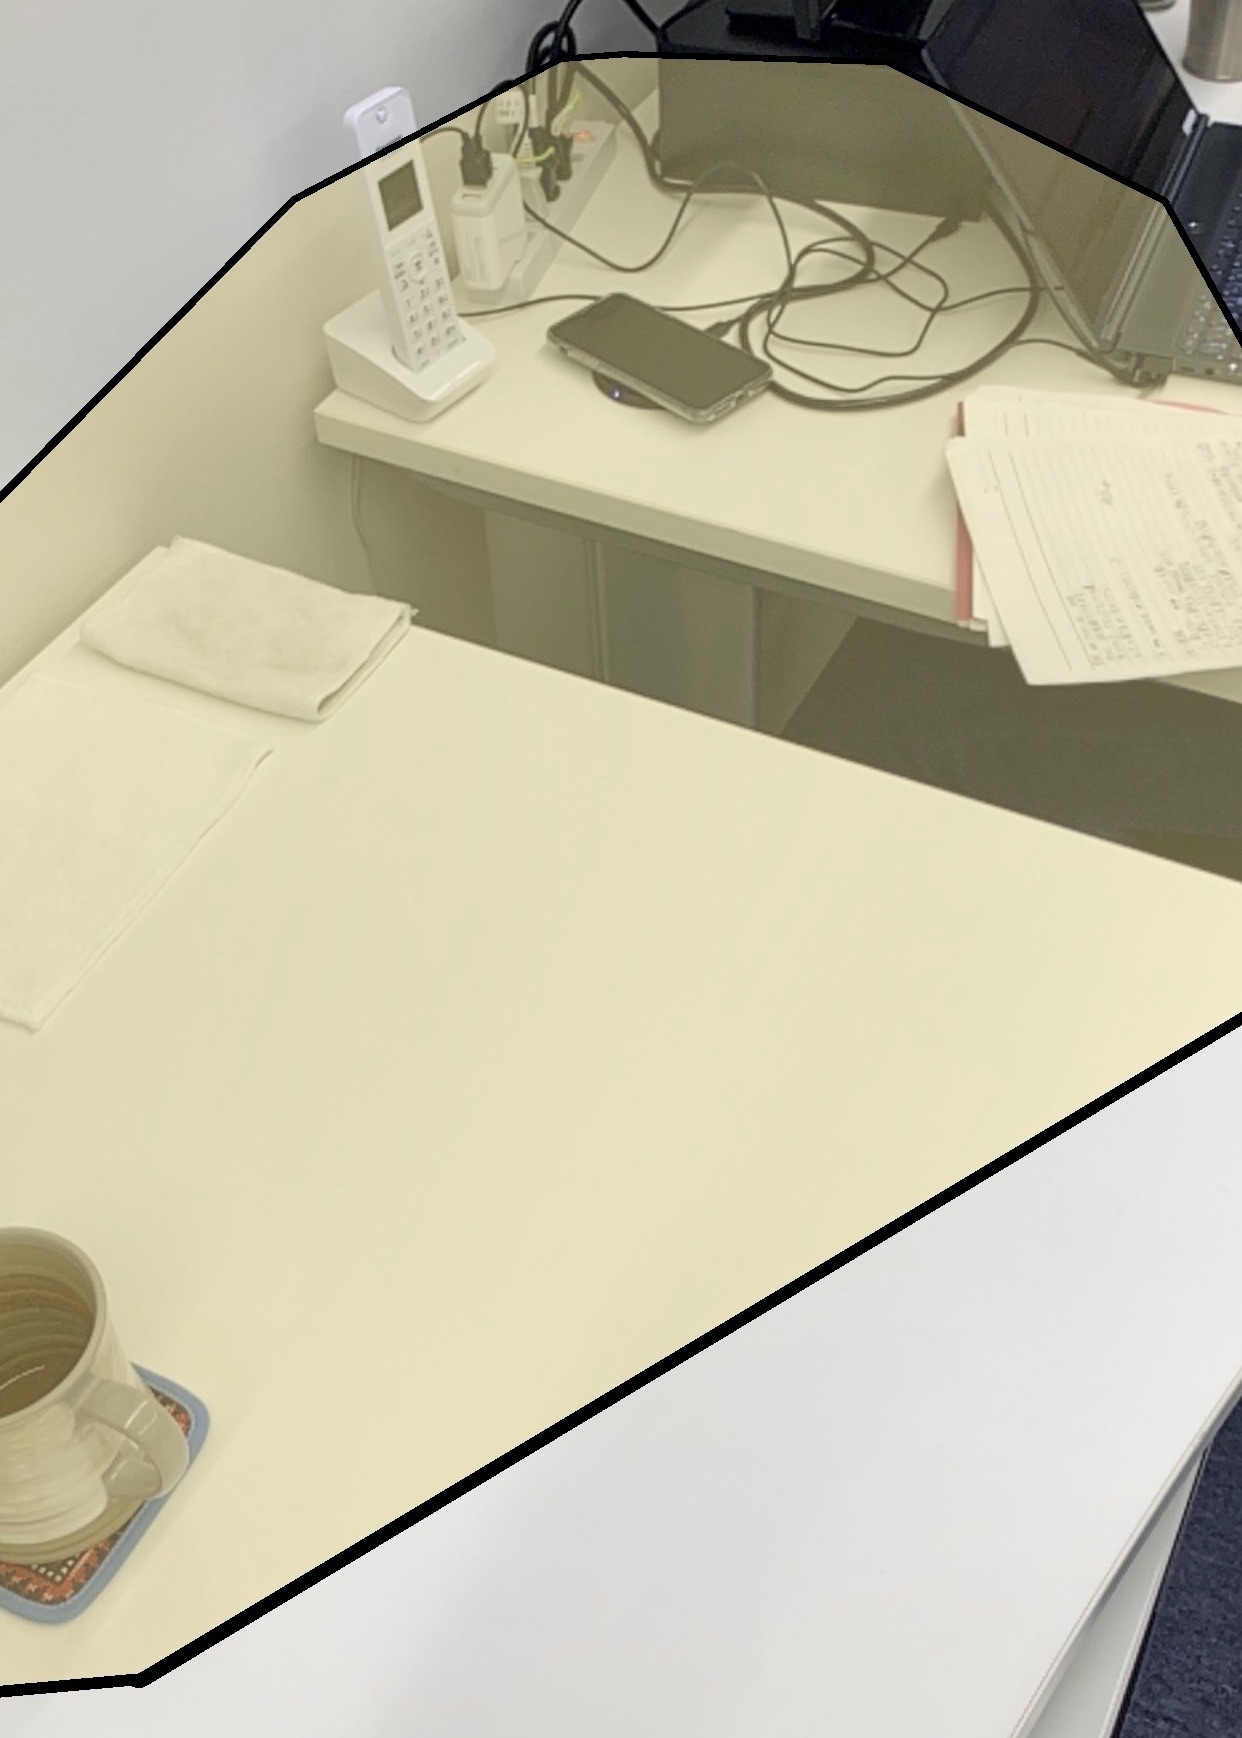
When you run it, an object will be generated at the touched position, like this.
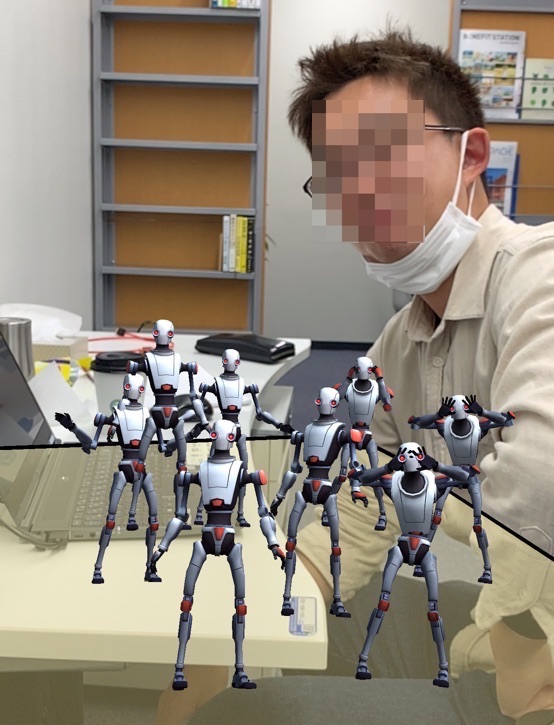
*I blurred the face to protect privacy, but it looks a bit suspicious...
Something to summarize
The setup was really easy.
With just these steps, you can implement something like "Monster AR" from "DQ Walk."
At first, I had some issues with the Unity version (the AR camera wouldn't display on the 2019.2 series), but
other than that, I don't think there were any major issues.
If I had to point out a drawback, it would be that
you couldn't check the operation on the Unity Editor, so it was a hassle to have to build it every time.
Next time, I'll try to test linking GPS and Google Maps!
lastly
I am a member of the system development service site "SEKARAKU Lab."
Beyond offers a one-stop service for everything from server design and construction to operation, so if you have any problems with server-side development, please feel free to contact us.
SEKARAKU Lab: [https://sekarakulab.beyondjapan.com/](https://sekarakulab.beyondjapan.com/)
Well, that's all for today
 00
00 The person who wrote this article
About the author


