[Smartphone OK] Explaining how to take sizzling food photos

table of contents
- 1 Why the food photography tips introduced here can be applied to smartphones
- 2 Author's background and achievements
- 3 Examples of photos you will be able to take by reading this article
- 4 Three tips for taking delicious photos of food and rice
- 5 Knowing the best light direction for food photography
- 6 Understanding lens characteristics
- 7 Shoot with delicious colors
- 8 summary
Hello. I'm Goto from the Web Services Department. I've been spending too much lately and am now broke, so I'm eating nothing but rice and bread , making dieting a real challenge
I really want to record the lowest results I've ever had in my health check-up, so I'm going to get serious starting tomorrow
By the way, rice and bread are truly cost- effective and taste great, so I'm incredibly grateful to them for allowing me to enjoy such delicious food while also saving me money .
Now, for the first time in a while, I'd like to post a blog with some photography tips
Since I mentioned bread and rice at the beginning, this timefood photographyand explain some tips.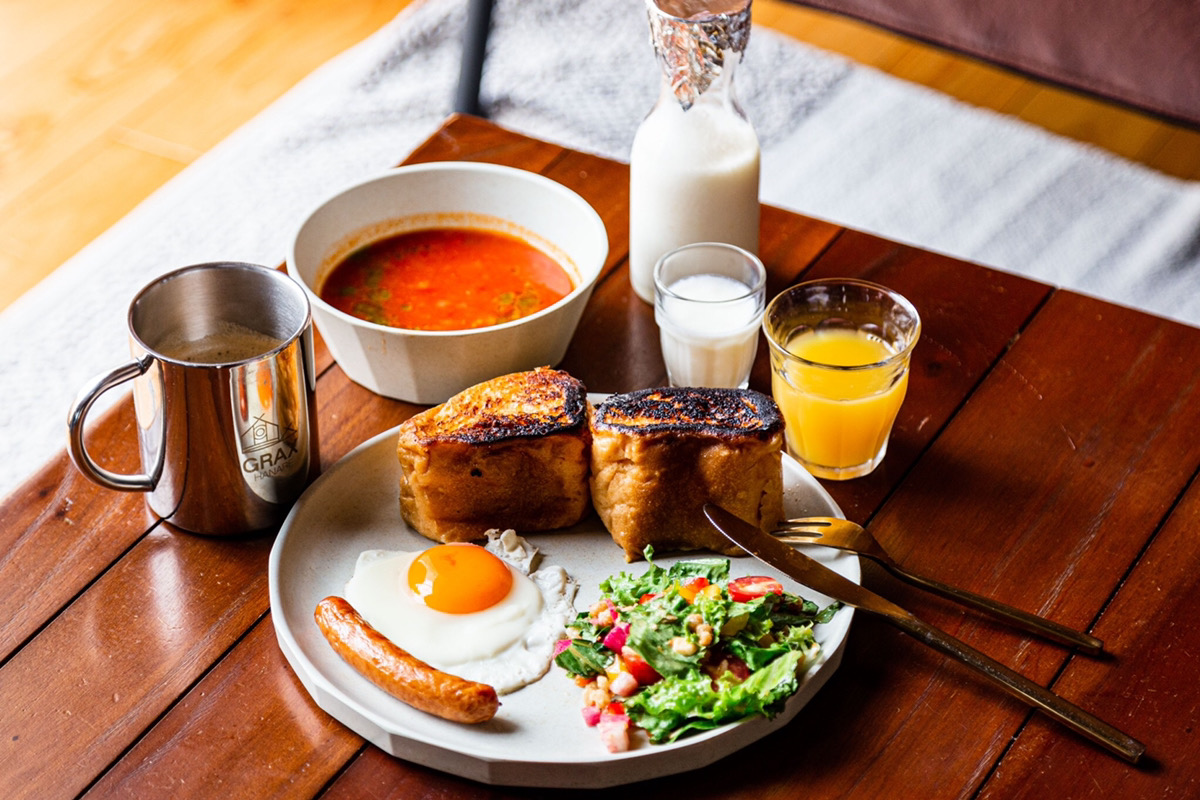
*The above photo was taken with a single-lens reflex camera
Whether you're ordering a stylish dish at a cafe , encountering an amazing meal at a restaurant that makes you exclaim "cooking Wow! This is delicious! ", or simply wanting to show off your skills on social media , the ability to photograph food comes in handy in a wide range of everyday situations.
Since my first job after becoming a working adulta photographer,I've been working with photography for quite some time, so I'm somewhat good at taking pictures.
However, even though I say I'm good at it, I 'm not doing anything as difficult or unreproducible as a professional photographer
Rather, I believe I'm able to take beautiful photos precisely because I've mastered photography tips that anyone could easily put into practice if they knew them
Therefore, in this article , I will introduce three tips for taking better food photos, based on the skills I have acquired through my experience
This content can be applied to any device that can take pictures , regardless of whether it's a high-end camera or a smartphone , so please read to the end.
Why the food photography tips introduced here can be applied to smartphones
*The above photo was taken with an iPhone 8 Plus
Some people might think, " Ultimately, you can't take good photos without a good camera, right?"
Indeed, a good camera can capture subtle color tones , a sense of atmosphere , and a sense of depth that a smartphone camera simply cannot
However, smartphone cameras have improved considerably in recent years, so the performance gap between them and high-end DSLR cameras is getting smaller and smaller.
The following article explains why you can take beautiful photos with a smartphone and includes practical tips on using a smartphone for photography , so please take a look
[With examples] Photographer explains tips for taking beautiful photos with a smartphone
Author's background and achievements
First of all, thank you for reading this far
However, at this point, some of you may be wondering, "Are this person's tips really useful?"
Therefore, I have posted my past career and achievements, along with actual photos, on the following blog
Please take a look if you are interested
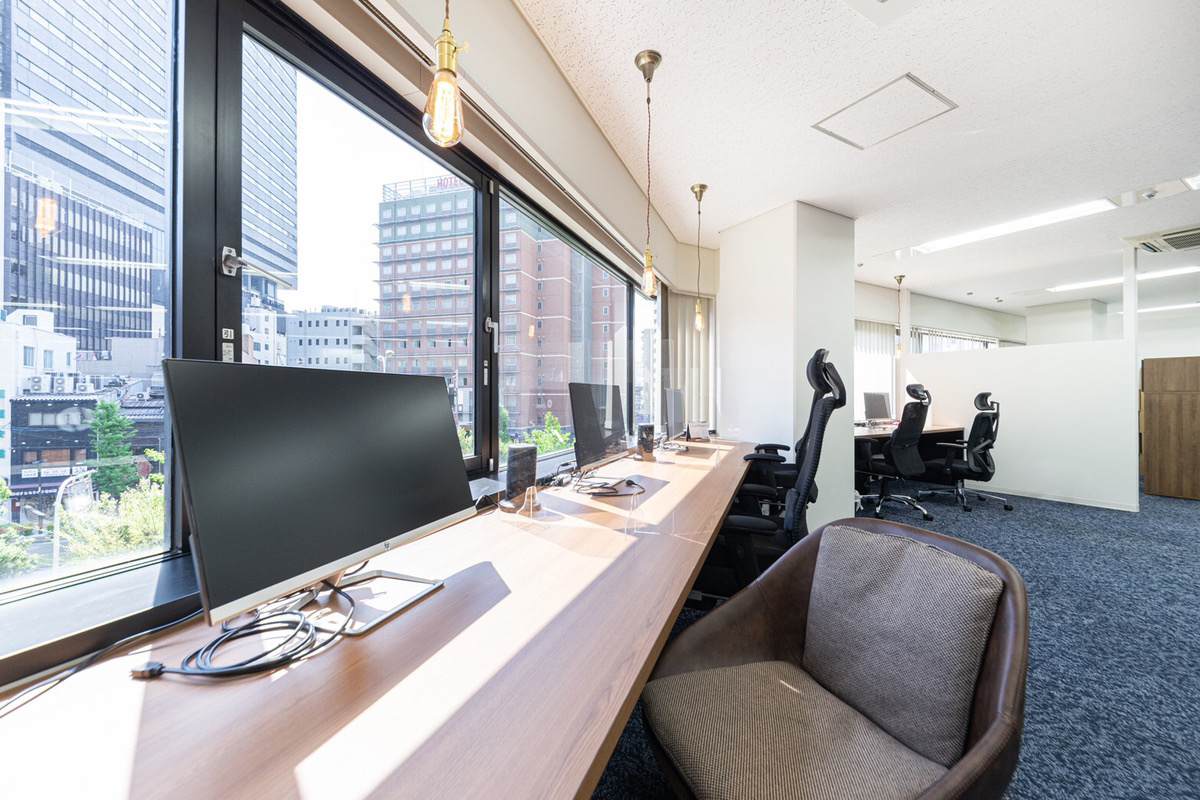
An in-house photo studio? A story of how employees created a benefit program
Examples of photos you will be able to take by reading this article
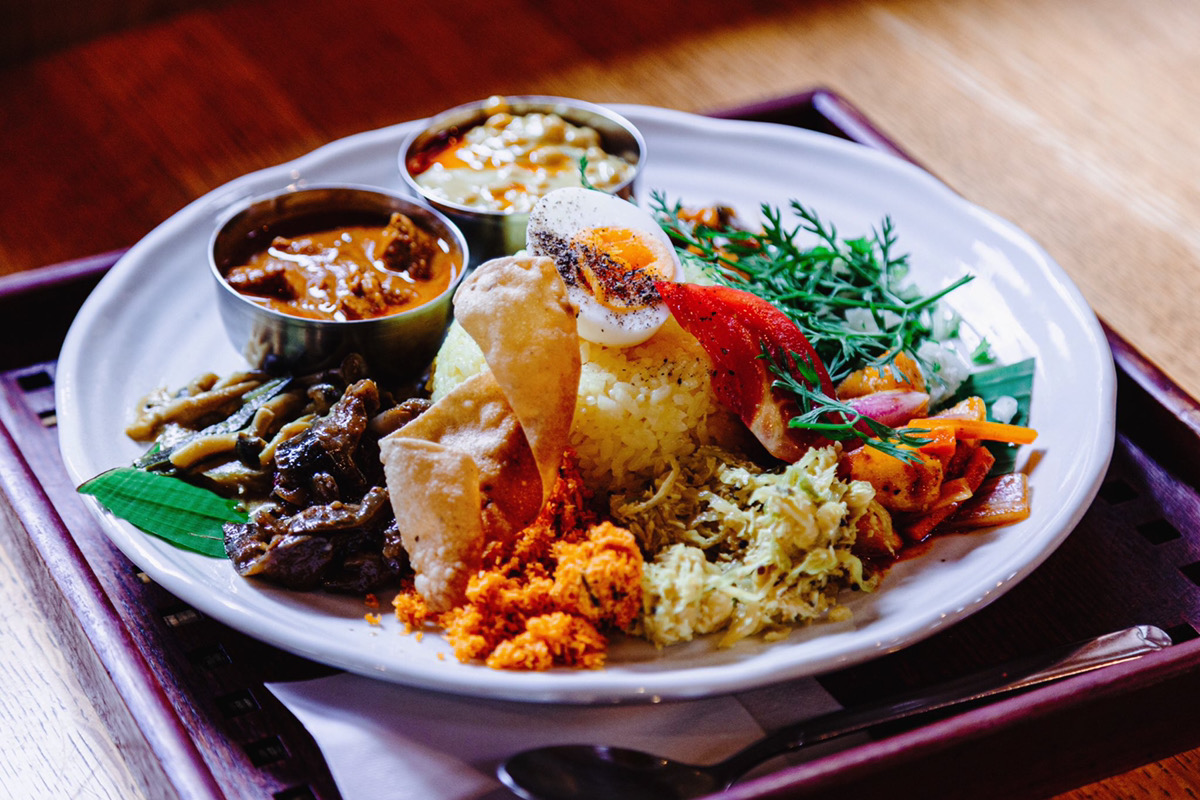
I will also show you some food photos that I actually took with my smartphone
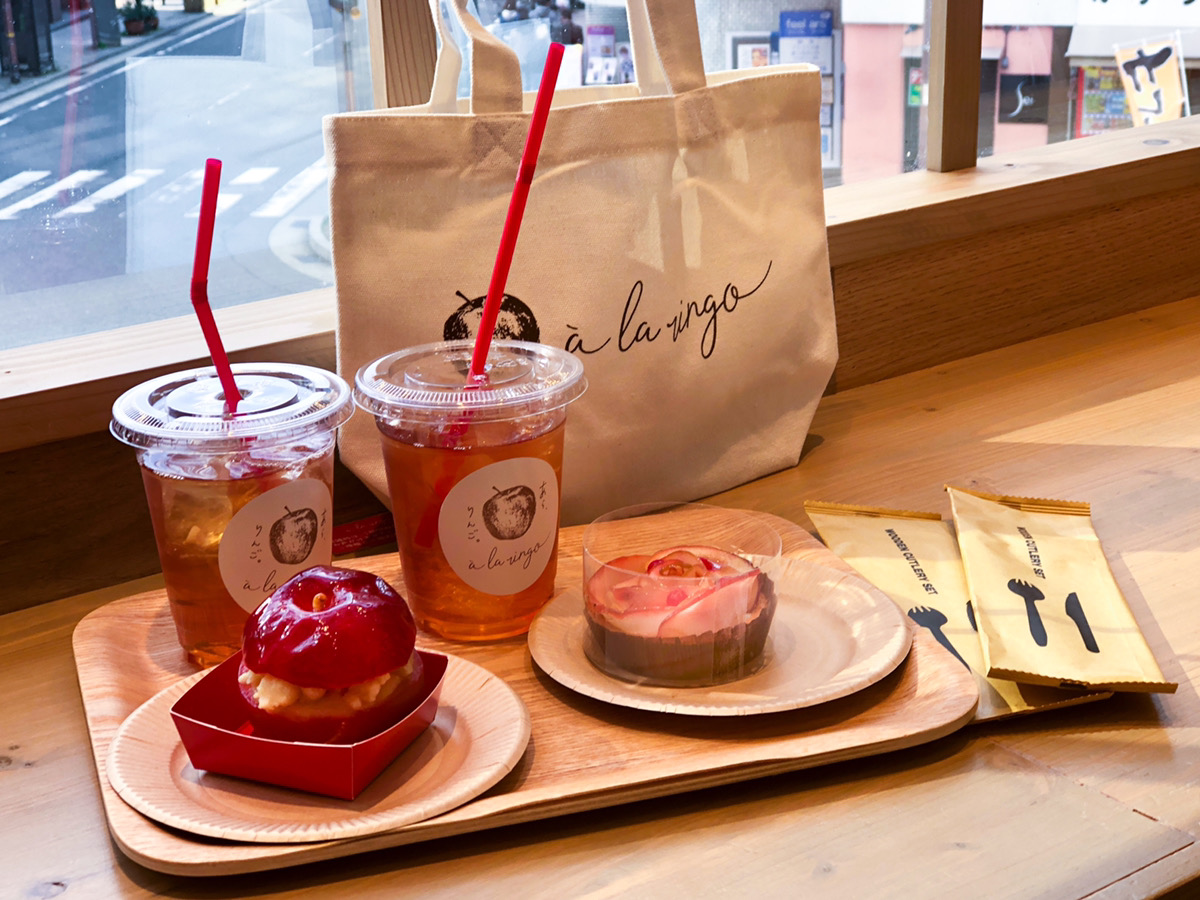
*Smartphone used: iPhone 8 Plus (released September 2017)
So, here are some tips below
Three tips for taking delicious photos of food and rice

*The above photo was taken with a single-lens reflex camera
Here are three tips to help you take delicious photos of food and meals:
- Knowing the best light direction for food photography
- Understanding lens characteristics
- Shoot with delicious colors
To take more creative photos, you'll need more knowledge and experience , but even just keeping the above points in mind will allow you to take photos that make many people think, "That looks delicious!"
We will explain each one below
Knowing the best light direction for food photography
In food photography, it's no exaggeration to say that the most important thing is how to bring out the "sizzle" of the food. Sizzle refers to the realism and sense of presence of the food.
To create that sizzle, we pay attention to how the light hits the image when taking photos
Taking good photos doesn't just mean bright light
*The above photo was taken with a single-lens reflex camera
Many people probably believe that to take a good photo, you should take it in a bright place . I think this is generally correct, but it's not the essential point
More precisely, a good photograph is one in which the shadows cast on the subject by light are skillfully controlled . * It is speculated that the widespread belief that it is best to shoot in a bright place is due to the fact that it is easiest to take photographs that meet the above conditions outdoors during the daytime when there is sufficient light
Photograph food in backlight or semi-backlight
There are established lighting techniques that can easily bring out the realism and sense of presence in food photography. Theseare backlighting and partial backlighting.
Light can be broadly categorized intofront light, side light, back light, and partial back light.
It looks like this when drawn as a diagram
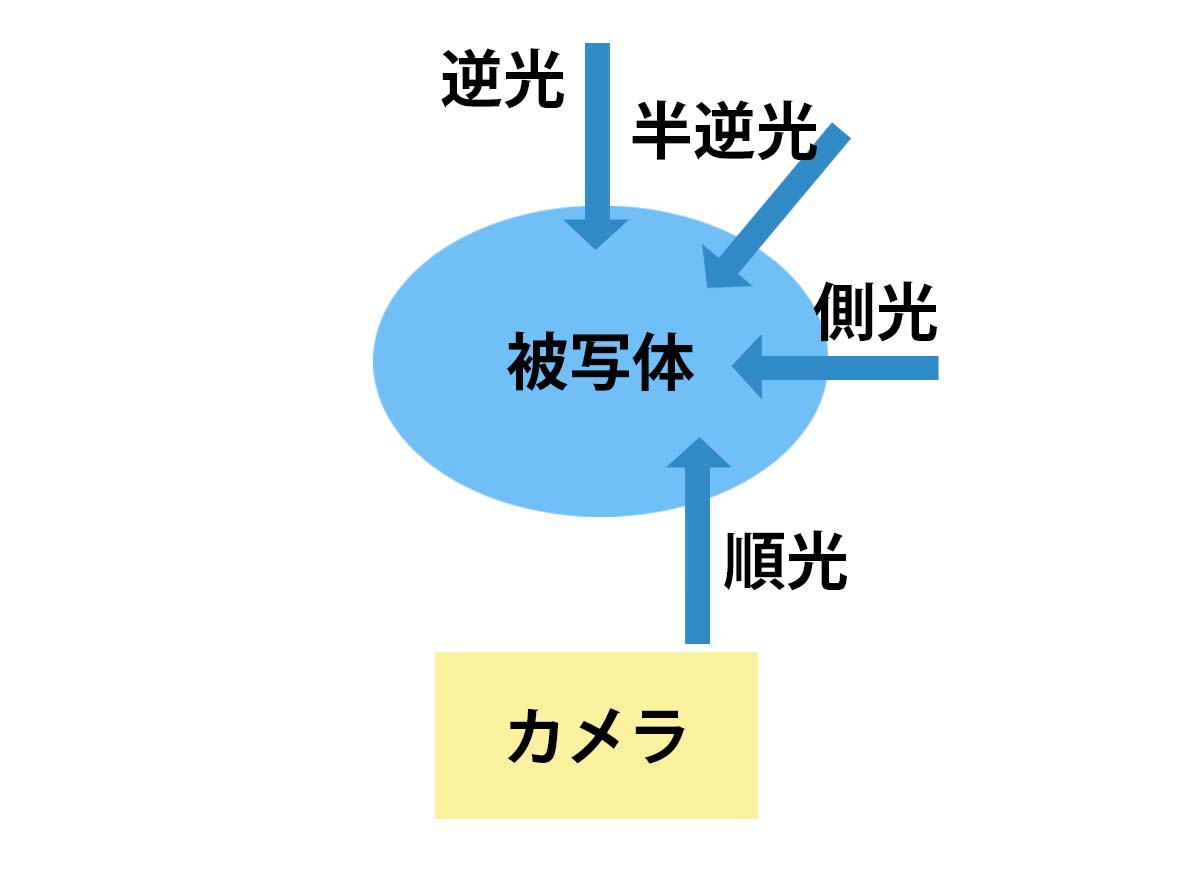
To shoot with backlighting or partial backlighting , you should have strong light coming from directly behind or slightly behind the subject . This will beautifully bring out the realistic texture and sense of presence—in other words, the mouthwatering effect— of the food
Use a window for backlit or semi-backlit shots
*The above photo was taken with a single-lens reflex camera
There are ways to easily create backlit or semi-backlit shooting environments without special equipment. In short, utilize the light coming in through a window to achieve backlit or semi-backlit conditions. For example, when you go to a restaurant, it's recommended to choose a seat where you can see a window across from or to the side of you. It's also important to choose a seat as close to a window as possible .
If you're at home, you can create an environment where it's easy to take delicious food photos by placing a table near a window
Understanding lens characteristics
*The above photo was taken with a single-lens reflex camera
Next, let's discuss the characteristics of lenses.
Camera lensesactually have a tendency to distort objects more easily the wider the angle and the closer the distance between the lens and the subject (closer to the subject).
In the case of food photography, using a wide-angle lenswill distort the food,making it look different from what you see with your eyes, which
makes it difficult to make the food look appetizing.
Incidentally, in architectural photography , this characteristic is used to create techniques that make rooms appear larger than they actually are. I've previously posted photos of Beyond Office taken with a wide-angle lens on my blog, so if you're curious about what photos taken with a wide-angle lens actually look like, please check out the article below
[Tips for architectural photography explained] I took some photos after moving my office
Lens angle of view suitable for food photography
*The above photo was taken with a single-lens reflex camera
The angle of view of a lens is expressed in millimeters (mm) , with lower numbers indicating a wider angle and higher numbers indicating a telephoto lens. The angle of view closest to that of the human eye is said to be 50mm, but the angle of view of lenses installed in smartphones is often around 28mm, which is a wide-angle lens.
Professional photographers almost always use lenses of 100mm or longer to minimize distortion when photographing food , so smartphone cameras are not inherently suited for taking food photos.
Therefore, when taking photos of food with your smartphone, you need to be a little creative
Use the zoom when taking photos of food with your smartphone
In conclusion, to adjust the field of view of a smartphone lens for food photography, simply zoom in while shooting. Most smartphones use a pseudo-zoom function that crops the screen , but this makes the field of view more telephoto, thus reducing distortion.
Some people worry that zooming will degrade image quality . While it's true that the image quality will drop slightly, modern smartphones have such good performance that even when cropping images, the degradation is usually minimal, so you can zoom in without worrying!
Shoot with delicious colors
Once you understand the key points of lighting and framing, the next step is color . Color is crucial for conveying the appetizing appeal of food. To reproduce the desired colors in food photography, they need to be natural and vibrant. To achieve this, photographers retouch (edit) their photos after taking them .
However, retouching food photos is difficult, and often, trying too hard to make them vibrant resultsunnaturalcolors.
Therefore, if you're not good at retouching, it's recommended to use a photo editing app
Recommended apps for editing food photos
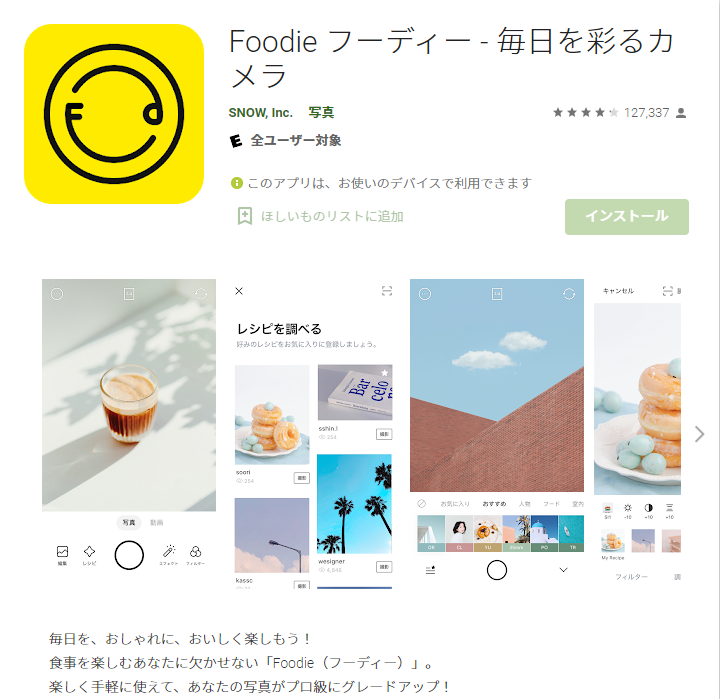
Image source:Foodie - Cameras that add color to everyday life
There's a free app that makes it easy for anyone to take natural and vibrant food photos.
It's"Foodie.
Foodie makes photo editing easy without any complicated settings.
It's a well-known app, but if you haven't downloaded it yet, I highly recommend you give it a try.
It's easy to use, just select and apply the filter you like
You can either edit photos you've taken previously or take photos directly with Foodie
All of the food photos taken with the smartphone mentioned at the beginning were also taken using Foodie
Please try it!
summary
Above are three important points to keep in mind when photographing food!
Here are three key elements to improving your food photography:
- Create a sizzling effect with backlighting and semi-backlighting
- Shooting with a distortion-free angle of view
- Creates vibrant and natural colors
I hope this is helpful
As a sequel, we plan to release a practical guide based on actual footage we've shot , so we hope you'll look forward to it!
Author'sInstagram
Thank you for watching until the end
 22
22 The person who wrote this article
About the author


