How to use Basic Authentication with Cloudflare Workers
table of contents
- 1 overview
- 2 Prerequisite knowledge
- 3 Setup Procedure
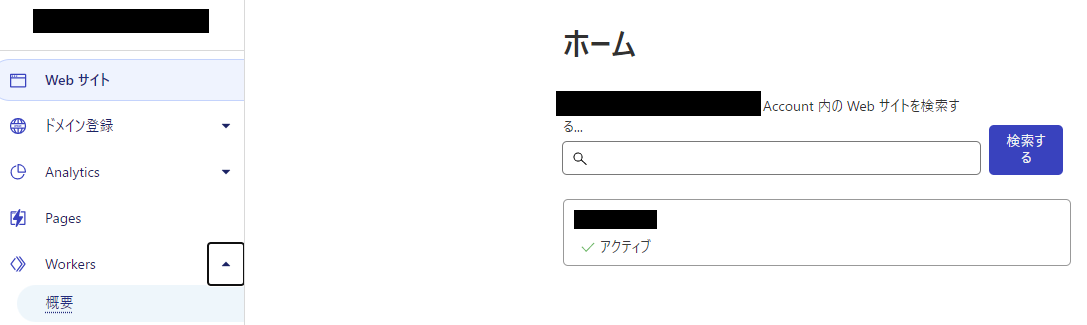
- 3.1 ① Click Home > Workers > Overview
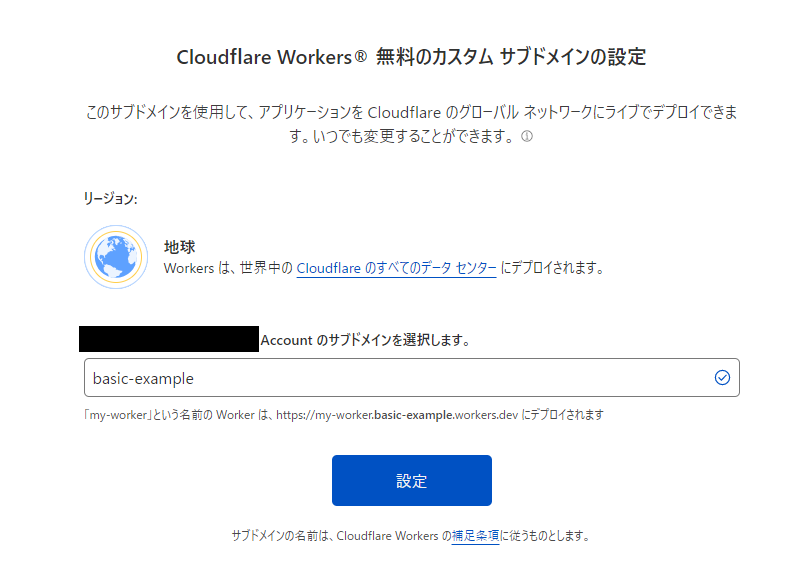
- 3.2 ②Enter any subdomain name and click [Settings]
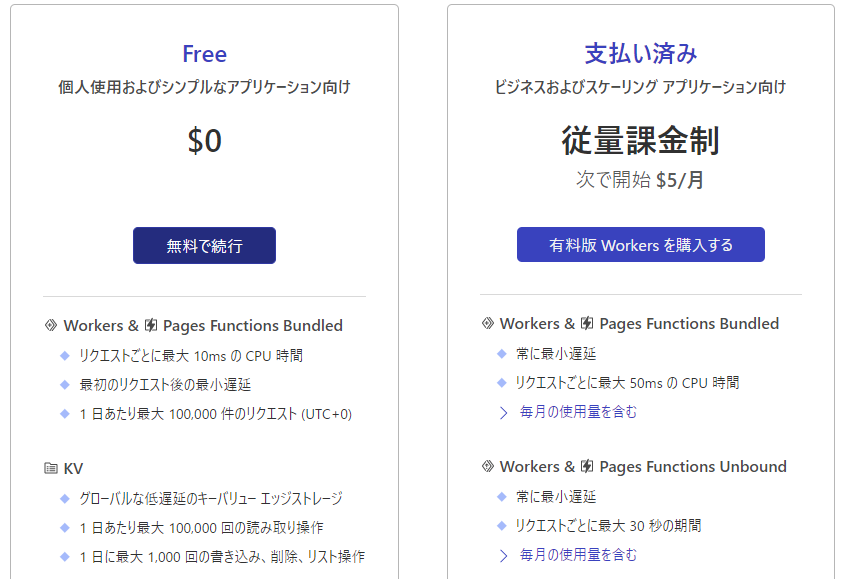
- 3.3 ③Select a pricing plan
- 3.4 ④Click [Create Service]
- 3.5 ⑤Enter the service name and click [Create Service]
- 3.6 ⑥Click [Quick Edit]
- 3.7 ⑦Paste the Basic authentication code and click [Save and Deploy]
- 3.8 8. Home > Authenticated Domain > Workers Routes > Click [Add Route]
- 3.9 9. Enter the following information and click [Save]
- 3.10 ⑩ Operation check
- 4 summary

Hello!
I'm Hide, the Ramen King from Beyond Inc.'s Osaka office.
This is my 13th post.
Last time, I wrote about setting up a policy in AWS IAM that allows access to only specific hosted zones!
The setup is relatively simple, but if you make a mistake in the settings, you may not be able to create the policy or you may end up exposing parts that should not be visible.
I've explained how to set it up in an easy-to-understand way, so if you're interested, please check it out.
[AWS IAM] Policy settings that allow access to only specific hosted zones
overview

I'd like to restrict access using Basic Authentication...
Since I'm using Cloudflare and don't want to put a strain on my origin,
I'd like to implement Basic Authentication with Cloudflare...
Huh? But how do I do this?
Have you ever thought about the above?
Normally, when implementing Basic Authentication, you would implement it using Apache or Nginx.
I also use Cloudflare to reduce the load on the origin, so I wondered if there was a way to do this with Cloudflare as well, but it turns out
that you can achieve Basic Authentication by using Cloudflare Workers.
It's extremely convenient because Cloudflare, which is the previous step, doesn't put a load on the origin!
The steps are very simple, so let's give it a try!
Prerequisite knowledge
What are Cloudflare Workers?
Cloudflare is one of the largest CDN networks in the world. Web content from around the world uses Cloudflare's CDN service to speed up websites.
Cloudflare Workers is a serverless service developed by Cloudflare.
You can build web functions and applications without having to configure or maintain infrastructure when deploying globally to the Cloudflare network's 275+ data centers worldwide.
It's implemented in languages such as JavaScript and TypeScript.
It's a very convenient service because you can build your application on Cloudflare while also using SSL, WAF, CDN, and more.
What is Basic authentication?
This function allows you to implement access restrictions using middleware such as Apache or Nginx.
Authentication is possible with a username and password, and it can be used when you want to restrict access to only certain users.
Our engineers will show you how to implement Basic authentication with Nginx, so
if you're interested, be sure to check it out!
Setup Procedure
*This assumes that Cloudflare's initial setup and record registration have been completed
① Click Home > Workers > Overview
②Enter any subdomain name and click [Settings]
③Select a pricing plan
*Since this is a demo, we have selected Free, but please select the plan that best suits your needs.
Cloudflare Workers Pricing Plan
④Click [Create Service]

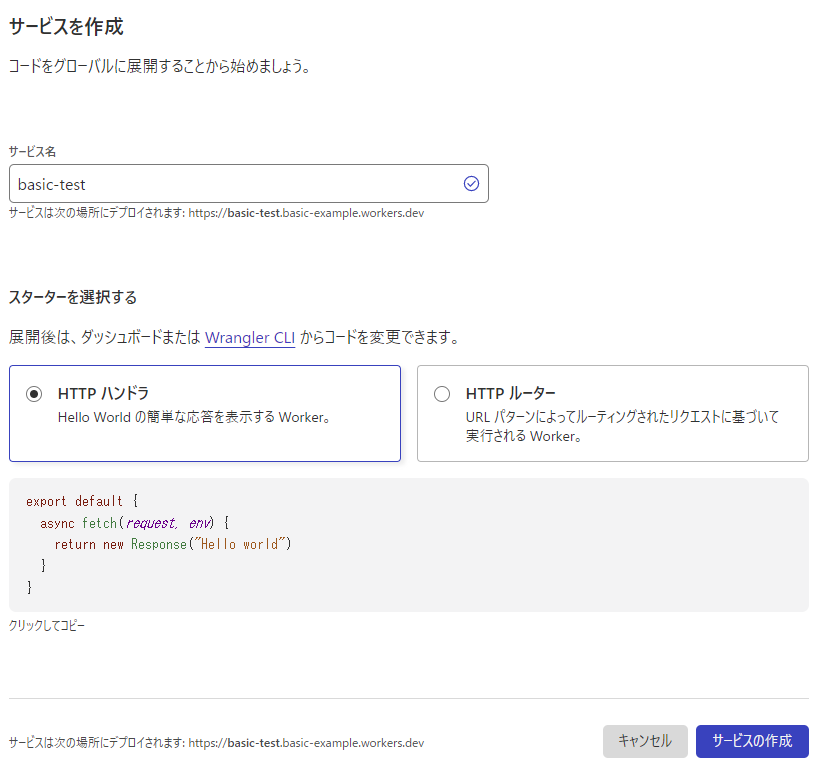
⑤Enter the service name and click [Create Service]
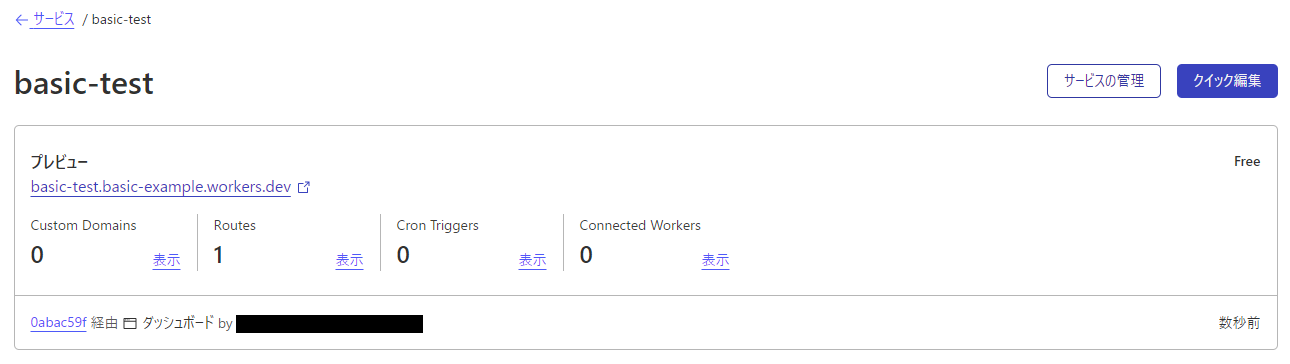
⑥Click [Quick Edit]
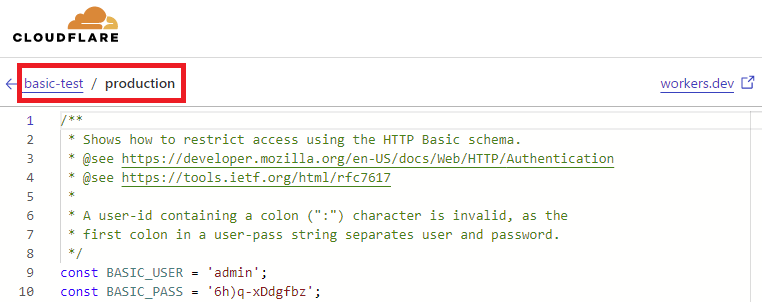
⑦Paste the Basic authentication code and click [Save and Deploy]
*Copy and paste the code for Basic authentication.
*When editing, please refer to
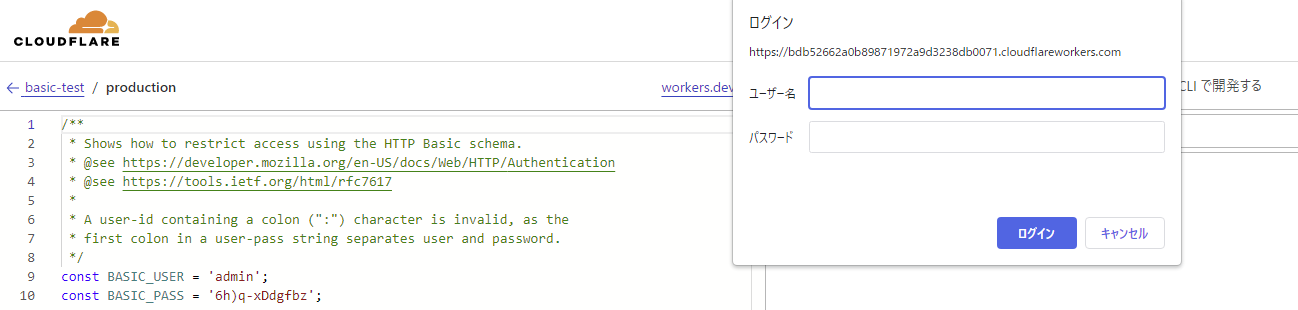
sample code . *You can change the user and password using the constants below.
const BASIC_USER = ''; const BASIC_PASS = '';
・Basic authentication code
/** * Shows how to restrict access using the HTTP Basic schema. * @see https://developer.mozilla.org/en-US/docs/Web/HTTP/Authentication * @see https://tools.ietf.org/html/rfc7617 * * A user-id containing a colon (":") character is invalid, as the * first colon in a user-pass string separates user and password. */ const BASIC_USER = ''; const BASIC_PASS = ''; /** * Receives a HTTP request and replies with a response. * @param {Request} request * @returns {Promise<Response> } */ async function handleRequest(request) { const { protocol, pathname } = new URL(request.url); // In the case of a Basic authentication, the exchange // MUST happen over an HTTPS (TLS) connection to be secure. if ('https:' !== protocol || 'https' !== request.headers.get('x-forwarded-proto')) { throw new BadRequestException('Please connect via HTTPS'); } // The "Authorization" header is sent when authenticated. if (request.headers.has('Authorization')) { // Throws exception when authorization fails. const { user, pass } = basicAuthentication(request); verifyCredentials(user, pass); return fetch(request) } // Not authenticated. return new Response('User name and password required to log in', { status: 401, headers: { // Prompts the user for credentials. 'WWW-Authenticate': 'Basic realm="my scope", charset="UTF-8"', }, }); } /** * Throws exception on verification failure. * @param {string} user * @param {string} pass * @throws {UnauthorizedException} */ function verifyCredentials(user, pass) { if (BASIC_USER !== user) { throw new UnauthorizedException('Incorrect username or password'); } if (BASIC_PASS !== pass) { throw new UnauthorizedException('Incorrect username or password'); } } /** * Parse HTTP Basic Authorization value. * @param {Request} request * @throws {BadRequestException} * @returns {{ user: string, pass: string }} */ function basicAuthentication(request) { const Authorization = request.headers.get('Authorization'); const [scheme, encoded] = Authorization.split(' '); // The Authorization header must start with Basic, followed by a space. if (!encoded || scheme !== 'Basic') { new BadRequestException('Bad authentication header'); } // Decodes the base64 value and performs unicode normalization. // @see https://datatracker.ietf.org/doc/html/rfc7613#section-3.3.2 (and #section-4.2.2) // @see https://dev.mozilla.org/docs/Web/JavaScript/Reference/Global_Objects/String/normalize const buffer = Uint8Array.from(atob(encoded), character => character.charCodeAt(0)); const decoded = new TextDecoder().decode(buffer).normalize(); // The username & password are split by the first colon. //=> example: "username:password" const index = decoded.indexOf(':'); // The user & password are split by the first colon and MUST NOT contain control characters. // @see https://tools.ietf.org/html/rfc5234#appendix-B.1 (=> "CTL = %x00-1F / %x7F") if (index === -1 || /[\0-\x1F\x7F]/.test(decoded)) { throw new BadRequestException('The authentication value is invalid.'); } return { user: decoded.substring(0, index), pass: decoded.substring(index + 1), }; } function UnauthorizedException(reason) { this.status = 401; this.statusText = 'Unauthorized'; this.reason = reason; } function BadRequestException(reason) { this.status = 400; this.statusText = 'Bad Request'; this.reason = reason; addEventListener('fetch', event => { event.respondWith( handleRequest(event.request).catch(err => { const message = err.reason || err.stack || 'Unknown Error'; return new Response(message, { status: err.status || 500, statusText: err.statusText || null, headers: { 'Content-Type': 'text/plain;charset=UTF-8', // Disables caching by default. 'Cache-Control': 'no-store', // Returns the "Content-Length" header for HTTP HEAD requests. 'Content-Length': message.length, }, }); }) ); });
*The following popup will appear, so click [Save and Deploy]
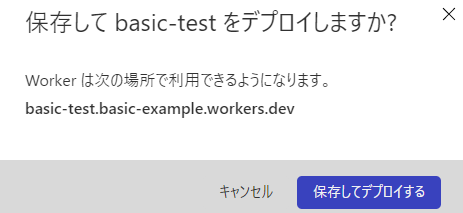
* You can preview if you want to check the operation

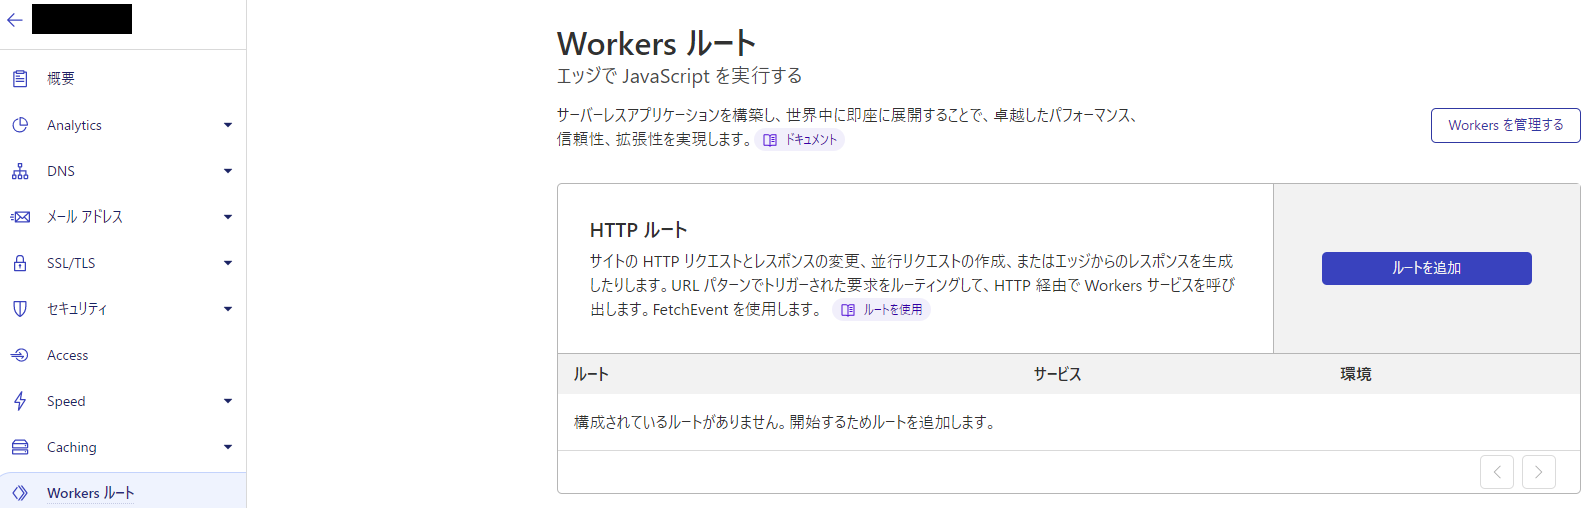
8. Home > Authenticated Domain > Workers Routes > Click [Add Route]
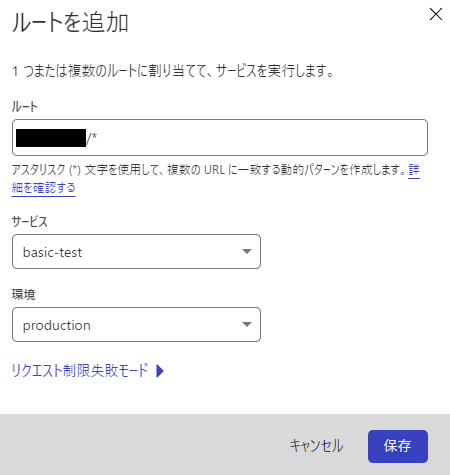
9. Enter the following information and click [Save]
Route: examle-test.com/*
*Specify the domain (FQDN) for which you want to set basic authentication
*Wildcards can also be specified
Service: basic-test
Environment: production
*The service and environment can be confirmed on the code screen added in step ⑦
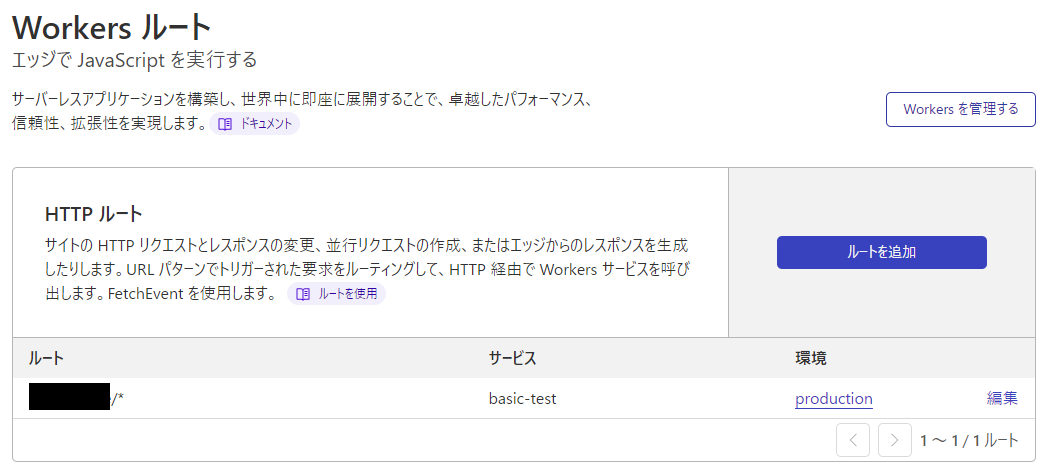
Once saved, it will be displayed in the list
⑩ Operation check
・Login screen

・Content screen after logging in
*Basic authentication will not be valid for domains other than the specified domain (FQDN)
summary
What did you think?
By using Cloudflare Workers, you can easily implement Basic authentication even with the free tier!
Using this service can also prevent content interruptions caused by Apache or Nginx configuration changes or accidents caused by writing errors.
You can also maximize the benefits of Cloudflare without putting a load on your origin.
If you're using Cloudflare and want to implement Basic authentication, be sure to use this as a reference!
 33
33 The person who wrote this article
About the author


