How to set up Laravel Admin

table of contents
Hello!
This is Matsuki from the System Development Department
In this article, we'll talk about setting up Laravel Admin!
What is Laravel Admin?
Laravel Admin is an administration tool developed using the Laravel framework
It allows you to easily create an administrative dashboard or control panel for your application
You can use Laravel Admin to manage various data and resources
environment
Docker: 23.0.1
Laravel: 10.37.1
PHP: 8.2
MySQL: 8.0
Nginx: 1.23.3
Setup Instructions
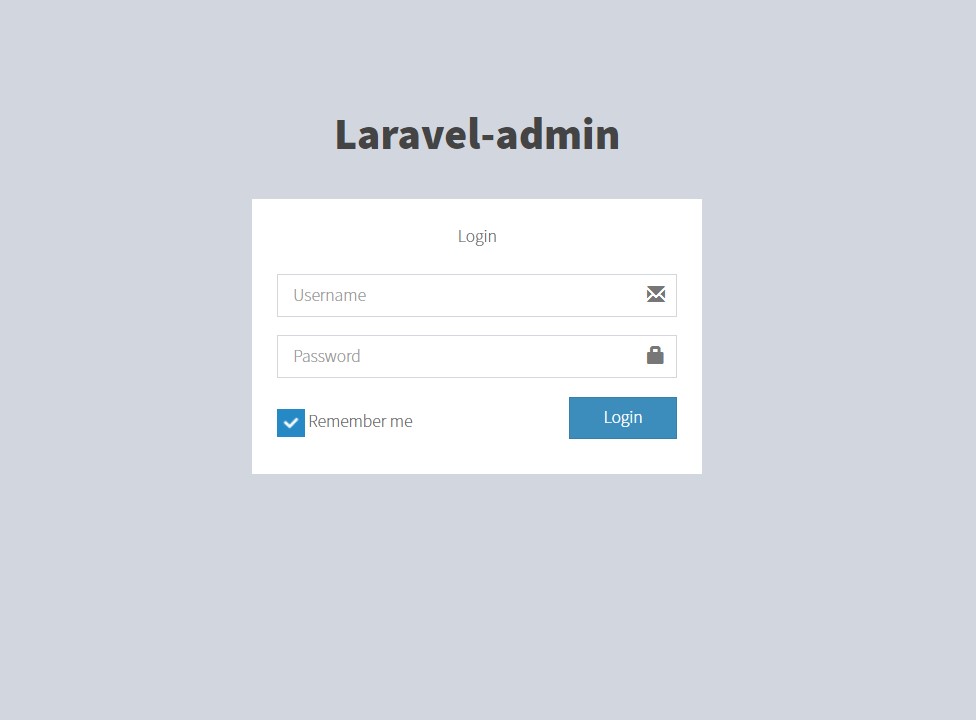
Login screen display
Execute the following command to install Laravel Admin
composer require encore/laravel-admin
Next, use the following command to add the installed Laravel Admin files to your Laravel project
php artisan vendor:publish --provider="Encore\Admin\AdminServiceProvider"
Next, create a standard table for Laravel Admin using the command below
php artisan admin:install
If the above command is executed successfully, the following will be displayed and the standard table creation will be completed
root@d816ac03c504:/var/www/html# php artisan admin:install INFO Preparing database. Creating migration table ................................................................................................ 126ms DONE INFO Running migrations. 2014_10_12_000000_create_users_table .................................................................................. 133ms DONE 2014_10_12_100000_create_password_reset_tokens_table ................................................................................ 190ms DONE 2016_01_04_173148_create_admin_tables ................................................................................ 976ms DONE 2019_08_19_000000_create_failed_jobs_table ................................................................................... 101ms DONE 2019_12_14_000001_create_personal_access_tokens_table ...................................................................... 147ms DONE INFO Seeding database. Admin directory was created: /app/Admin HomeController file was created: /app/Admin/Controllers/HomeController.php AuthController file was created: /app/Admin/Controllers/AuthController.php ExampleController file was created: /app/Admin/Controllers/ExampleController.php Bootstrap file was created: /app/Admin/bootstrap.php Routes file was created: /app/Admin/routes.php
Once you have done this, try accessing the Laravel-Admin login screen
If you are able to access it successfully, the following screen will be displayed

Create an administrator user
I was able to display the login screen, but I was unable to create the essential login user
The next step is to create an administrator user to log in as
First, create a suitable seeder
In this case, we will create a user named UserSeeder, so run the following command
php artisan make:seeder UserSeeder
Next, to use the seeder under the vendor, write the process in the created seeder:
Open the /vendor/encore/laravel-admin/src/Auth/Database/AdminTablesSeeder.php file and copy the contents of public function run(){}
Replace the copied content into UserSeeder's public function run(){}
The replaced content is as follows:
<?php namespace Database\Seeders; use Encore\Admin\Auth\Database\Administrator; use Encore\Admin\Auth\Database\Menu; use Encore\Admin\Auth\Database\Permission; use Encore\Admin\Auth\Database\Role; use Illuminate\Database\Seeder; use Illuminate\Support\Facades\Hash; class UserSeeder extends Seeder { /** * Run the database seeds. */ public function run() { // create a user. Administrator::truncate(); Administrator::create([ 'username' => 'admin', 'password' => Hash::make('admin'), 'name' => 'Administrator', ]); // create a role. Role::truncate(); Role::create([ 'name' => 'Administrator', 'slug' => 'administrator', ]); // add role to user. Administrator::first()->roles()->save(Role::first()); //create a permission Permission::truncate(); Permission::insert([ [ 'name' => 'All permission', 'slug' => '*', 'http_method' => '', 'http_path' => '*', ], [ 'name' => 'Dashboard', 'slug' => 'dashboard', 'http_method' => 'GET', 'http_path' => '/', ], [ 'name' => 'Login', 'slug' => 'auth.login', 'http_method' => '', 'http_path' => "/auth/login\r\n/auth/logout", ], [ 'name' => 'User setting', 'slug' => 'auth.setting', 'http_method' => 'GET,PUT', 'http_path' => '/auth/setting', ], [ 'name' => 'Auth management', 'slug' => 'auth.management', 'http_method' => '', 'http_path' => "/auth/roles\r\n/auth/permissions\r\n/auth/menu\r\n/auth/logs", ], ]); Role::first()->permissions()->save(Permission::first()); // add default menus. Menu::truncate(); Menu::insert([ [ 'parent_id' => 0, 'order' => 1, 'title' => 'Dashboard', 'icon' => 'fa-bar-chart', 'uri' => '/', ], [ 'parent_id' => 0, 'order' => 2, 'title' => 'Admin', 'icon' => 'fa-tasks', 'uri' => '', ], [ 'parent_id' => 2, 'order' => 3, 'title' => 'Users', 'icon' => 'fa-users', 'uri' => 'auth/users', ], [ 'parent_id' => 2, 'order' => 4, 'title' => 'Roles', 'icon' => 'fa-user', 'uri' => 'auth/roles', ], [ 'parent_id' => 2, 'order' => 5, 'title' => 'Permission', 'icon' => 'fa-ban', 'uri' => 'auth/permissions', ], [ 'parent_id' => 2, 'order' => 6, 'title' => 'Menu', 'icon' => 'fa-bars', 'uri' => 'auth/menu', ], [ 'parent_id' => 2, 'order' => 7, 'title' => 'Operation log', 'icon' => 'fa-history', 'uri' => 'auth/logs', ], ]); // add role to menu. Menu::find(2)->roles()->save(Role::first()); } }
Next, enter the UserSeeder you created in DatabaseSeeder
<?php namespace Database\Seeders; // use Illuminate\Database\Console\Seeds\WithoutModelEvents; use Illuminate\Database\Seeder; class DatabaseSeeder extends Seeder { /** * Seed the application's database. */ public function run(): void { $this-> call([ UserSeeder::class, ]); } }
Once you've done this, all you have to do is run the seeder
php artisan db:seed
Once the seeder has finished running, go back to the login screen and enter the username and password you set in the seeder
This time, both the username and password are registered as admin, so please change them when you actually use the service
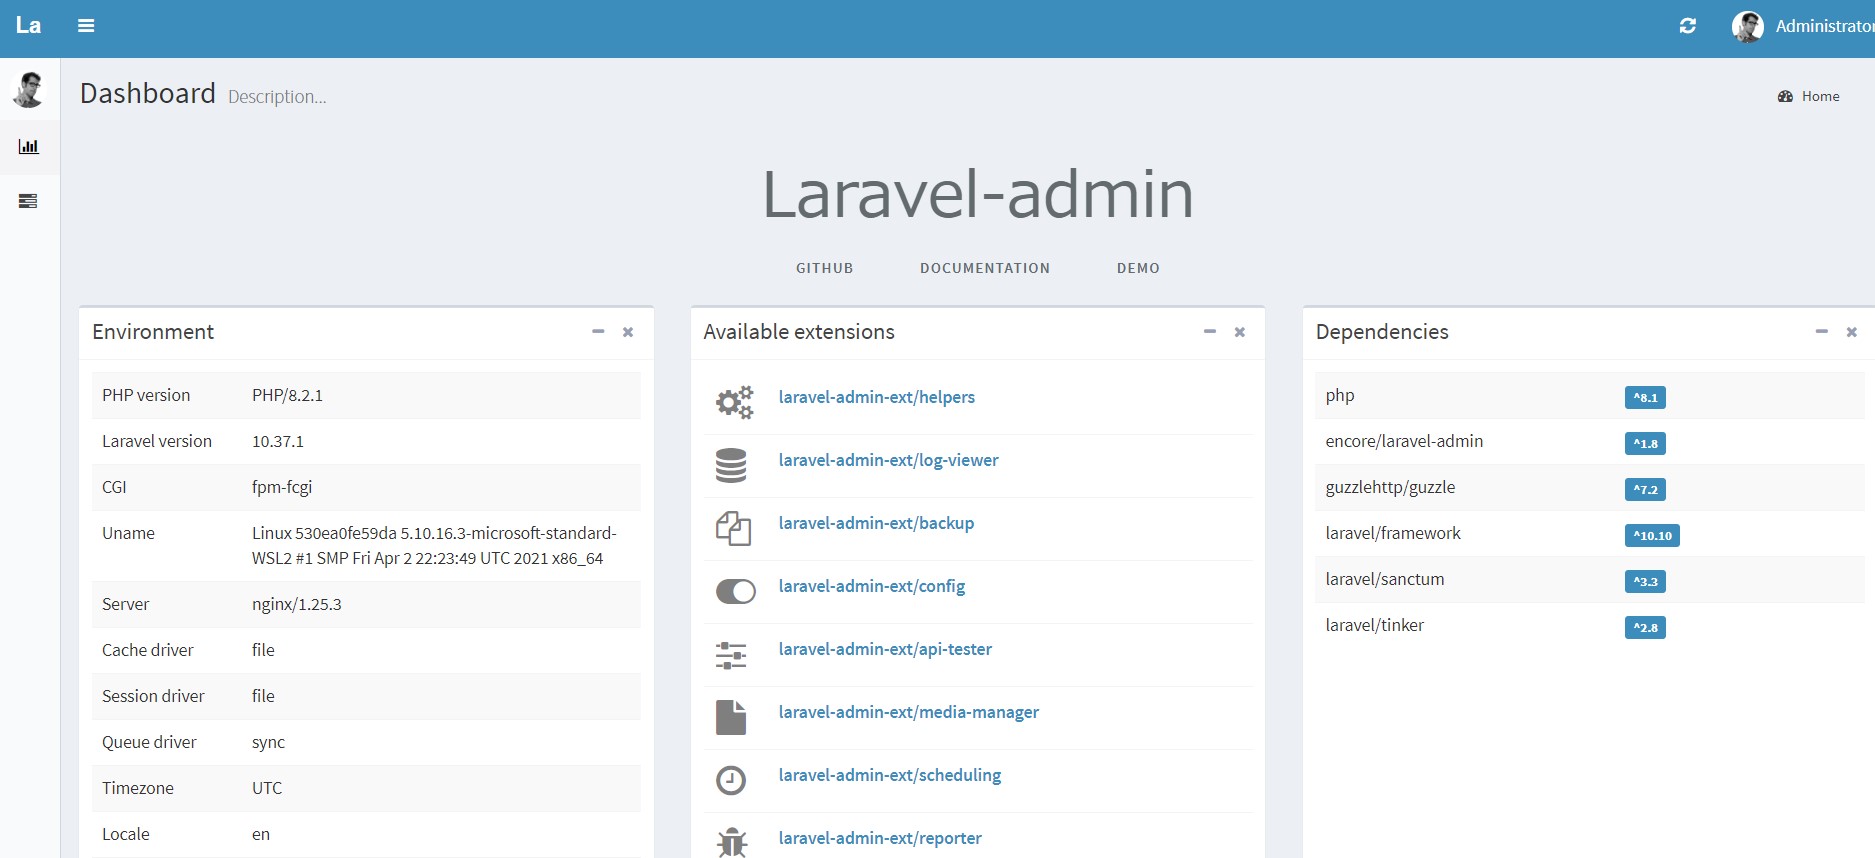
In both cases, enter admin and log in to see the following screen

I was also able to log in successfully
This completes the Laravel Admin setup
summary
What did you think?
Laravel Admin is very easy to set up and allows you to quickly build an admin panel
Also, if you create a table with Laravel Admin, you can operate the table with a GUI
Please try it out
lastly
The System Development Department, to which I belong, has launched a service site called "SEKARAKU Lab."
Beyond offers a one-stop service for everything from server design and construction to operation, so if you have any problems with server-side development, please feel free to contact us.
● SEKARAKU Lab: https://sekarakulab.beyondjapan.com

 2
2


