I tried delivering a static site using AWS S3
2016.08.23
 2
2 
My name is Teraoka and I am an infrastructure engineer
AWS has a storage service called S3, which
be used not only for storage but
also for hosting static content as a website.
This time, I'd like to try using S3's web hosting feature
to deliver a static site without using EC2.
It may seem difficult at first glance, but it's actually relatively easy to set up, so I encourage you to give it a try!
■ Try it out
To store files in S3, you need a container called a bucket.
According to Google, this means "bucket" in Japanese.
First, create a new bucket to store static content in S3.
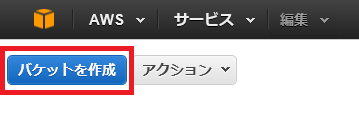
From the AWS Management Console, select S3 and click Create Bucket in the upper left corner of the screen
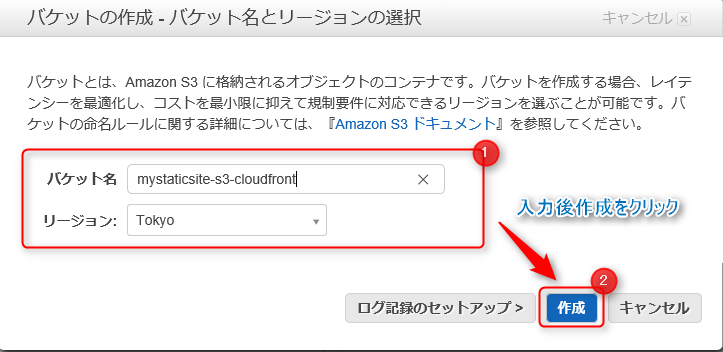
Enter a name for your new bucket, select a region,
and then click Create.
If you look at the bucket list, you should see the bucket you created added!

Next, we will add settings to use the bucket we created as a host for a static site
Click the magnifying glass icon to the left of the bucket name and the properties will appear on the right side of the screen.
Select Enable website hosting from Static Website Hosting!
The S3 endpoint will be displayed on this screen, and since you will eventually access this from your browser, it's a good idea to make a note of it
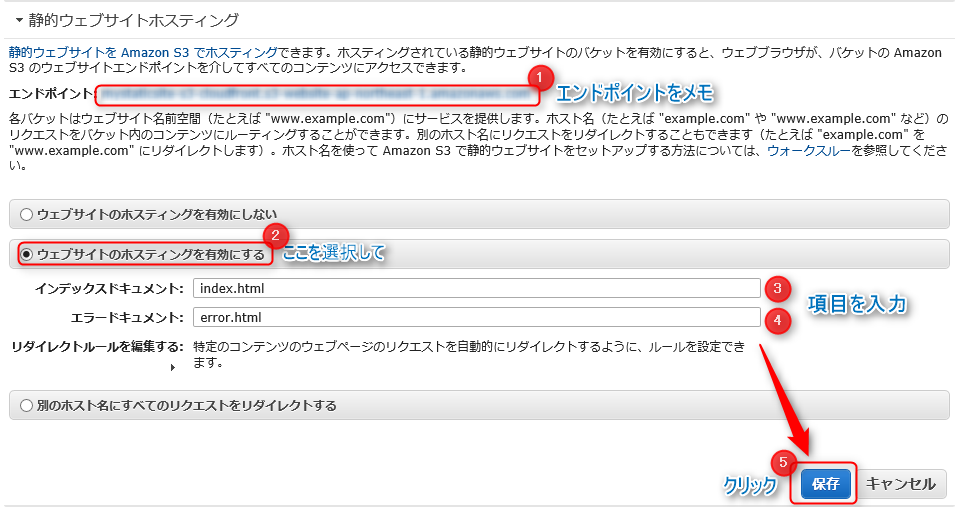
You should now see two input fields, so let me explain them in detail
| Input items | detail |
|---|---|
| Index Document | Enter the page you want users to access first when they visit your site. It's a good idea to specify the top page |
| Error Document | Specify the page to be displayed when a 404 error occurs |
Once you're done, click Save!
The settings have now been saved, but you still can't access the site.
To expose the content stored in S3 to the Internet,
you must allow all users to access the S3 "GetObjects operation."
In other words, you do not currently have permission to view the site.
To allow the "GetObjects operation," you need to change the S3 bucket policy.
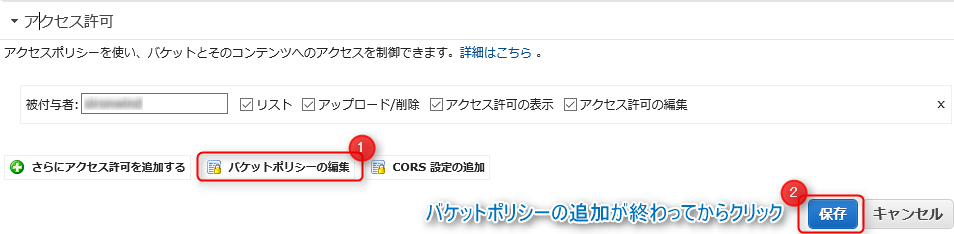
Under Bucket Properties, select Permissions and click Add Bucket Policy
The Bucket Policy Editor will appear
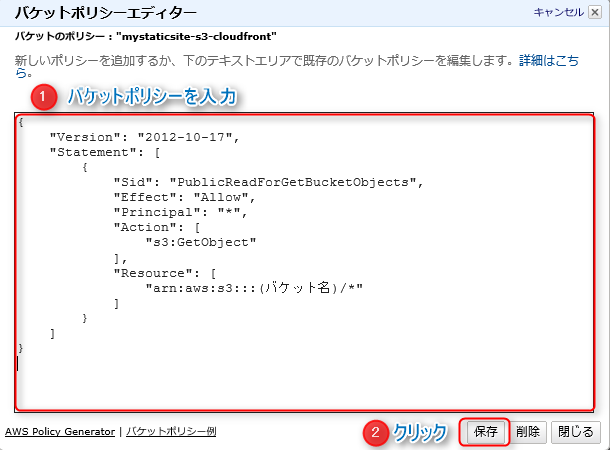
Enter the following:
{ "Version": "2012-10-17", "Statement": [ { "Sid": "PublicReadForGetBucketObjects", "Effect": "Allow", "Principal": "*", "Action": [ "s3:GetObject" ], "Resource": [ "arn:aws:s3:::(bucket name)/*" ] } ] }
To summarise the settings..
| Setting items | detail |
|---|---|
| "Principal" | Enter the users to whom you want to allow or deny access to the resource. In this case, * means all users |
| "Action" | Specify the operation you want to grant permission for. Since we want to grant permission for the GetObject operation, we enter s3:GetObject |
| "Resource" | Specify the bucket to which you want to grant permissions |
Once you have finished entering the bucket policy, click Save!
This completes the S3 configuration!
Finally, upload the content and check the display!
Click on the name of the bucket you created from the list.
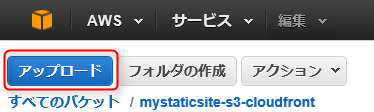
Click Upload in the upper left corner of the screen to upload hrml files etc.
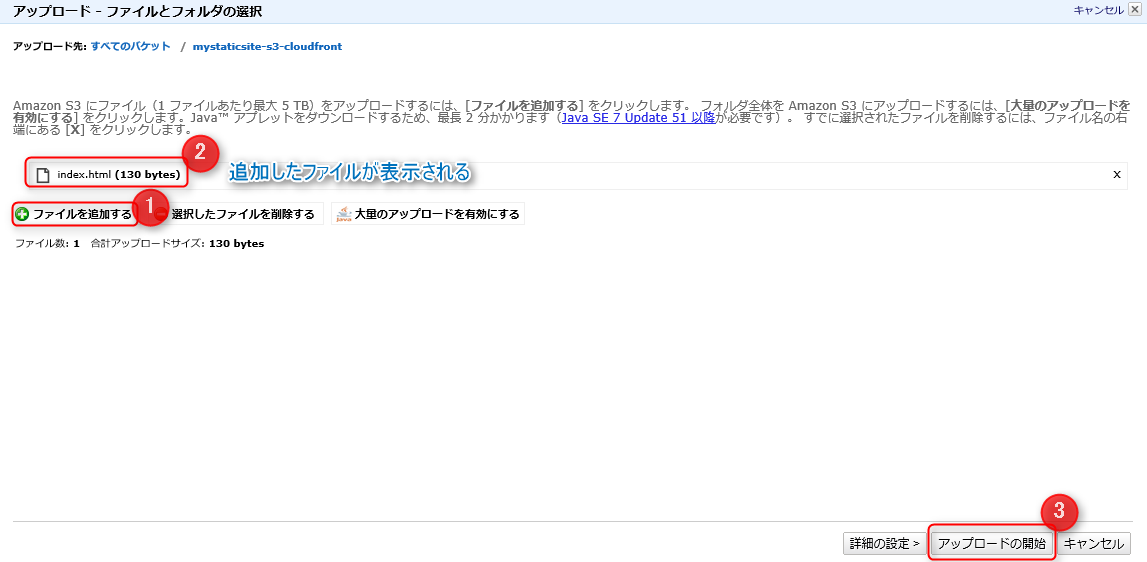
A file and folder selection screen will appear, so
add files to add content.
Click Start Upload and the content will actually be uploaded to S3.
It's been uploaded!

Try accessing the S3 endpoint you noted down.
You should see the site!

What did you think?
It's so convenient to be able to distribute your website with just this without having to build a server!
Next, I'd like to write about how to distribute your website in conjunction with Cloudfront.
That's all, thank you very much.
22 The person who wrote this article
About the author


