I changed the settings of the standard MacOS terminal!
table of contents
Hello everyone!
This is Futa from the Systems Solutions Department.
With winter finally upon us, have you made any preparations for a comfortable life, such as getting heating appliances ready?
This time, we'll be focusing on enjoying a comfortable command-line experience using MacBook's standard Terminal (Terminal.app), one of the terminal emulators that forms the foundation for using commands ! We'll pick out a few settings for the standard Terminal (Terminal.app) and go through them. That being said, I've actually installed iTerm2 as well. If you search for "Mac Terminal," you'll find many articles about iTerm2, so if you're interested, please search for those as well.
introduction
environment
Hardware: MacBook Air
Chipset: Apple M1
Shell: zsh (also uses bash occasionally)
What exactly is a terminal?
If you already know that, click away
When I googled it..
It is software that mimics and replicates the functions of a (physically existing) dedicated terminal, and is also referred to as a terminal emulator, terminal software, or virtual terminal.
It allows users to control the OS and applications using commands via a keyboard.
It can be remotely controlled via commands; characters entered into the terminal are transferred to the remote computer and executed.
Furthermore, characters output on the remote computer are sent back to the terminal and displayed on the terminal software screen.
It's software that imitates devices that provide input, output, and communication to a computer!
Change the prompt display
First, let's check the prompt display. It's set to the environment variable PS1 , so we'll check the default setting with the following command
echo $PS1
There are many types of parameters, and the way they are written varies depending on the shell script, so only a few are listed here.
If you're interested, try setting them to your liking.
| %n | Username |
| %m | Hostname |
| %1~ | Current directory (only) |
| %~ | Current directory (full path) |
| %# | User type (# for root, %) for non-root |
| %F{color number}Color parameter%f | Setting color scheme for parameters |
| \u | Username |
| \h | Hostname |
| \W | Current directory (only) |
| \w | Current directory (full path) |
| \$ | User type (# for root, $ for non-root) |
| \[\e\[color number m\] | Start setting color scheme for parameters |
| \[\e\[m\] | Finish setting color scheme for parametersStart |
Set the following parameters for the local environment (zsh)
PS1='%n@%m:%~%#'
It will look like this!
futa@futa-dev:~%echo $PS1 %n@%m:%~%#
In a command-line interface (CUI) where only text is displayed, knowing information such as the current directory (working directory) and the logged-in user helps prevent human errors. While the
current directory can be checked with the `pwd` command and the current user with the `whoami` command, pre-configuring these settings will make your work more comfortable and safer!
Changing the display for each server when logging in will further reduce errors, so please refer to the article below!
[Linux] That cool thing that appears when you log in via SSH (/etc/motd)
This time, we only changed the displayed content, but you can customize various things such as colors, formatting, and line breaks, so please try it if you're interested.
(Below, "% -> $" represents a regular user because it's a bash environment.)

Transparent terminal background
By default, the terminal background is opaque, which is inconvenient when entering commands while referring to data or articles.
Therefore, let's make the background transparent!
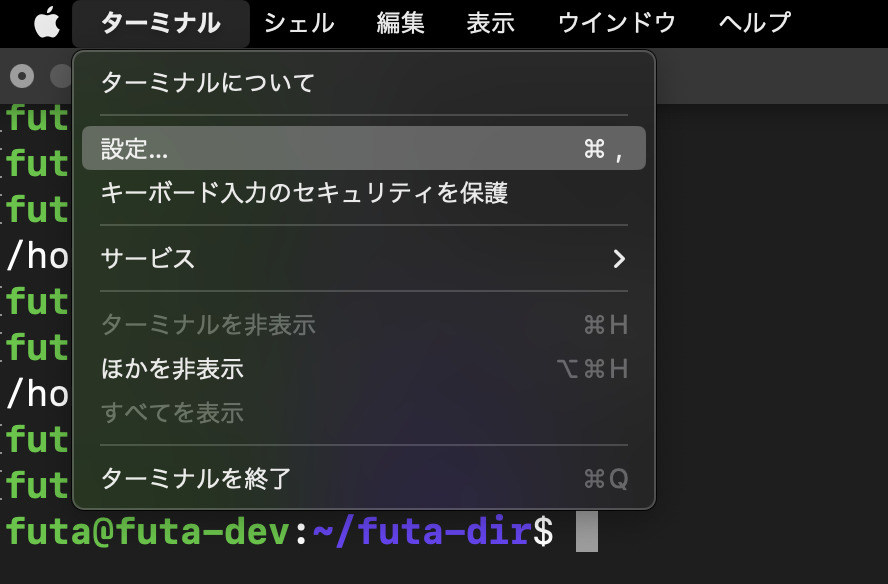
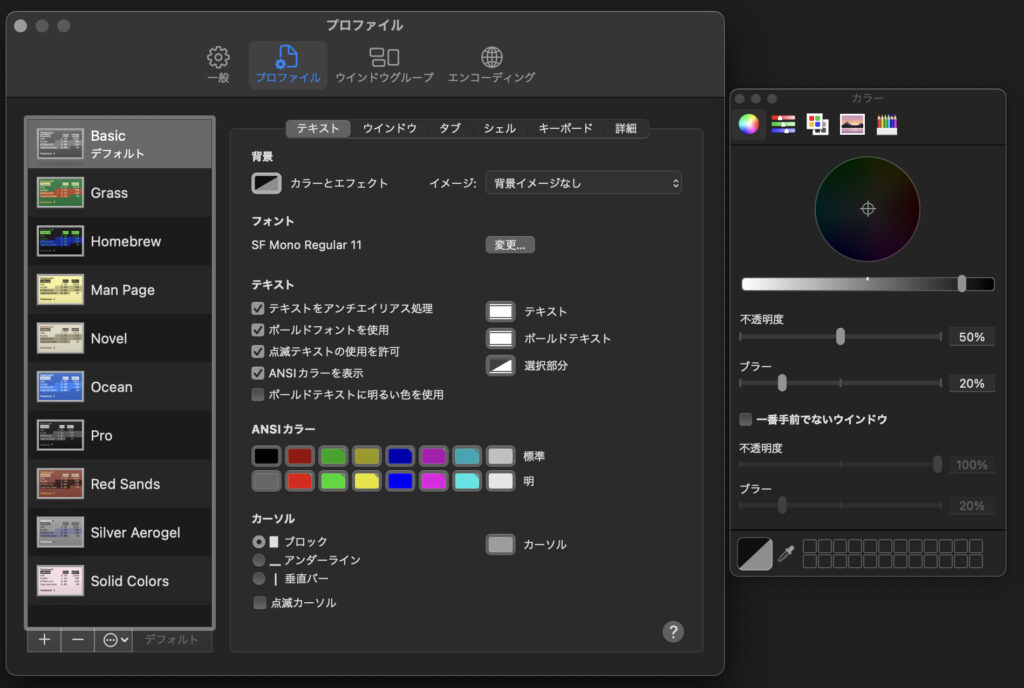
to Terminal > Settings > Profile > Background (Color Effects) >
and adjust the Opacity value to your liking.
(Example) Opacity 80%
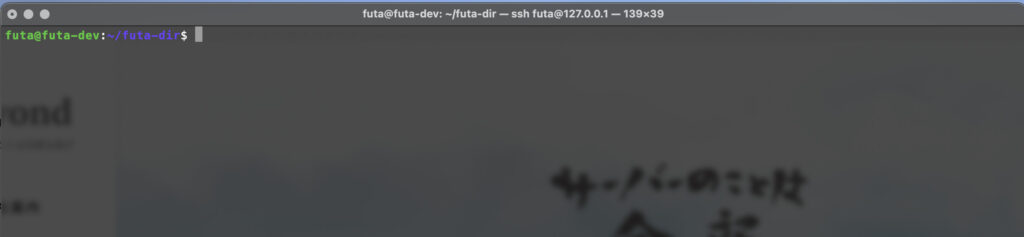
I often work while checking and referencing things personally, so I made it slightly transparent.
Now I should be able to work while looking at the documents in the background!
You can also customize the font type, size, cursor, etc. from "Terminal > Settings > Profile," so try changing it to your preferred environment.
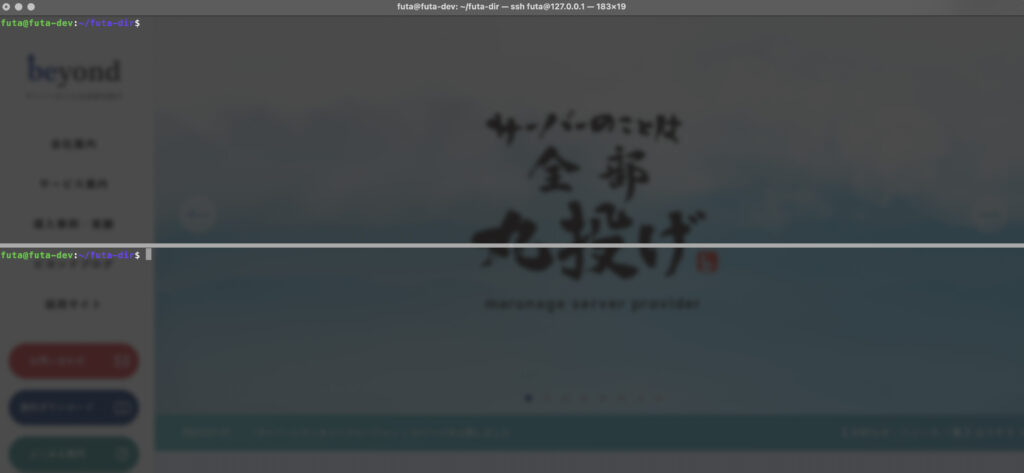
Split Screen
Finally, let's split the screen.
Actually, with the standard OS terminal (Terminal.app), split-screen operations are synchronized.
To work with multiple screens displayed, you need to open a new window (or tab), which might be why some people choose to use a different terminal like iTerm2. Nevertheless, it's
convenient for tasks like checking logs, so being able to display multiple screens improves work efficiency.
Here are some basic shortcuts for splitting the screen!
| split screen | Command + d |
| Cancel split screen | Command + Shift + d |
| Open Tab | Command+t |
| Navigate between tabs | Control + Tab |
| Close tab | Command + w |
Please be careful not to confuse "Command + d (split screen)" with "Control + d (logout)".
If you're interested in other shortcuts, please check the link below!
Mac Terminal Keyboard Shortcuts
Some people use iTerm2 because of their preferences for launching terminals and splitting the screen, but why not try customizing the standard terminal to suit your preferences?
 77
77 The person who wrote this article
About the author


