How to set up a free SSL certificate with a GCP load balancer (GCLB)
2022.09.06
 5
5 
table of contents
- 1 About free Google-managed SSL certificates
- 2 Installation Procedure
- 2.1 ① Network Services > Load Balancing > Click [Create Load Balancer]
- 2.2 ② Click [Start configuration] in the HTTP(S) Load Balancing section
- 2.3 ③ Select the following and click [Continue]
- 2.4 ④ Enter the name of the load balancer (LB)
- 2.5 ⑤ Set the following:
- 2.6 ⑥ Click [Create IP address] in the IP address field
- 2.7 ⑦ Enter your name and description and click [Book]
- 2.8 ⑧ Register the static external IP address you created in DNS
- 2.9 9. Certificates > Click [Create a new certificate]
- 2.10 10. Enter the following and click [Create]
- 2.11 ⑪ Set the following:
- 2.12 ⑫ Configure the backend
- 2.13 ⑬ Set the routing rules and click [Create]
- 2.14 14. Load Balancing > LB Name > Frontend > Certificates > Click the certificate name
- 2.15 ⑮ Check if the SSL certificate has been created
- 2.16 ⑯ Operation check
- 3 summary
*Moeyo Mensuke (Fukushima, Osaka)
Hello!
I'm Hide, the Ramen King from Beyond Inc.'s Osaka office.
This is my seventh post.
Last time, we talked about using CloudwatchLogs to monitor specific strings in your server! I wrote an interesting blog post about using a handy tool called CloudwatchLogs to get notifications, so if you're interested, be sure to check it out!
● Monitor specific strings in CloudWatch Logs!
https://beyondjapan.com/blog/2022/07/cloudwatchlogs_word_monitoring/
About free Google-managed SSL certificates
Google Managed SSL Certificates are free SSL certificates that can be installed on Google Cloud Load Balancing (GCLB).
The types of GCLB that can be installed are as follows:
- Global External HTTP(S) Load Balancer
- Global External HTTP(S) Load Balancer (Legacy)
- External SSL Proxy Load Balancer
*Not supported with regional external HTTP(S) load balancers and internal HTTP(S)
It's also very convenient because it automatically updates on the GCP side. Furthermore, you can specify multiple domains in the subject alternative name of a single certificate
You can install it from either the console or the gcloud command. This time we will install it from the console, so if you want to install it using the gcloud command, please refer to the article below!
● How to set up a free SSL certificate for a GCP load balancer using gcloud commands
How to set up a free SSL certificate for a GCP load balancer using gcloud commands
*Official documentation: Using Google-managed SSL certificates
Installation Procedure
*Regarding compute and instance groups, we will explain them assuming they have been built
① Network Services > Load Balancing > Click [Create Load Balancer]
![]()
② Click [Start configuration] in the HTTP(S) Load Balancing section
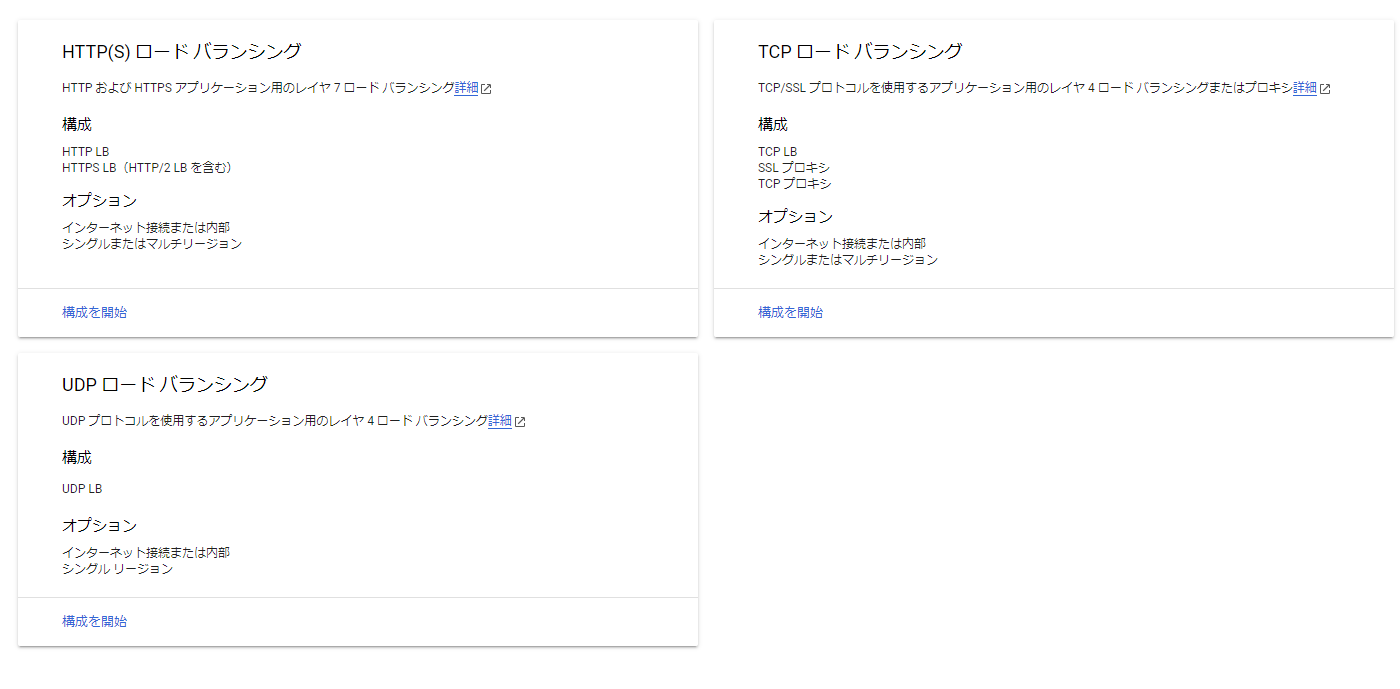
③ Select the following and click [Continue]
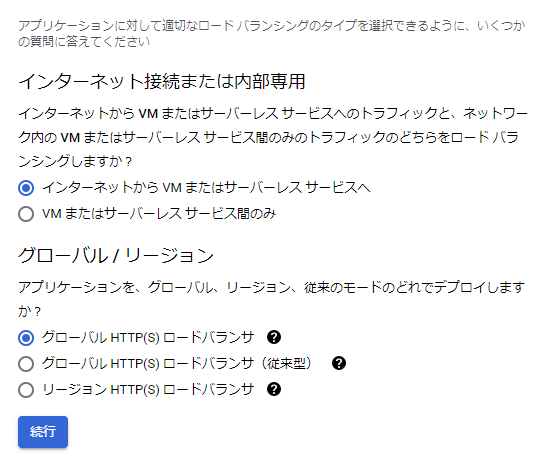
④ Enter the name of the load balancer (LB)
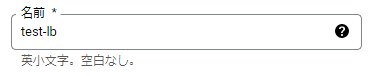
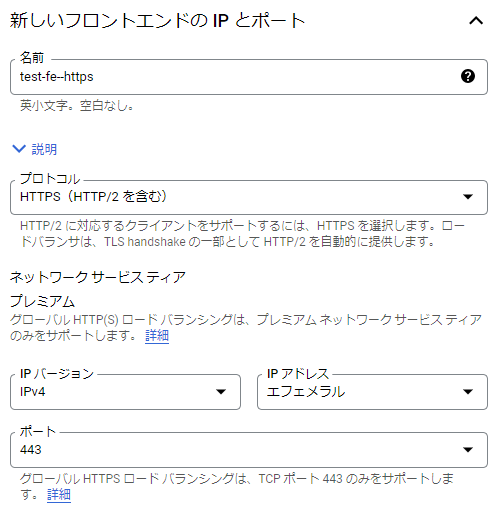
⑤ Set the following:
● Name: Please set a suitable name.
● Protocol: HTTPS (including HTTP/2)
● IP version: IPv4
● IP address: *Set a static external IP address using the following steps.
● Port: 443
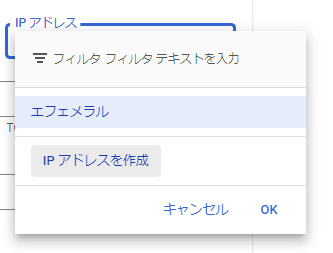
⑥ Click [Create IP address] in the IP address field
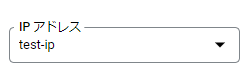
⑦ Enter your name and description and click [Book]
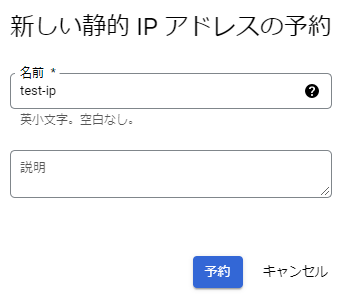
*If creation is successful, the following will be automatically set:
⑧ Register the static external IP address you created in DNS
*The IP address is written in the black part of the image below

9. Certificates > Click [Create a new certificate]
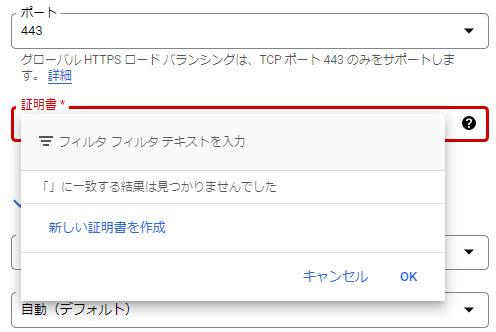
10. Enter the following and click [Create]
● Name: Enter an appropriate name
● Creation mode: Create a Google-managed certificate
● Domain: Specify the domain registered in DNS

*After creation, it is complete when the following is displayed:

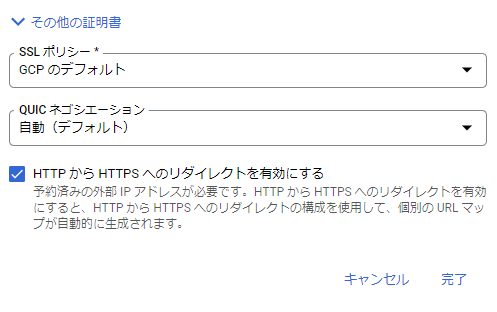
⑪ Set the following:
*If you want to redirect to https, check [Enable HTTP to HTTPS redirection]
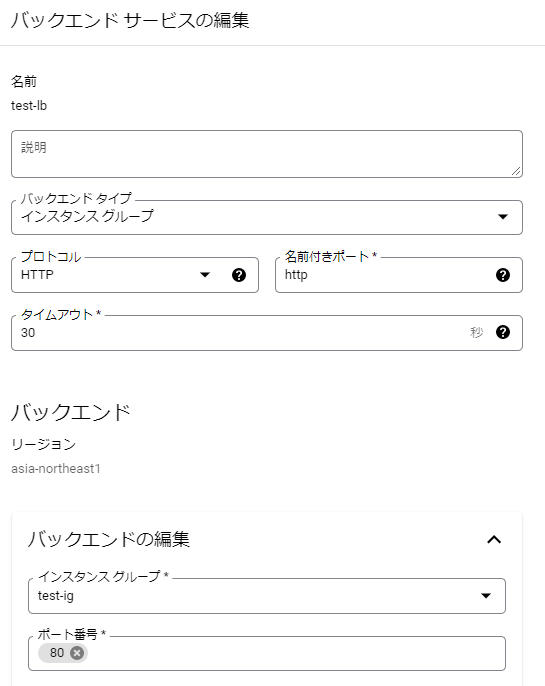
⑫ Configure the backend
*If the end of https communication is LB, https communication will be performed on the front end, so please set the back end to enable http communication
⑬ Set the routing rules and click [Create]

14. Load Balancing > LB Name > Frontend > Certificates > Click the certificate name
*Please perform this task after the LB update is complete

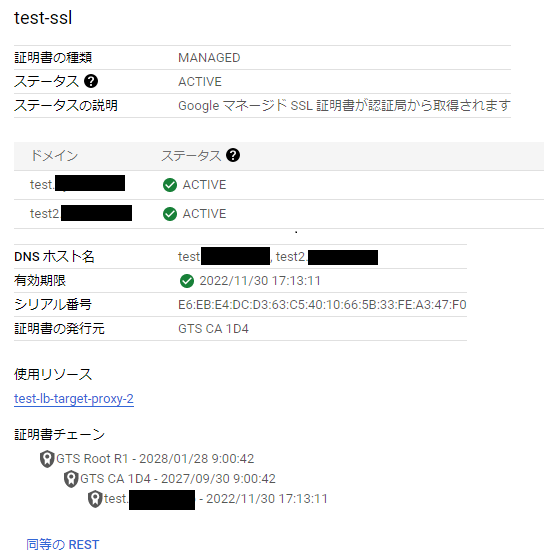
⑮ Check if the SSL certificate has been created
*If the status is ACTIVE, the SSL certificate is ready for use.
*To make it ACTIVE, you must point the DNS of the specified domain to the LB.
*If the status is [PROVISIONING (authenticating)] as shown below, the SSL certificate is in the process of being created.
*If multiple domains are included in the subject alternative name, you will not be able to use this certificate for https communication until all domains have been authenticated.
*It may take up to 24 hours for authentication to be completed.

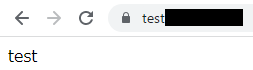
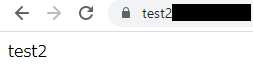
⑯ Operation check
・test
・test2
summary
What do you think? Just like AWS ACM, it was very easy to issue and set up an SSL certificate from the console
Managing SSL certificates can be a hassle, so if you can meet your security requirements, we recommend using Google Managed SSL certificates, which are created once and then automatically renewed!
Also, next time I will write an article on setting up URL redirection with LB
55 The person who wrote this article
About the author


