Let's operate Git with VScode!

table of contents
Hello, I'm Nagato from the System Development Department!
Today I'll be explaining how to use the version control system "Git" from vscode.
We will explain the six basic Git operations in the following order
・Switching and creating branches
・Committing and pushing
/pulling
・Merge (conflict resolution)
Switching and creating branches
There is a field in the bottom left of the screen with the branch name written on it.
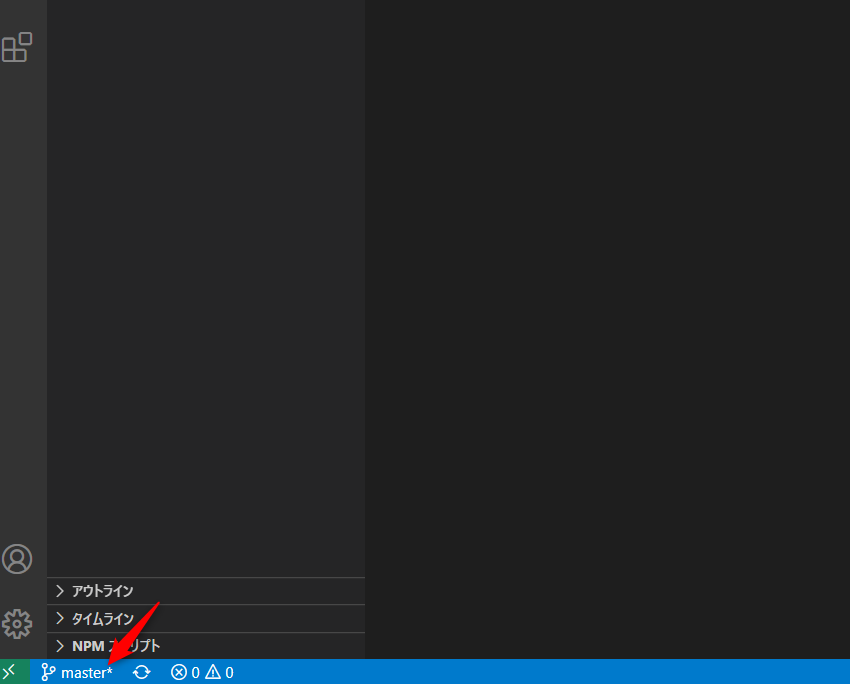
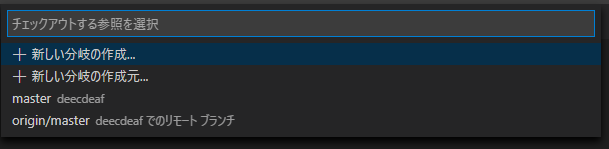
Clicking there will display a dialog at the top where you can create and switch branches.
You can create a child branch of the current branch by clicking "Create a new branch...".
Enter a name and press Enter to complete!

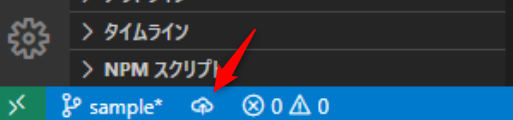
If you look at the bottom left, you can see that it has switched to the branch you just created.
At this stage, you have only created a local branch, so click the publish button next to it to create a remote branch.
Commit and push
Next, let's commit and push.
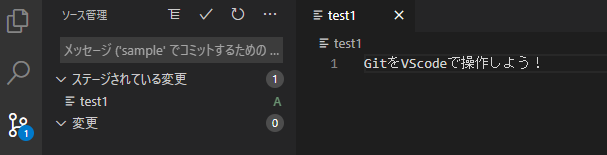
Make some edits to a file. Then, you will see a tab in the sidebar labeled ①.
This indicates that there is one edited file.
Go to the tab and click the + next to the edited file name.
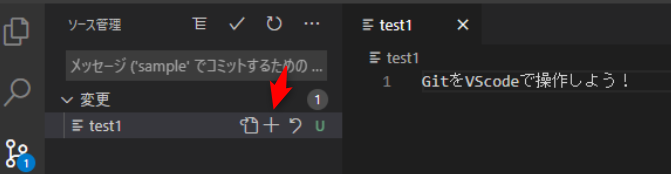
This will take you to the "Staged Changes" section.
You can only commit files that are in this "Staged Changes" section, so
you can distinguish between what you want to commit and what you don't yet want to commit.
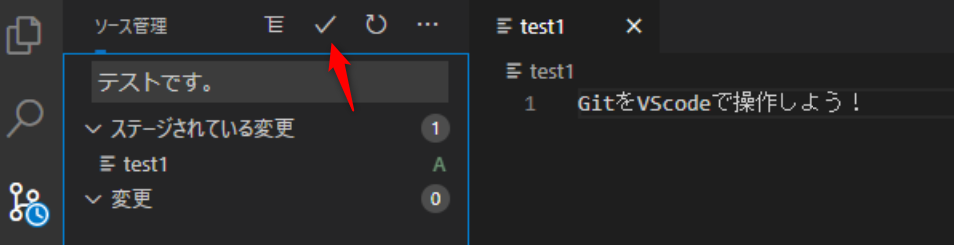
Enter a comment in the text box and click the check box to complete the commit
Finally, pull.
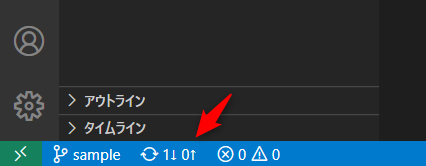
Simply click on the 1↑ icon at the bottom left to complete the pull.
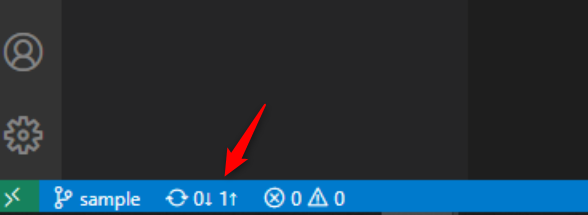
pull
, just click on the 1↓ part,
just like with pushing If there are any files that have been changed or added to the remote branch, a number greater than 1 will be displayed here, so check it carefully.
Merge (conflict resolution)
Finally, let's merge and resolve conflicts.
Go to the tab on the left and click on the "..." part.
From here, you can also perform operations such as committing, pulling, and pushing.
This time, select "Merge branch..." from "Branches."

A dialog will appear, allowing you to select the branch you want to merge
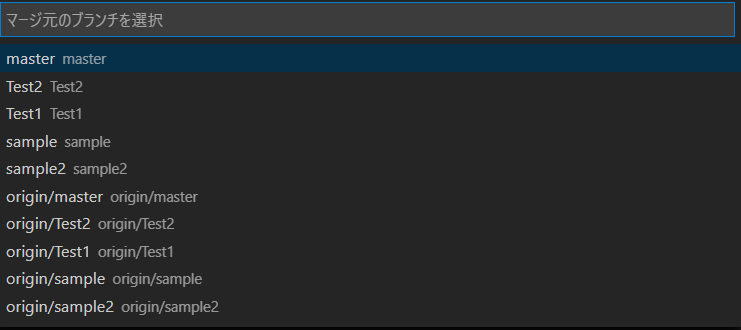
After selecting the branch, the merge will be performed automatically.
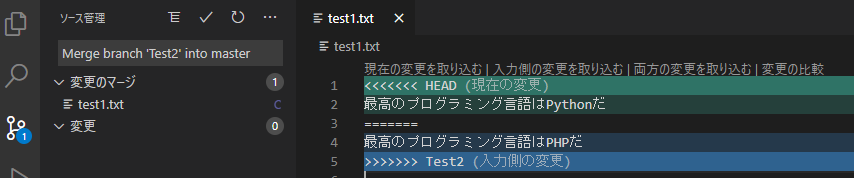
If there are any conflicts, the current changes (changes in the different branch) and the incoming changes (changes in the merge branch) will be color-coded as shown here.
Above the conflicting changes,
you can choose from the options
"Incorporate current changes | Incorporate incoming changes | Incorporate both changes | Compare changes." In this case, select "Incorporate both changes."
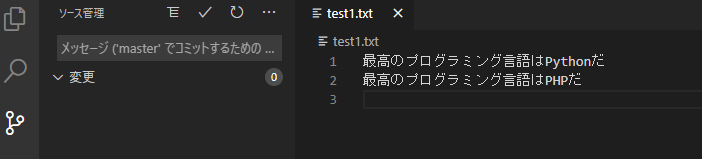
The changes have been applied and the conflict has been resolved.
If you commit and pull, the changes will be reflected in the remote branch.
summary
You can open the console with Ctrl+Alt+@, so you can still use git commands as before.
However, managing git in VScode is intuitive, easy to understand, and smooth, so please give it a try.
lastly
I am a member of the system development service site "SEKARAKU Lab."
Beyond offers a one-stop service for everything from server design and construction to operation, so if you have any problems with server-side development, please feel free to contact us.
SEKARAKU Lab: [https://sekarakulab.beyondjapan.com/](https://sekarakulab.beyondjapan.com/)
 11
11 The person who wrote this article
About the author


