[Smartphone OK] Explaining how to take sizzling food photos

table of contents
- 1 Why the food photography tips introduced here can be applied to smartphones
- 2 Author's background and achievements
- 3 Examples of photos you will be able to take by reading this article
- 4 Three tips for taking delicious photos of food and rice
- 5 Knowing the best light direction for food photography
- 6 Understanding lens characteristics
- 7 Shoot with delicious colors
- 8 summary
Hello.
I'm Goto from the Web Services Division. I've been spending a lot lately, so I'm broke and eating only rice and bread a strict
I really want to record the lowest results I've ever had in my health check-up, so I'm going to get serious starting tomorrow
By the way, rice and bread are really money I can't thank bread and rice enough for allowing me to save money while still enjoying such delicious food
Well, this time I 'd like to post a blog post for the first time in a while, offering some photography tips
Since we talked about bread and rice at the beginning, this time food photography and explain some tips.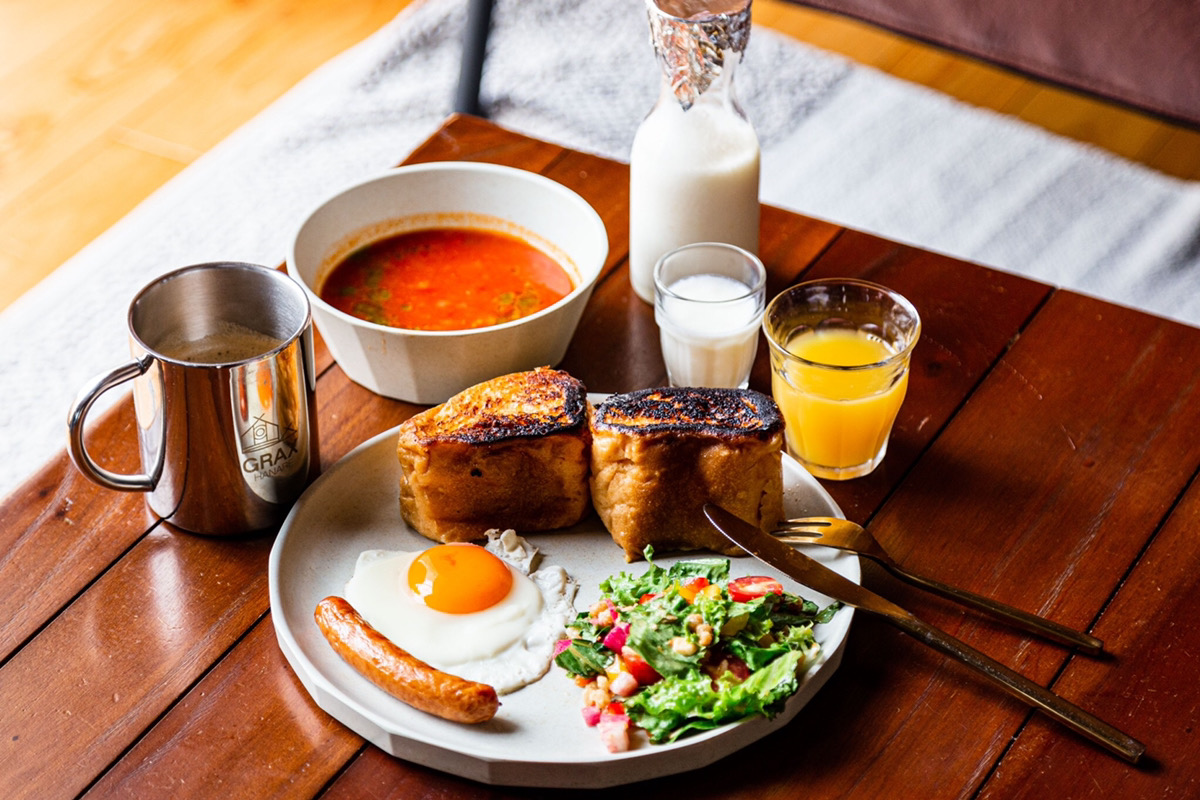
*The above photo was taken with a single-lens reflex camera
when you order a stylish dish at a cafe when you come across a meal at a restaurant that makes you go, " ! It's delicious! ", or when you want to show off how good you are at cooking on social media
The first job I started after entering the workforce was as a photographer so I've been working with photography for quite a while and I'm a little good at it.
'm not doing anything as difficult as a professional photographer, is difficult to reproduce
Rather, I believe that I am able to take beautiful photos because I have mastered photography tips that anyone can put into practice immediately if they know them
, I'd like to introduce three "tips for improving your food photography" based on the skills I've acquired through my experience
The content of this article can be applied to any device that can take photos , regardless of whether it is camera or a smartphone , so please read to the end.
Why the food photography tips introduced here can be applied to smartphones
*The above photo was taken with an iPhone 8 Plus
After all, you can't take good photos without a good camera, right? Some people may think this way.
can express exquisite color tones , atmosphere , and three-dimensionality
However, smartphone cameras have evolved considerably in recent years, and the performance gap between them and high-end SLR cameras is becoming smaller and smaller.
The article below why you can take beautiful photos with a smartphone provides photography know-how using a smartphone
[With examples] Photographer explains tips for taking beautiful photos with a smartphone
Author's background and achievements
First of all, thank you for reading this far
However, at this point, some of you may be wondering, "Are this person's tips really useful?"
Therefore, in the blog below am posting my career history and achievements to date along with actual photos
Please take a look if you are interested
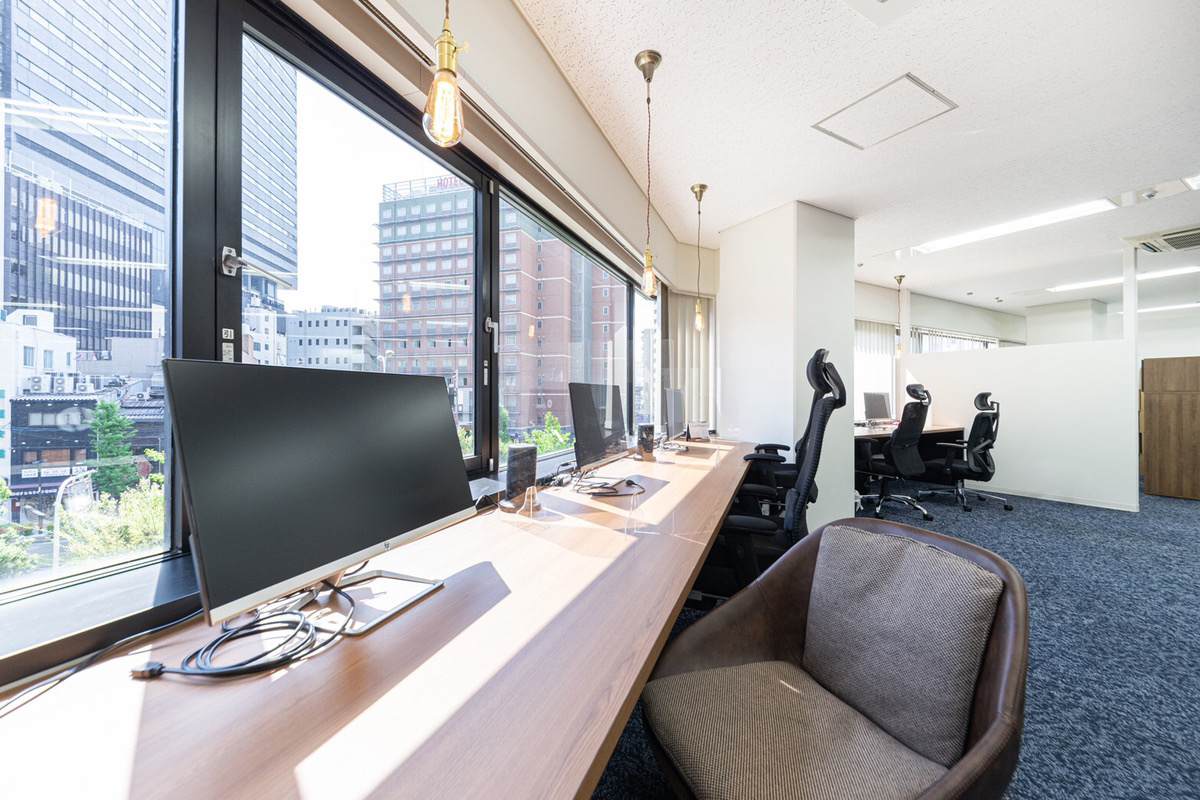
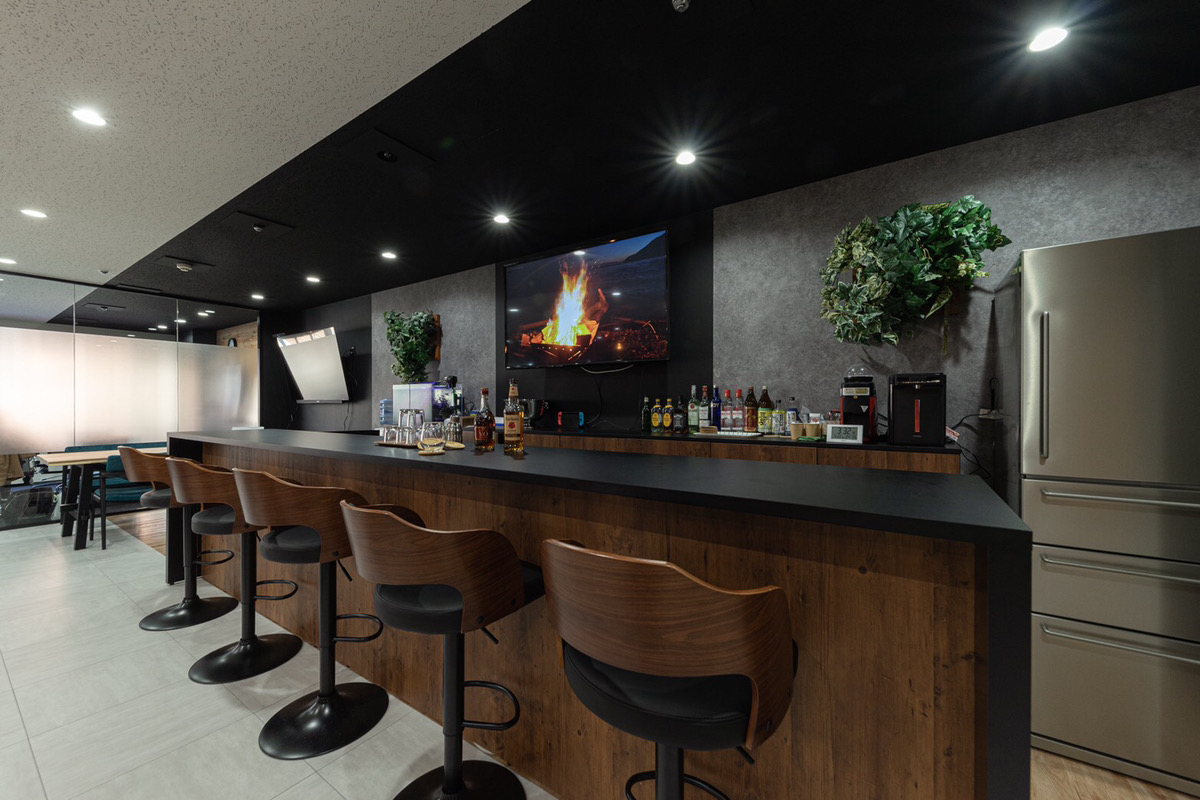
An in-house photo studio? A story of how employees created a benefit program
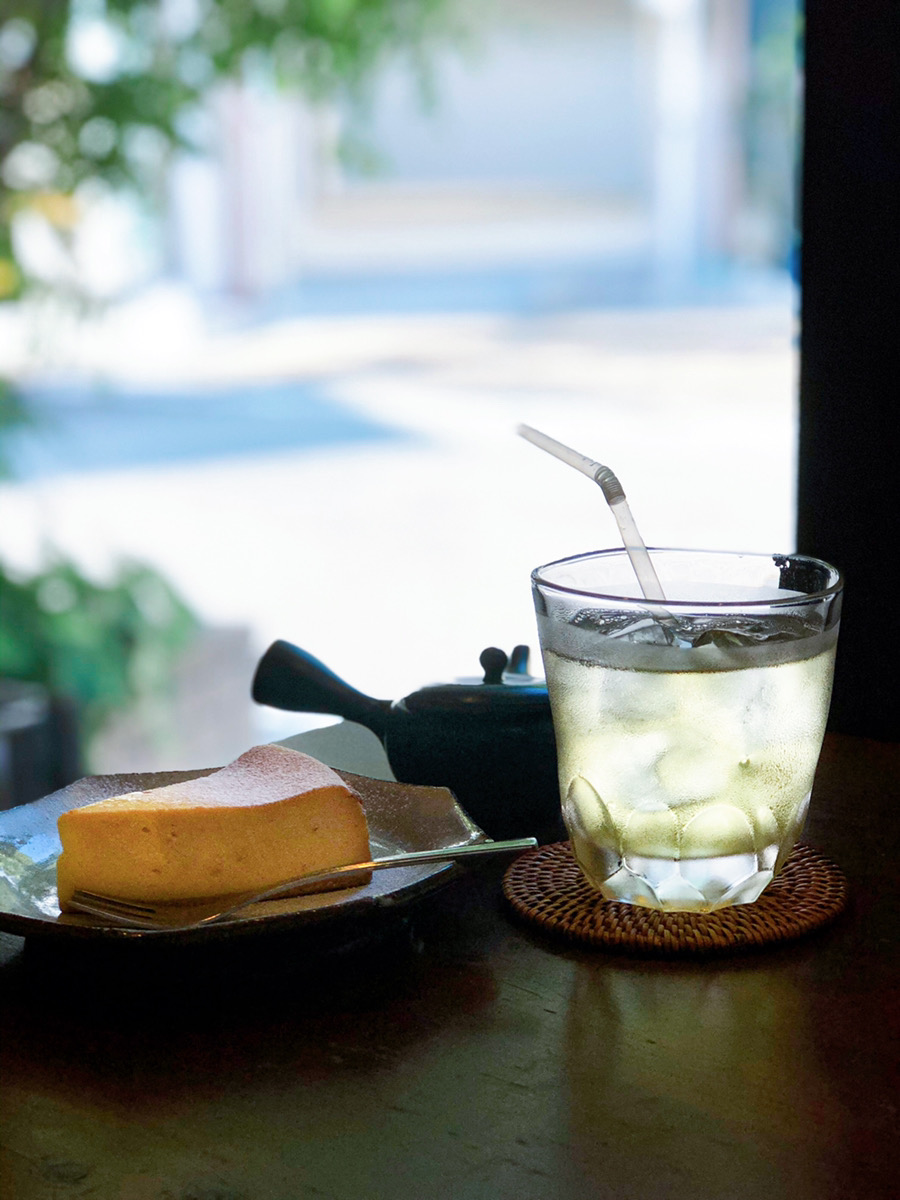
Examples of photos you will be able to take by reading this article
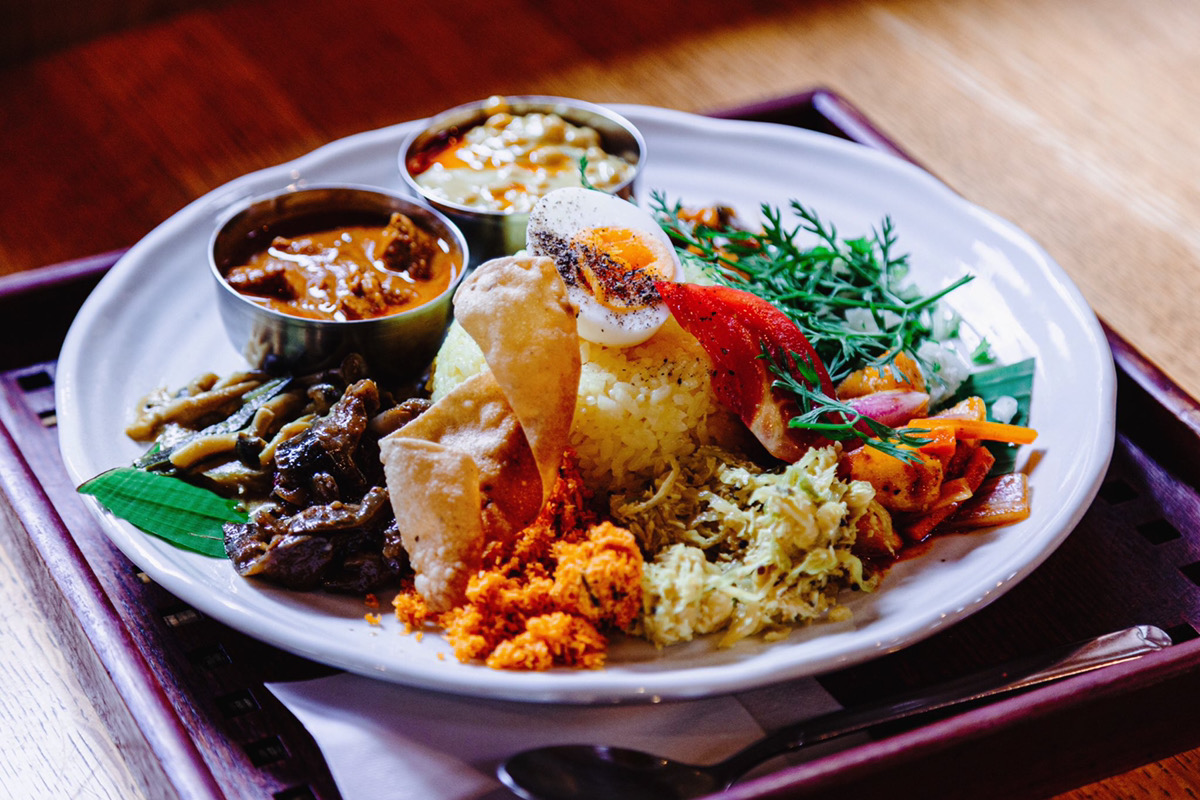
I will also show you some food photos that I actually took with my smartphone
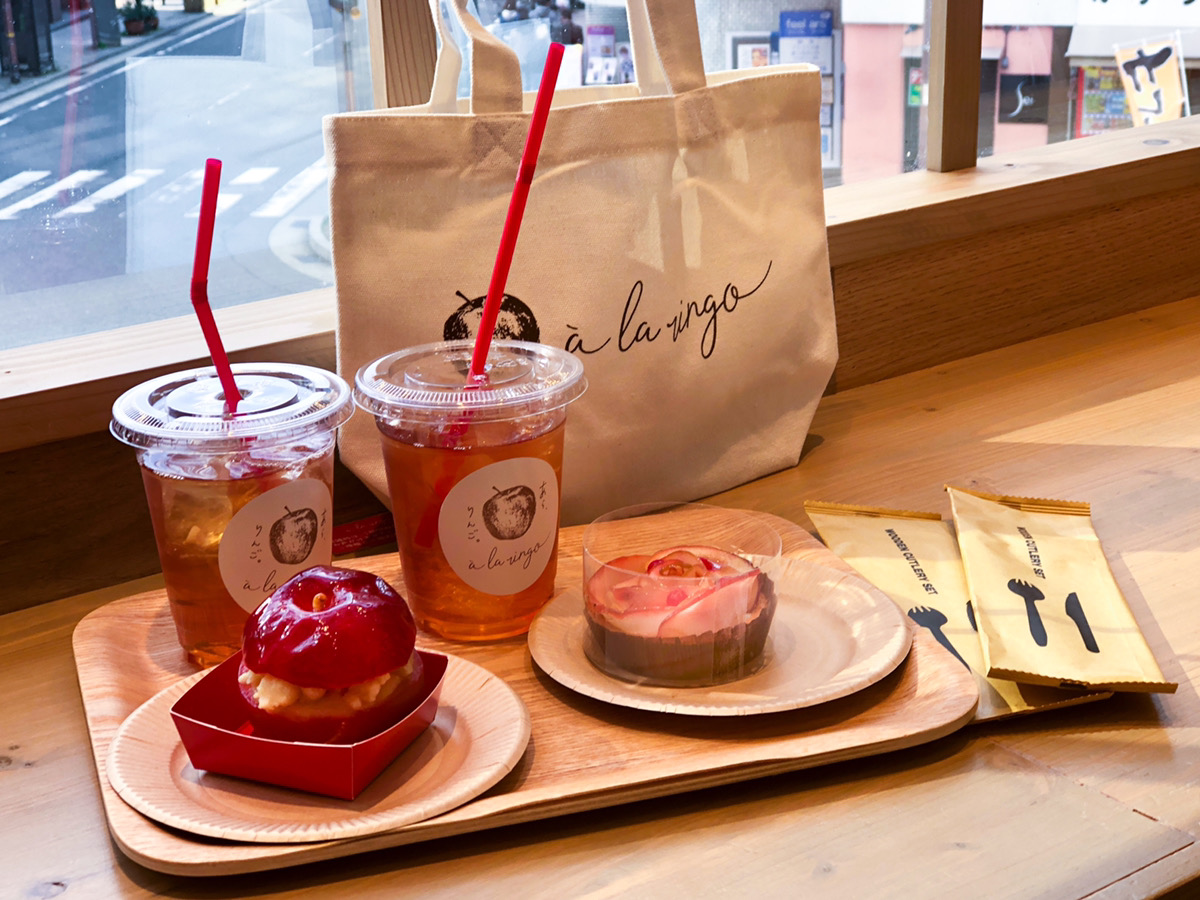
*Smartphone used: iPhone 8 Plus (released September 2017)
So, here are some tips below
Three tips for taking delicious photos of food and rice

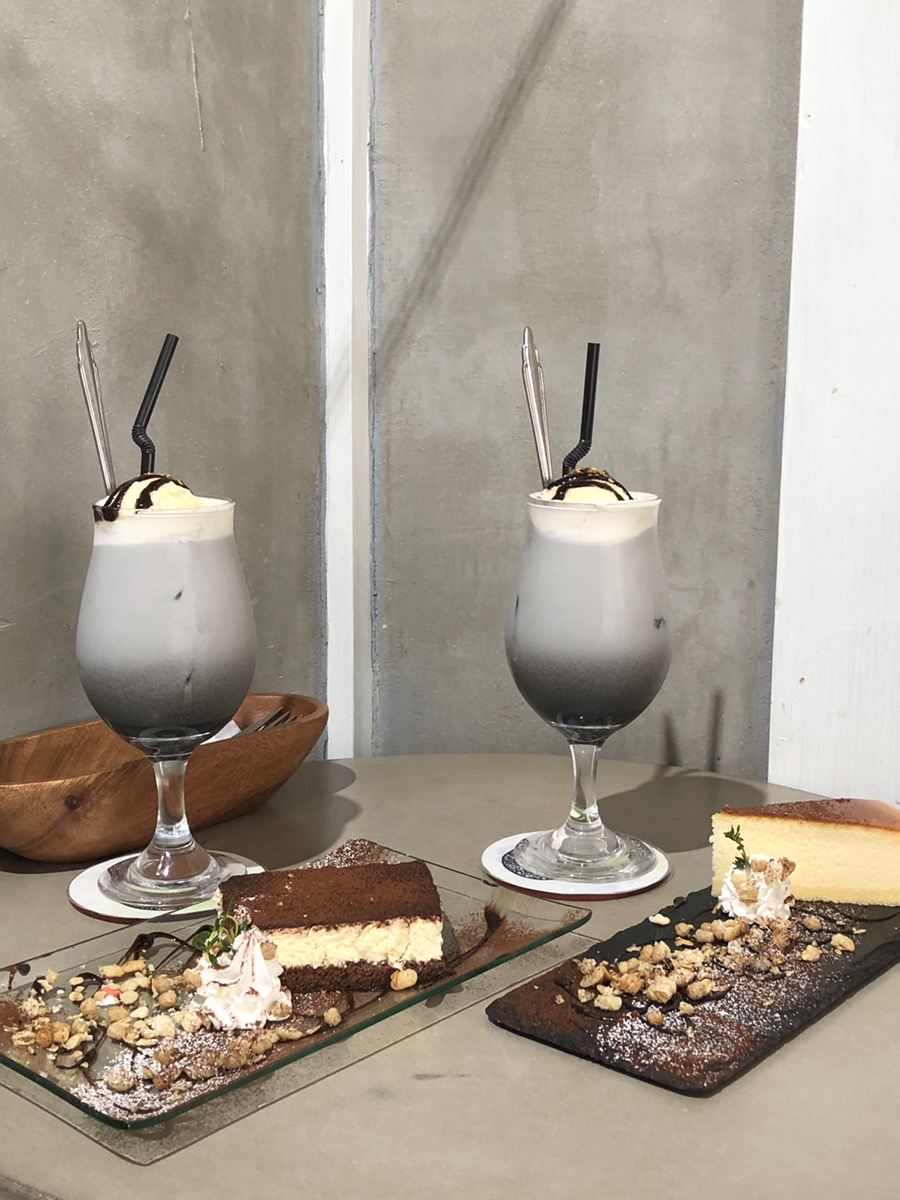
*The above photo was taken with a single-lens reflex camera
Here are three tips to help you take delicious photos of food and meals:
- Knowing the best light direction for food photography
- Understanding lens characteristics
- Shoot with delicious colors
knowledge and experience are required for more creative photography you will be able to take photos that will make many people think, "That looks delicious!"
We will explain each one below
Knowing the best light direction for food photography
It is no exaggeration to say that the most important thing
in food photography is how well the sizzle Sizzle is like the realism and presence of the food.
To create that sizzle, we pay attention to how the light hits the image when taking photos
Taking good photos doesn't just mean bright light
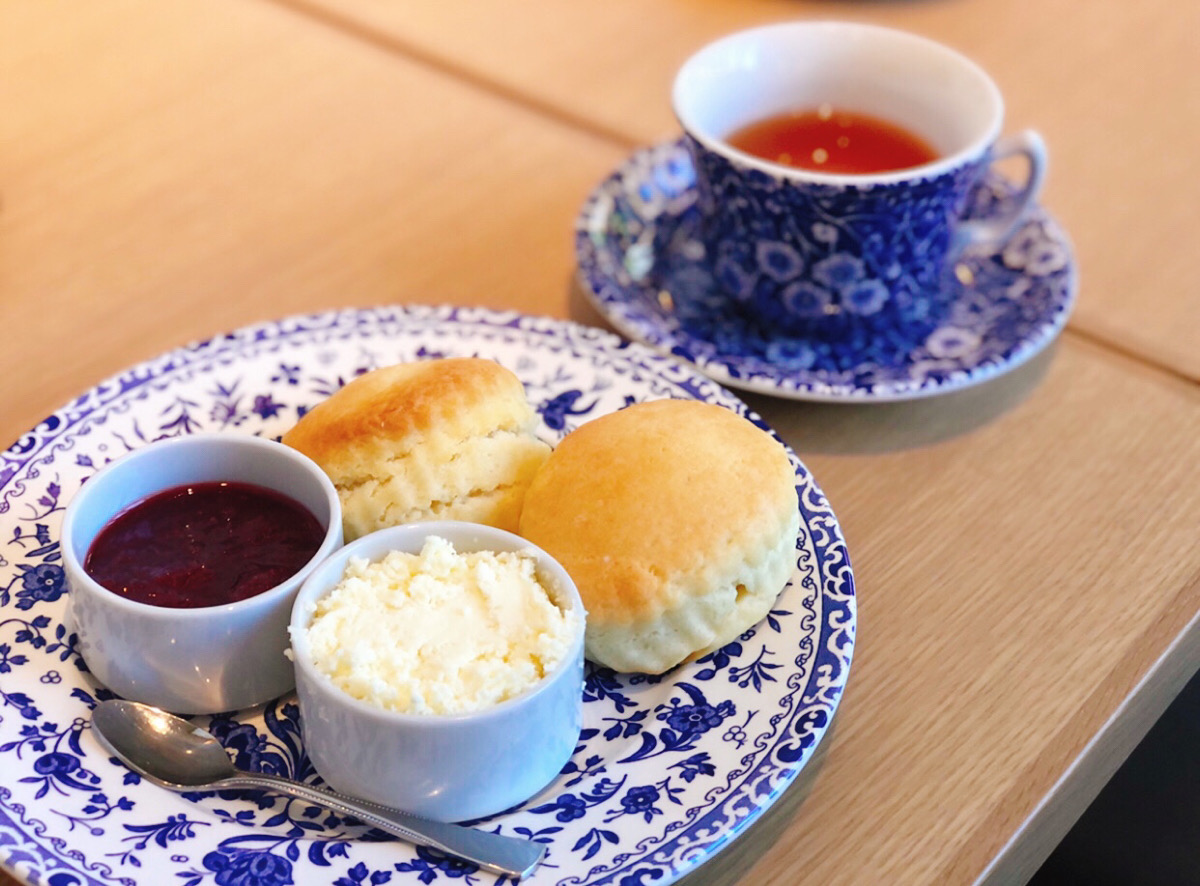
*The above photo was taken with a single-lens reflex camera
I think many people believe that to take good photos, you need to take them in a well-lit place
To be precise, a good photograph is one that skillfully controls the shadows that light casts on the subject .
It is assumed that the idea that it is best to take photos in bright places is widespread because it is easier to take outdoors during the day when there is sufficient light
Photograph food in backlight or semi-backlight
There is a standard lighting direction that can easily bring out the realism and presence of food: backlighting and semi-backlighting .
Light can be broadly divided into front light, side light, back light, and semi-back light .
It looks like this when drawn as a diagram
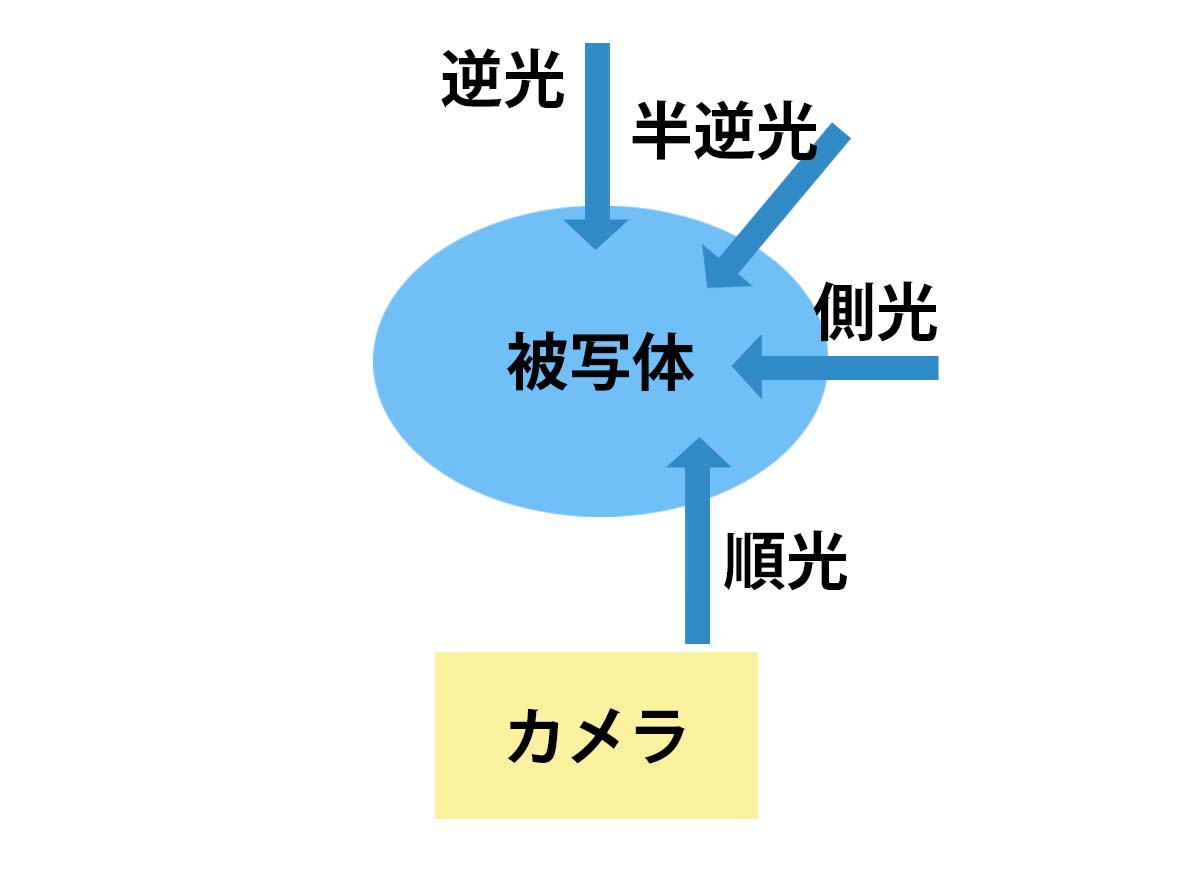
To shoot in backlight or semi-backlight you should directly behind or diagonally behind the realistic texture and presence of the food, in other words, the sizzle
Use a window for backlit or semi-backlit shots
*The above photo was taken with a single-lens reflex camera
There are ways to easily create a backlit or semi-backlit shooting environment without any special equipment.
In conclusion, for backlit or semi-backlit situations, make use of the light coming in through the window.
For example, when you go to a restaurant it is recommended to choose a seat where you can see the window across from you or to the side.
It is also important to choose a seat as close to the window as possible
If you're at home, you can create an environment where it's easy to take delicious food photos by placing a table near a window
Understanding lens characteristics
*The above photo was taken with a single-lens reflex camera
Next, we will explain the characteristics of lenses.
In fact, the wider the angle
of a camera lens In the case of food photography, using a wide-angle lens with
a different shape than what is seen with the naked eye making it difficult to make the food look appetizing.
Incidentally, architectural photography , there is a technique that takes advantage of this characteristic to make a room appear larger than it actually is.
I have previously posted photos of Beyond Office taken with a wide-angle lens on my blog, so if you're curious about what photos taken with a wide-angle lens actually look like,
[Tips for architectural photography explained] I took some photos after moving my office
Lens angle of view suitable for food photography
*The above photo was taken with a single-lens reflex camera
The angle of view of a lens is expressed as XX mm with a lower number being wider and a higher number being telephoto.
The angle of view closest to what the naked eye sees is said to be 50 mm, but the angle of view of lenses installed on smartphones is often around 28 mm, which is closer to the wide-angle lens.
When professional photographers take food photos, they usually use lenses of 100mm smartphone cameras are not really suited to taking food photos.
Therefore, when taking photos of food with your smartphone, you need to be a little creative
Use the zoom when taking photos of food with your smartphone
In conclusion, to adjust the angle of view of your smartphone lens for food photography, simply
zoom a pseudo-zoom that crops the screen , but this shifts the angle of view closer to telephoto, making it less likely to produce distortion.
Some people worry that
zooming will degrade the image quality It's true that the image quality will drop slightly, but modern smartphones are so powerful that they can maintain the image quality even when cropped, so you can zoom in without worrying!
Shoot with delicious colors
Once you understand the key points of light and angle of view, the next thing to consider the color .
Color is important for expressing the sizzle of food.
To reproduce the desired color in food photography, it needs to be natural and vivid.
retouch (edit) the photos after taking them .
However, retouching food photos can be difficult, and trying too hard to make them look vibrant often results in unnatural
Therefore, if you are not good at retouching, we recommend using a photo editing app
Recommended apps for editing food photos
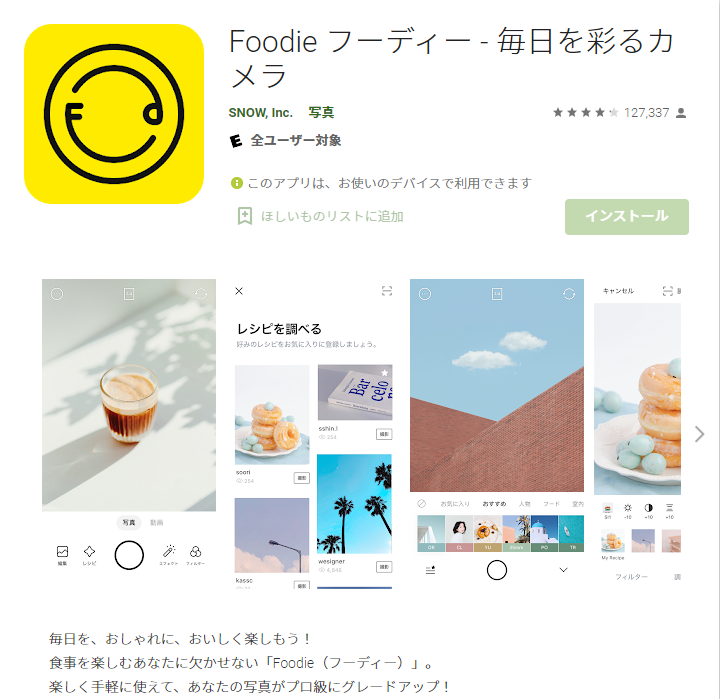
Source of the above image: Foodie - A camera that brightens your everyday life
There is a free app called "Foodie" that allows anyone to easily make food photos look natural
and vivid .
Foodie allows you to easily edit photos without any complicated settings.
It is a well-known app, so if you haven't downloaded it yet, I highly recommend you do so.
It's easy to use, just select and apply the filter you like
You can either edit photos you've taken previously or take photos directly with Foodie
All of the food photos taken with the smartphone mentioned at the beginning were also taken using Foodie
Please try it!
summary
Above are three important points to keep in mind when photographing food!
Here are three key elements to improving your food photography:
- Create a sizzling effect with backlighting and semi-backlighting
- Shooting with a distortion-free angle of view
- Creates vibrant and natural colors
I hope this is helpful
a practical version based on actual photographed data , so we hope you will look forward to it!
Author's Instagram
Thank you for watching until the end
 11
11 The person who wrote this article
About the author


